
Hi – happy to have a minute or two to sit down and share this makeover with you today. This is a makeover I’ve been planning for a long time and finally got around to doing it. But, as always, one thing lead to another, so in the middle of this makeover, I decided it would also be a good time to paint the bedroom walls and trim….you know how it goes, everything always snowballs!
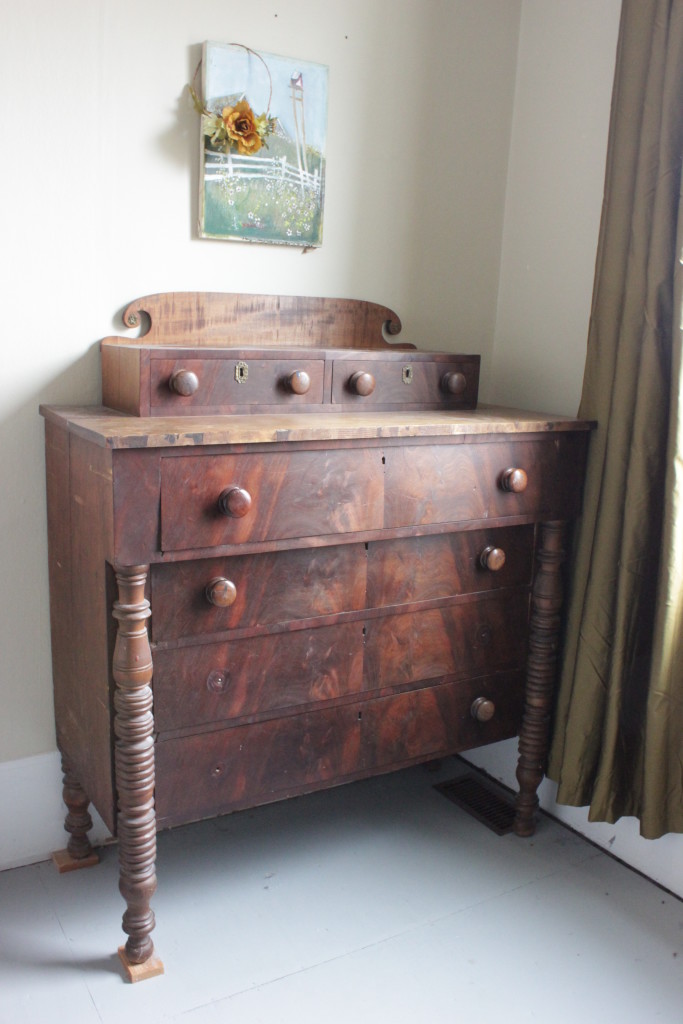
Let me give you a little back ground on this walnut dresser. I’ve had it for close to 10 years, probably. It lived in our first house in between the dining room and living room and it looked gorgeous against the green walls. Then we moved to our mini home and it lived in our bedroom and I used it as my dresser. When we moved into our new house, of course, it came along and stayed as my dresser. This is one of the beautiful pieces I actually paid real money for. Shown below is a picture of the top of it for a guest blog post I did for Beck & Boosh a few years back.
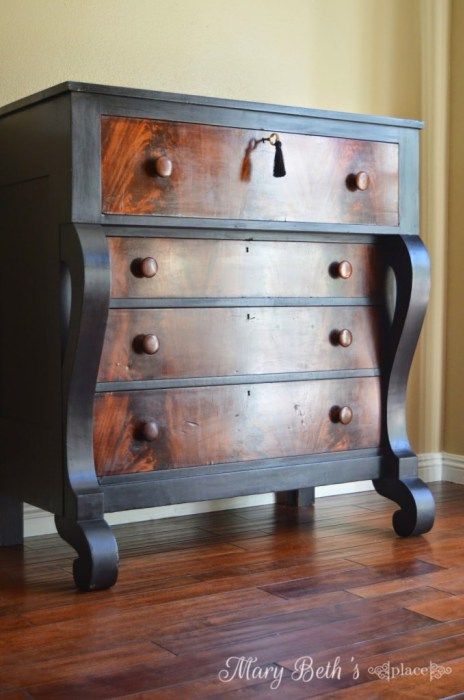
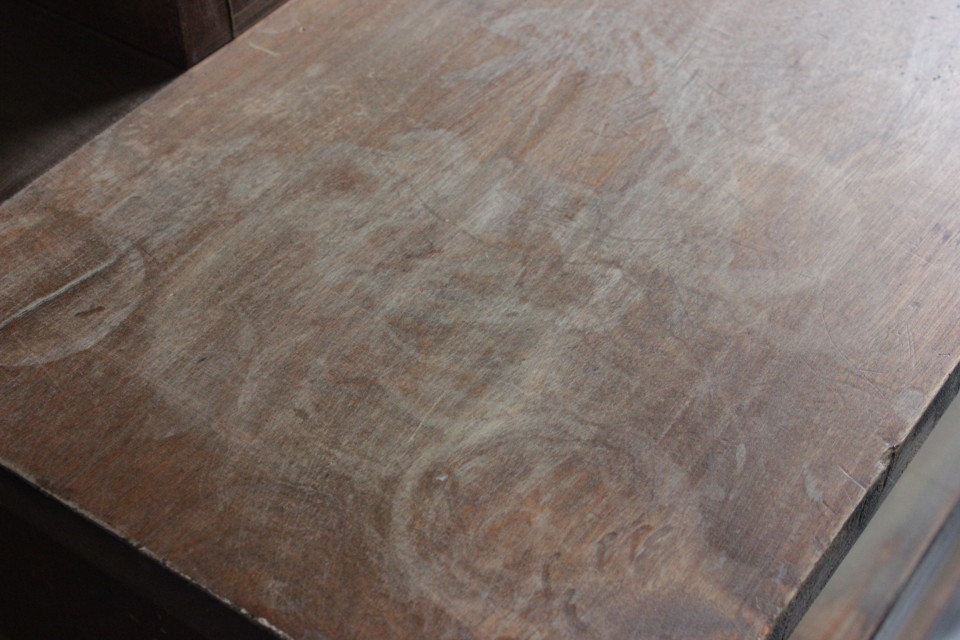
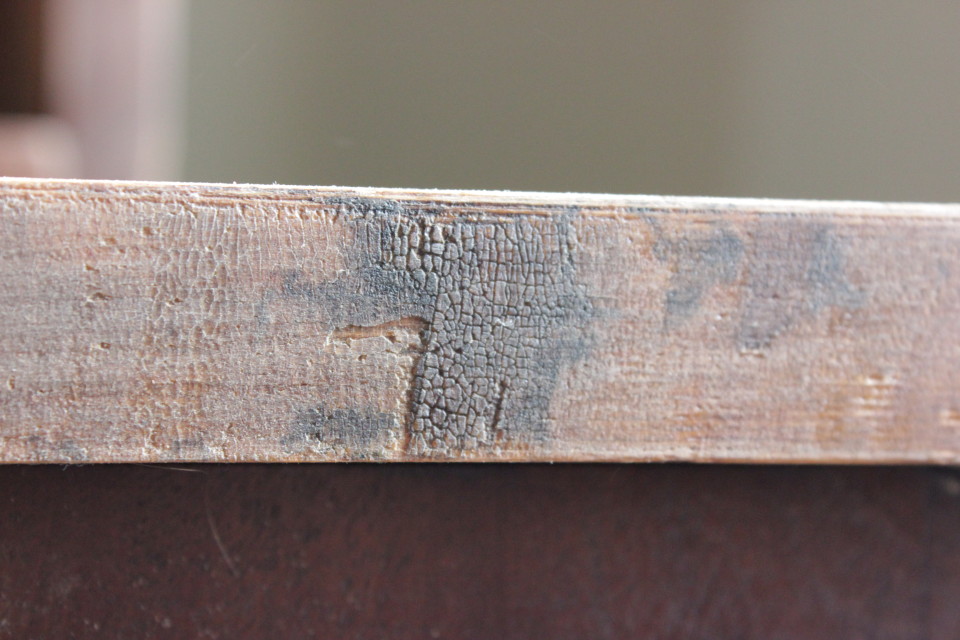
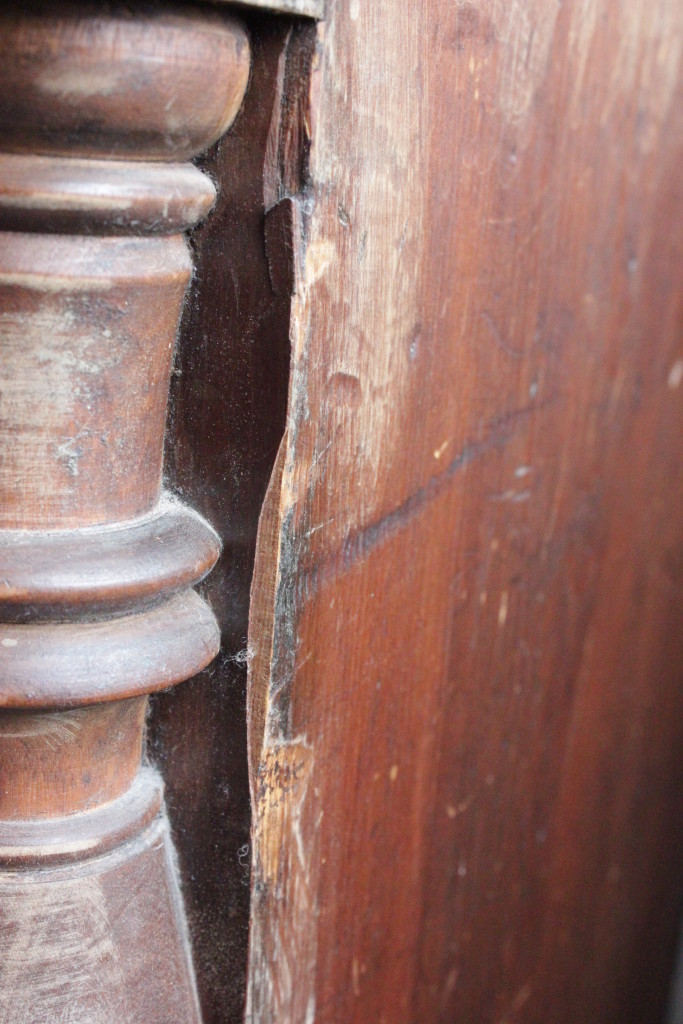
Now, I know some people would be horrified that I painted this beautiful walnut. But this dresser is old and has seen a lot of life before I even got my hands on it. The veneer from the top and front edge had been removed long before I had it. There are major marks along the sides. So, when I saw this picture on Pinterest, I knew I now had a plan to refresh my piece and still keep the stunning walnut.
Here is proof that it was damaged and needed a refresh:
So, I sanded and wiped the dresser down and mixed up some Miss Mustard Seed Typewriter Milk Paint and had at it. It was easy to paint for the most part, except for around those turned legs on the front…that takes some time! It only took two coats to give it a nice cover. Then I sanded it down again lightly and did a coat of Hemp Oil over it to seal and offer some protection. As it’s my dresser, this is enough protection, if it was for the kids, I would’ve used something more durable.
I also had to find and reattach some of the knobs. The old screws had stripped the holes and so that needed to be addressed, too. There’s nothing worse than trying to open a drawer that has no knobs…
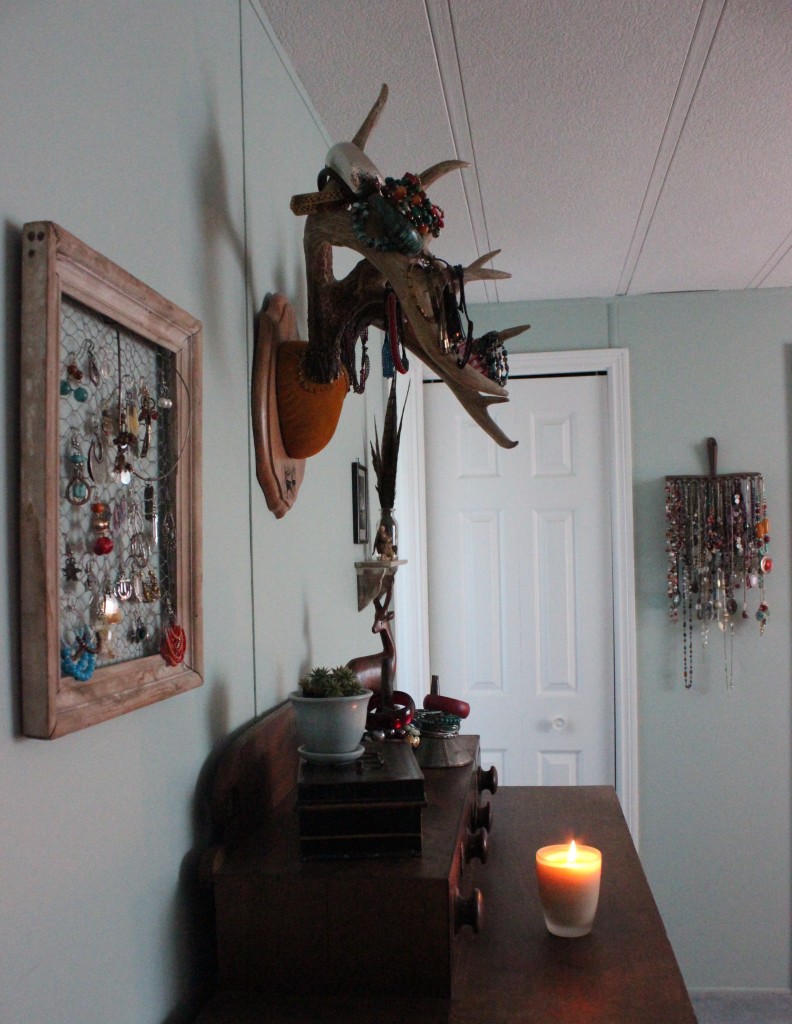
This project probably wouldn’t have taken nearly as long as it did, but in the midst of it, I did paint the bedroom walls and trim. So, throw that in the mix of starting a new job…it took much longer than it should’ve. But, I think it was worth it!
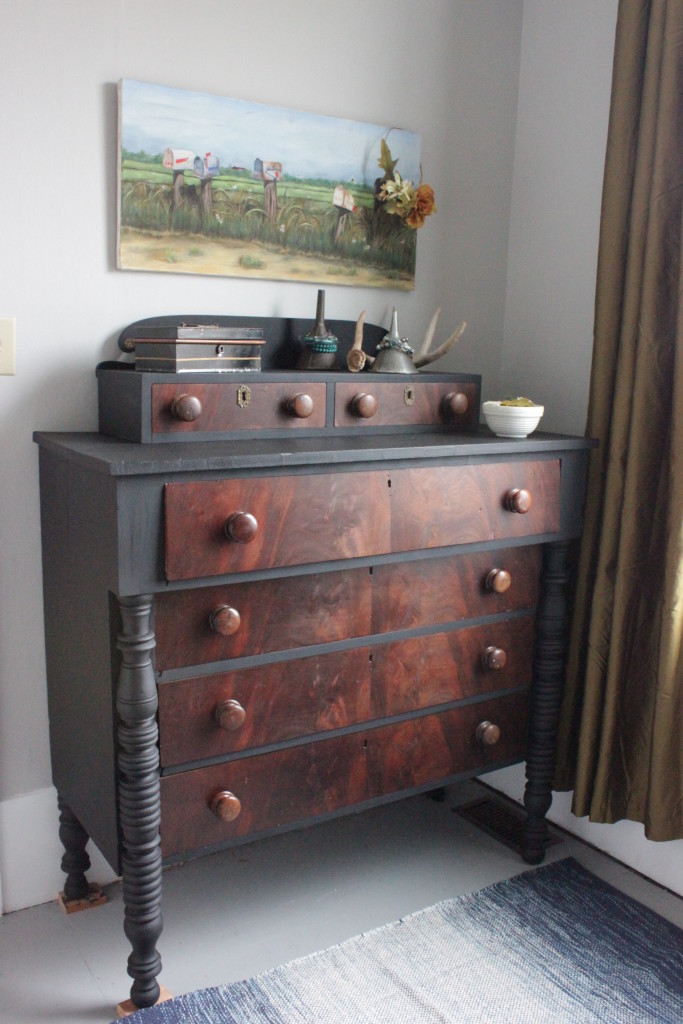

I really love how you still see the beautiful graining on the front of the drawers, but all the damage is masked by a rich coat of milk paint. No, it still isn’t a perfect dresser, but it is mine and I really enjoy this piece. I’m very pleased with the end result of this makeover!
Now….to finish off the rest of the bedroom make over…..
To be continued,
Lori
PS A little sidenote on the mailbox painting: It belonged to the people who lived in this house when I was a teenager, and they gifted it to me way back when….and now it has come back to live here! No idea who the artist is or anything more about it, but to me it exemplifies country life, the life for me!
denise
August 16, 2016 at 5:13 amLove these old Empire dressers, too. Just wanted to mention that the wood is not walnut, but a Flame mahoghany veneer on the drawers. Im currently painting one in shades of blue chalk paint but like you leaving the beautiful drawers as is. Paid $10.00 for it AT a Garage Säle. These are magnificent old dressers and they dont make wood like that anymore!