
It isn’t very often that I can say that Netflix inspired me to do a DIY. Usually Netflix inspires me to continually watch a show while neglecting all other duties….I know I’m not alone in that one! Sometimes a design show will make me want to pick up a paint brush or shuffle around some furniture, as I’m sure they inspire lots of others, too.
But the show that struck the creative urge this time was Restaurants on the Edge. If you haven’t watched it, I highly recommend it. It’s the perfect mix of design, cooking, marketing and story telling. The episode that I’m drawing inspiration from is Austria….and it’s not even anything that I recall them focusing heavily on, just a little bit of a panning of the camera across some wall decor. But for me that was all it took. { I tried to screen shot an inspiration picture but I had no idea that you couldn’t screen shot Netflix…who knew!! So then I tried to Google an image of it, but no luck there either! } Just go watch it for yourself!!
Then add into the mix my blogging/design friend, Krystal messaged me about some things she was purging and wondered if I was interested in them. And what she was offering was perfect for this idea. I briefly explained to her what I was planning and if she was ok with it….and she was totally game. So we met up one morning at her house in the midst of the pandemic and ‘socially distanced’ a pick up of two paintings….prime for a bit of a makeover…
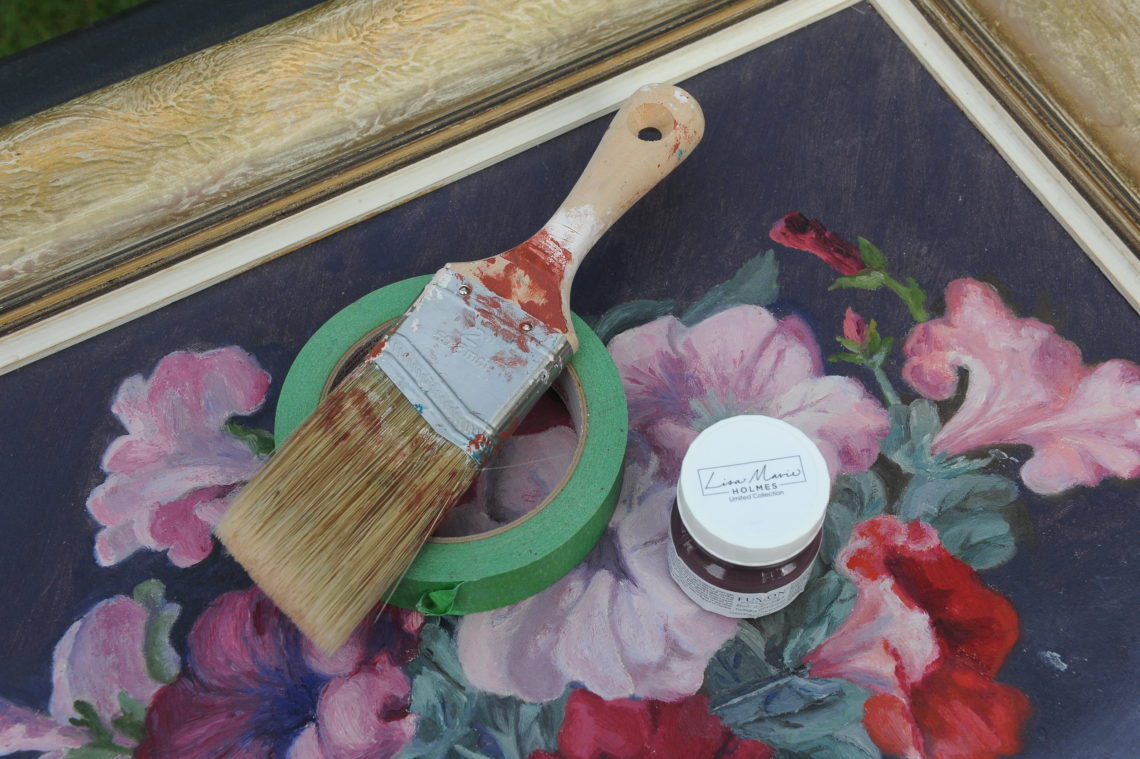
So – let’s get started! Supplies are pretty basic – a painting, painters tape, a brush and some paint. I’m using Fusion’s colour Twilight Geranium from the Lisa Marie Holmes Collection that I bought from my favourite paint store – Phillips and Chestnut! I would recommend pulling a colour out of the painting itself for the solid portion it.
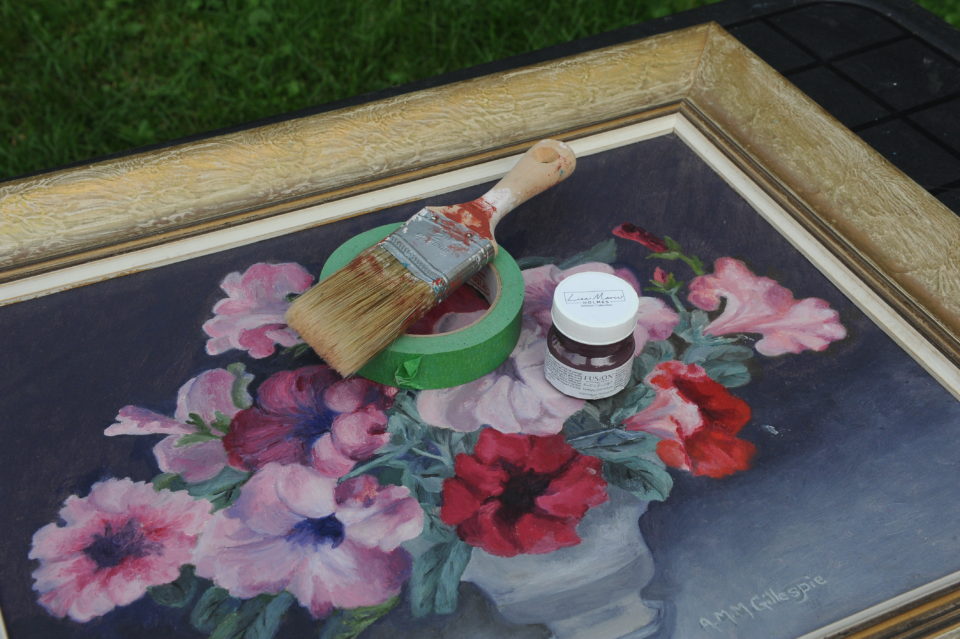
See? Nothing too crazy for this project. The next step is to tape off your painting from corner to corner. { I forgot to photograph this step…the pictures went from completely naked to fully finished…I got distracted by a yummy chicken supper at the neighbours…oops!! } When deciding what corner to cover, you could use a yard stick to go corner to corner so you can visualize what the finished product would look like. I knew in my case, either corner would cover the artist’s signature and the vase so it really didn’t matter. Here’s the before:
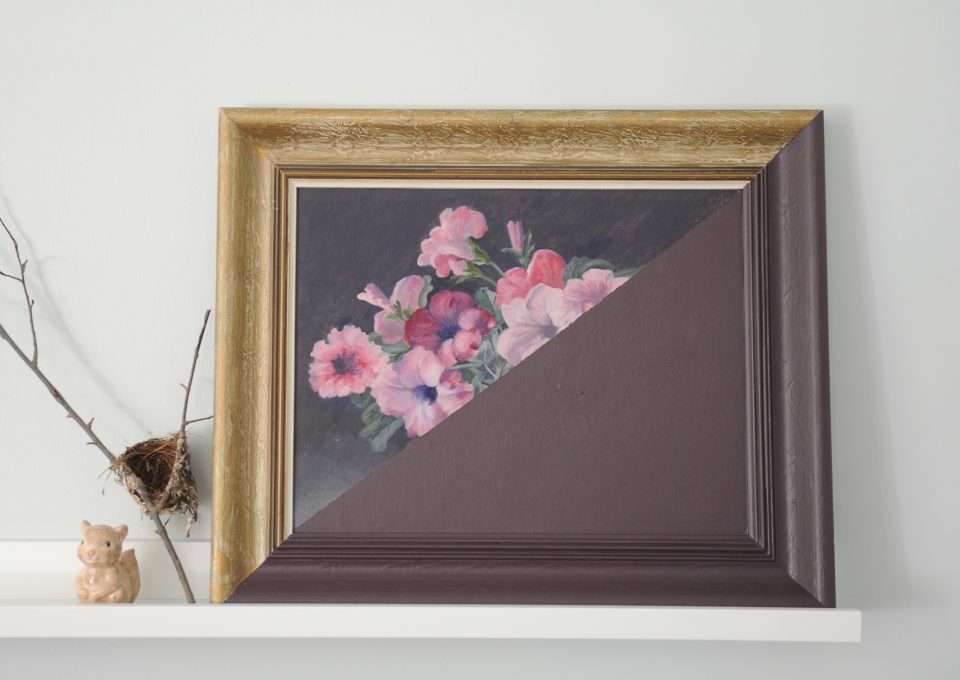
Once you decide your corner, tape it off and do a few coats of paint, enough to cover it completely, letting it dry in between coats as per your paint’s instructions. Then peel off the painters tape and voila!!
I loved how this turned out! It takes an ordinary painting and gives it a modern spin!
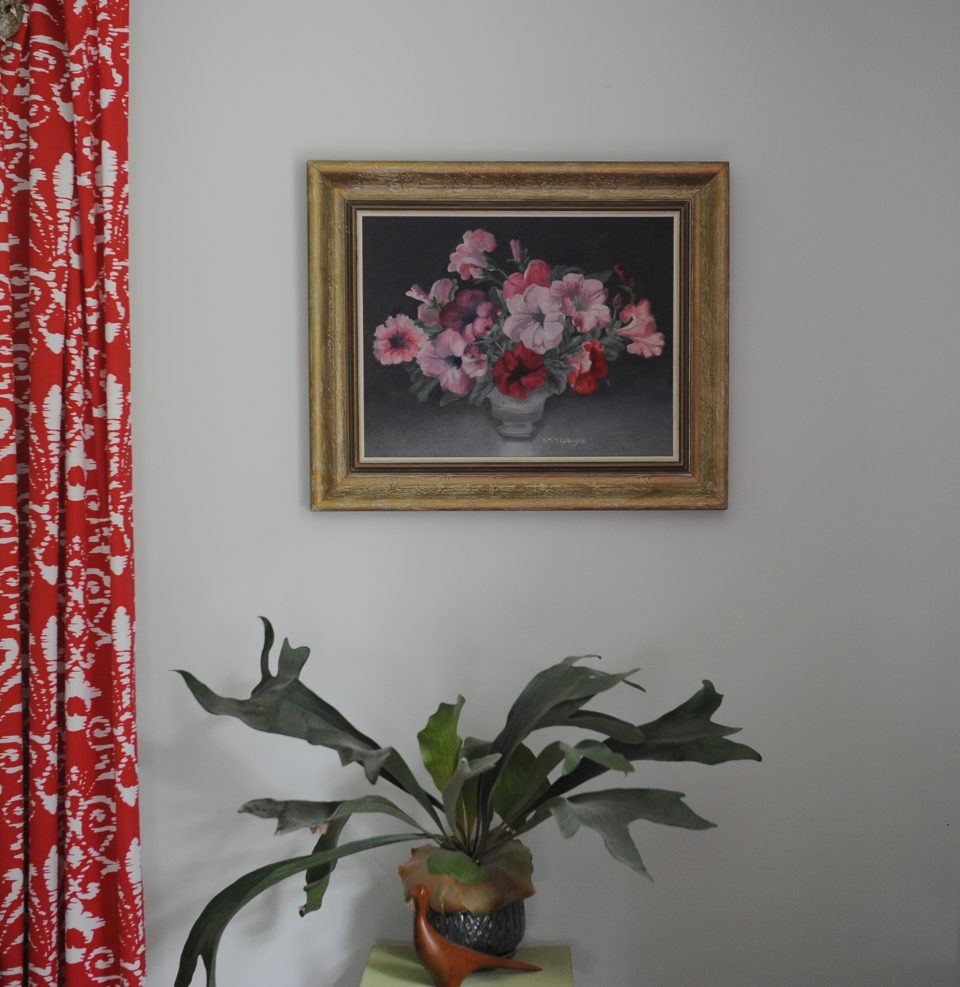
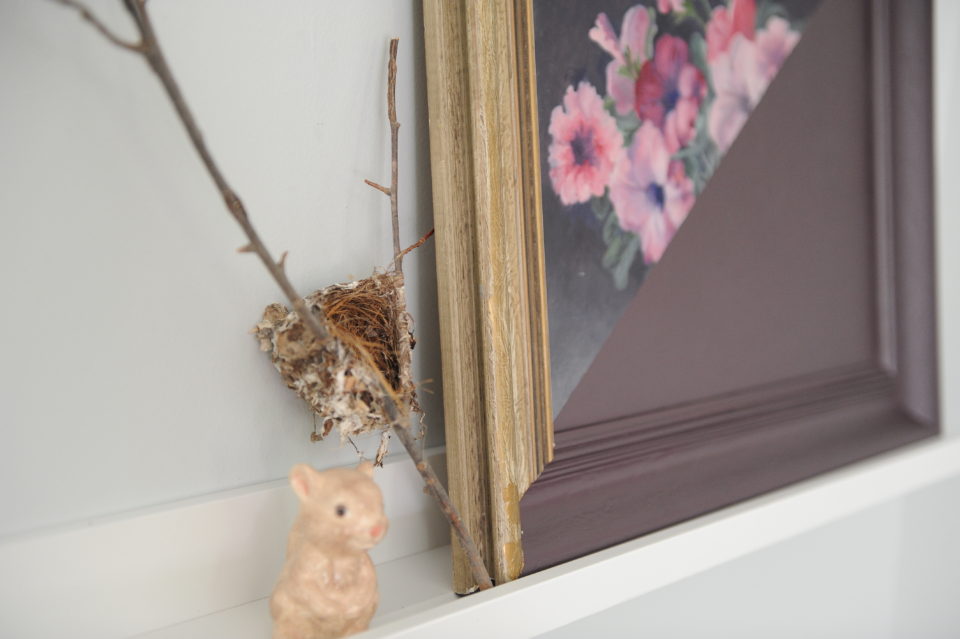
While I was staging this, I discovered that I think I like it even better in a vertical orientation instead of the landscape way it was originally!
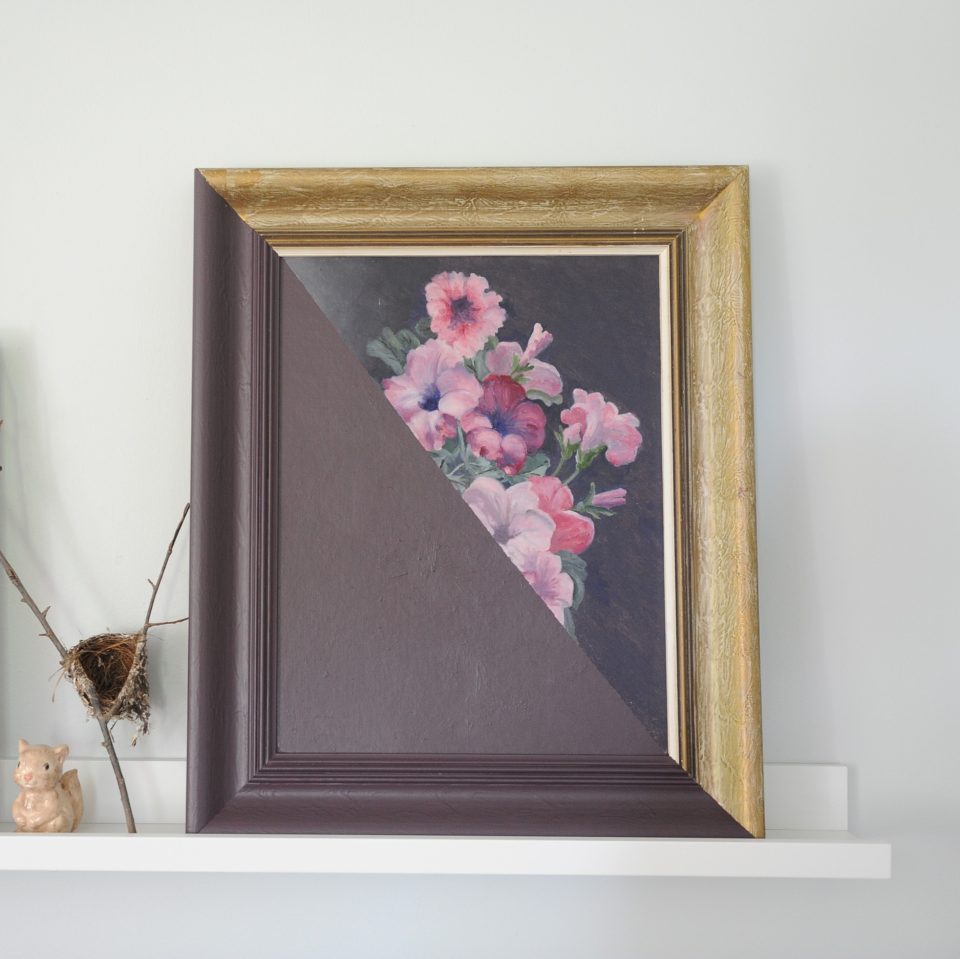
So what do you think? Are you a fan of the vertical or horizontal orientation? I’m staying on team vertical….
If you decide to do this to any of your paintings, please share the before and after with me!!
Warmly,
Lori
Kim Nickerson
August 3, 2020 at 10:15 amTeam vertical! Turned out so striking. Now I have to wat the show 🙂