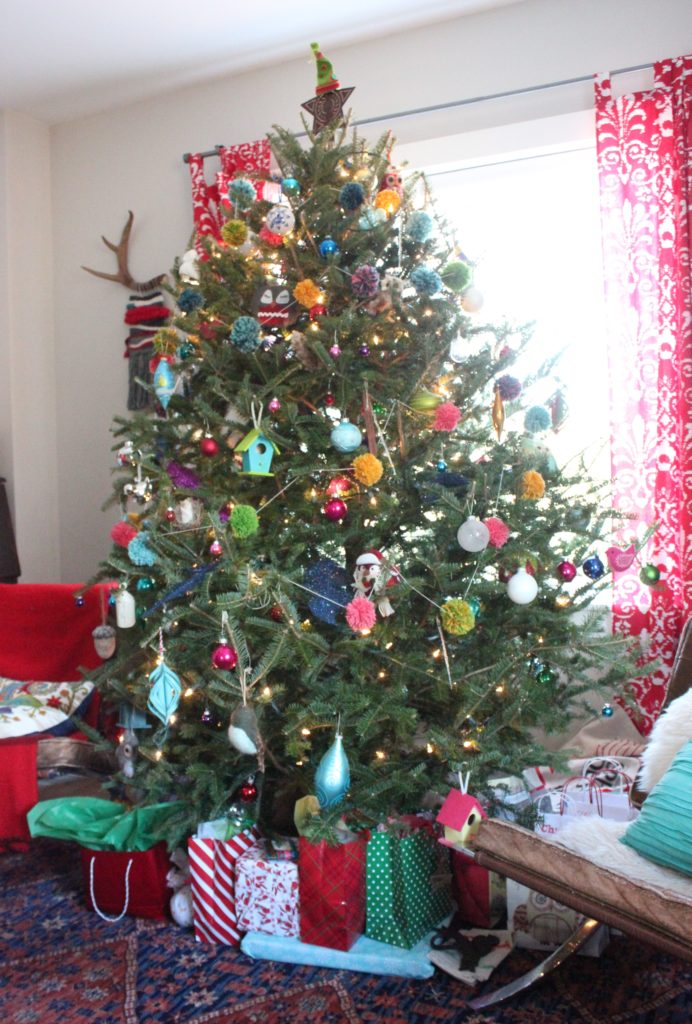
This past Christmas I decided I wanted to add some more colour to our tree. It wasn’t quite as bright as I had hoped, in part because I didn’t get to make all the decorations I had wanted to. So I sat down one night while watching Netflix with the handsome Mr. Byrne and started making pompoms for a garland around the tree.

Making pompoms is a fun way to get to own/purchase/shop for yarn. I word it like that because I love yarn but I don’t knit or crochet so I started making pompoms well before I started weaving. Now, with weaving, I have a lovely suitcase filled to overflowing of lovely yarns and fibres. And, the nice thing is, pompoms are super fun and easy to make. The girls made a bunch around Christmastime, too, they raided my yarn stash plus Hannah has a bunch of her own yarn, too.
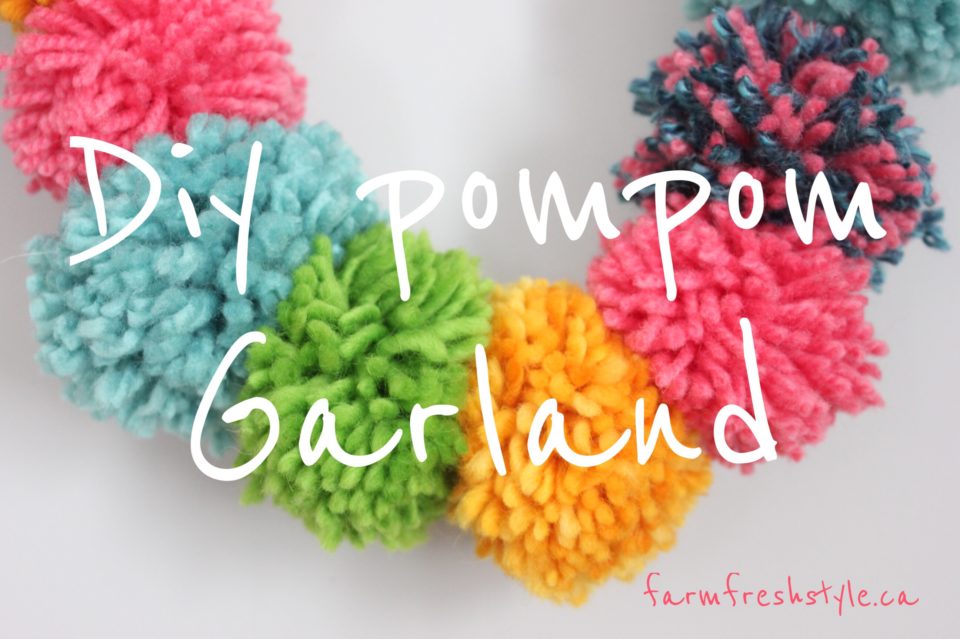
The first step is to select your colours. I used brightly coloured yarn, some was 100% wool and others were acrylic or whatever, and for this project, the content doesn’t matter, more the colours that I wanted.
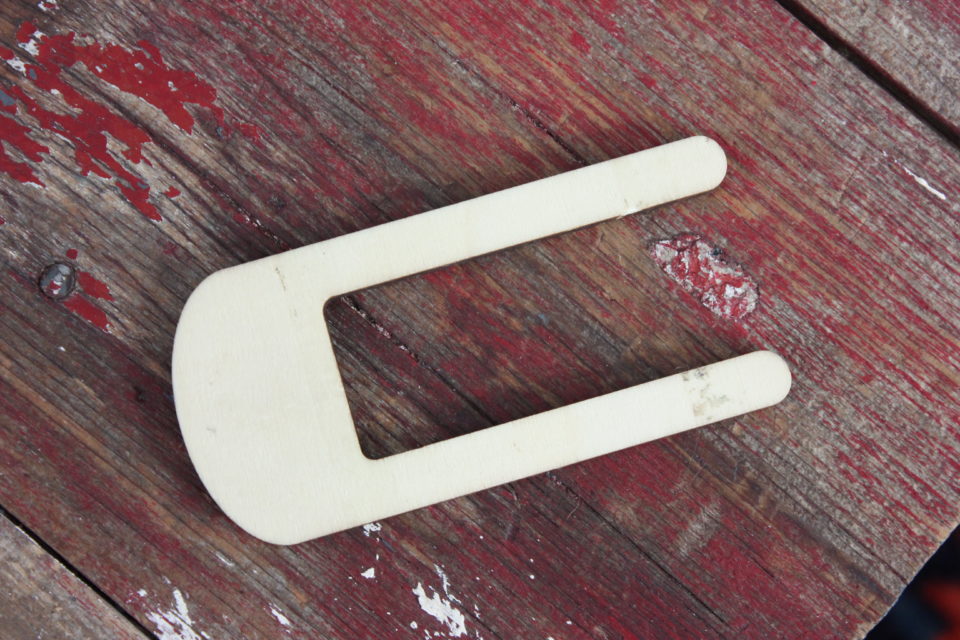
We have a wooden pompom tool that came in a small loom kit we found on sale at our local Michael’s store. It makes it very easy to whip up a pompom in no time flat. There are other tools and ways out there you can make pompoms, too, but this was handy and so I though I’d try it out.
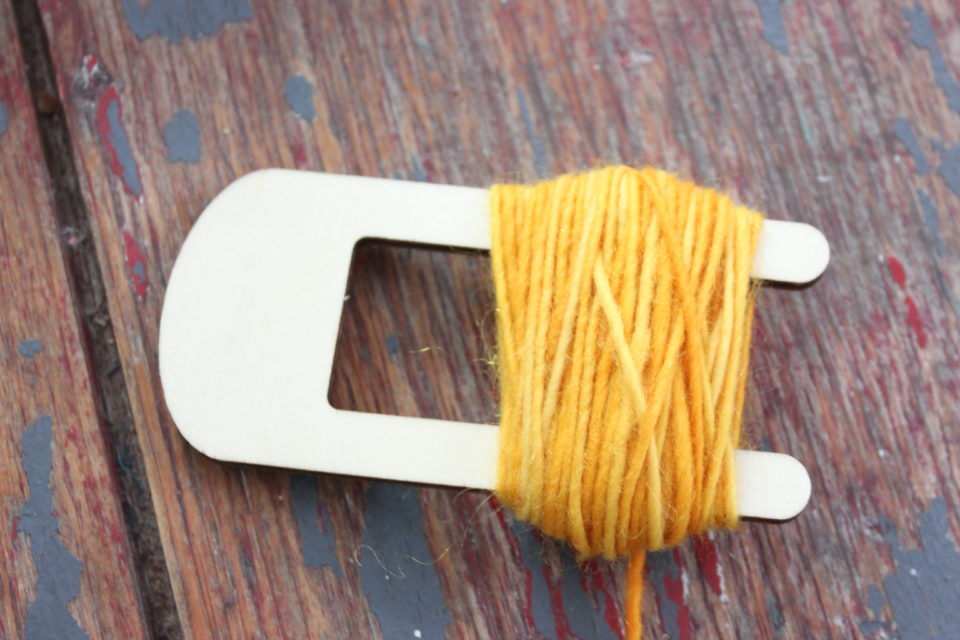
You simply wind the yarn around and around the prongs. The more times you wrap it, the fuller your pompom will be.
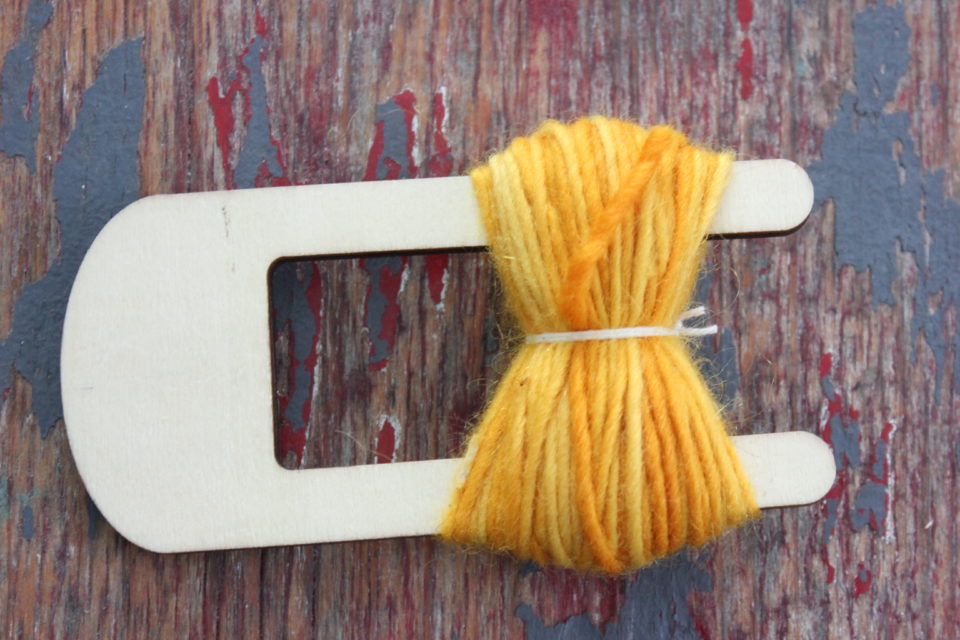
The next step is to tie off the middle of your pompom. I used my warp thread for weaving, it is thin and very strong, so I could pull it tight without worrying about it snapping. I wrapped around the center twice and then knotted it and cut my ends off. If your pompom is full enough, you won’t see this string.
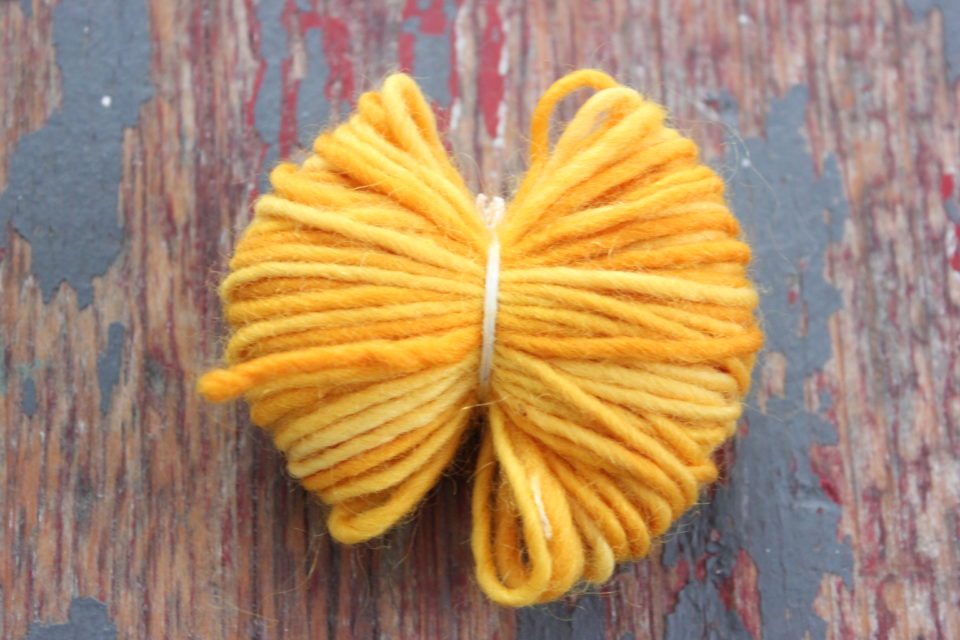
Then you slide your pompom off the prongs. You can see I didn’t get my strings perfectly in the center, you may be able to slide the string but I wasn’t overly worried about, once it is gathered against the other pompoms, you won’t even notice it.
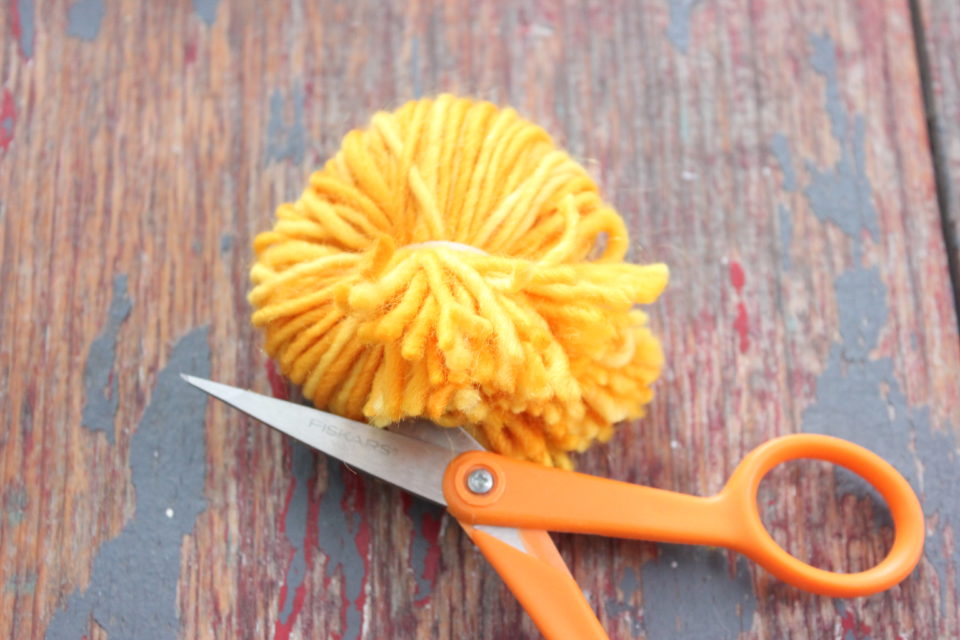
Then you grab a pair of sharp scissors and cut your loops. Dull scissors will only drive you mad, trust me.
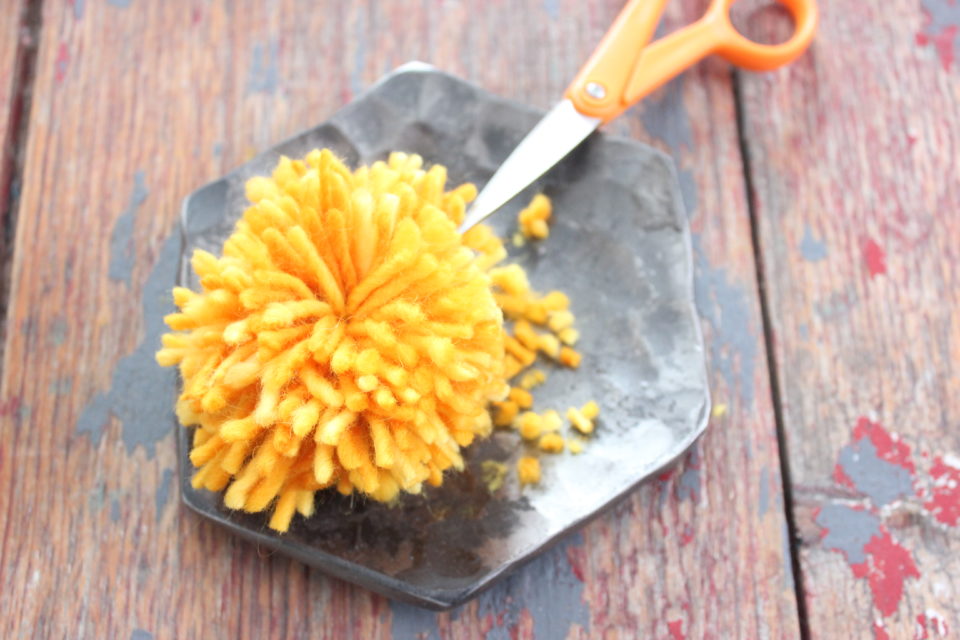
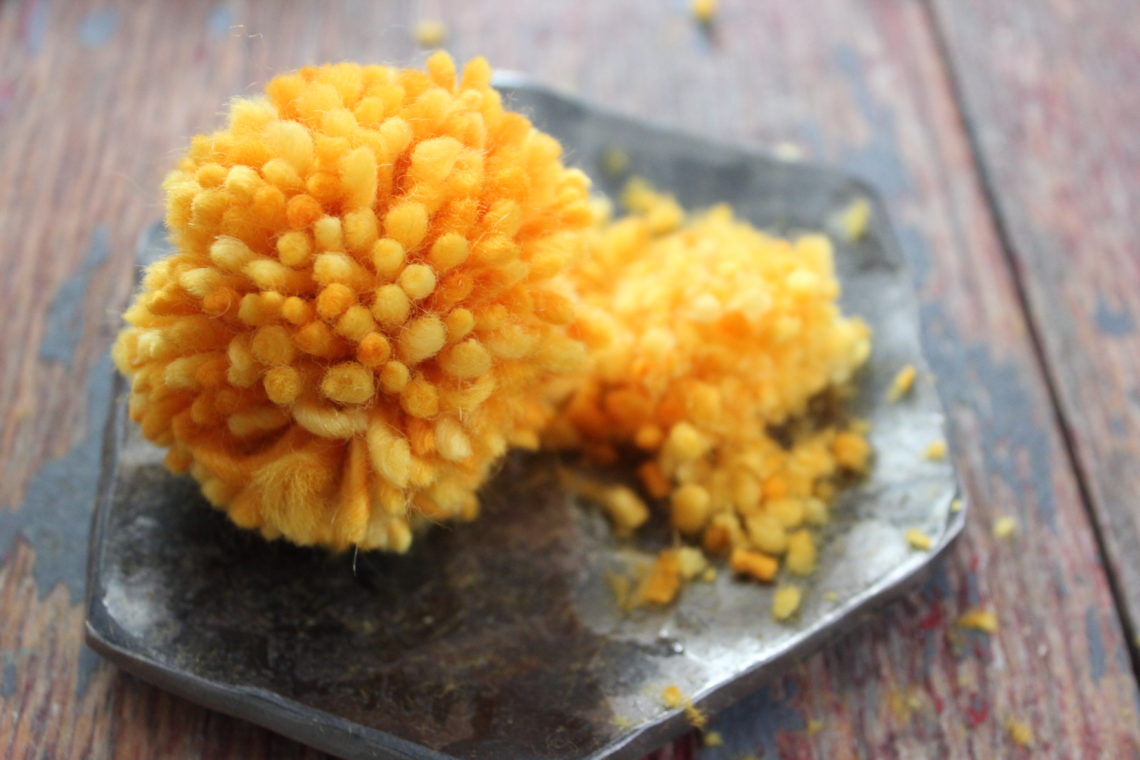
Then comes the fun part, fluffing and trimming your pompom. The left side hasn’t been trimmed yet and the right side had been. Every once and awhile when I’m trimming, I’ll give it a good shake to fluff it up so I can see where any long sections are.
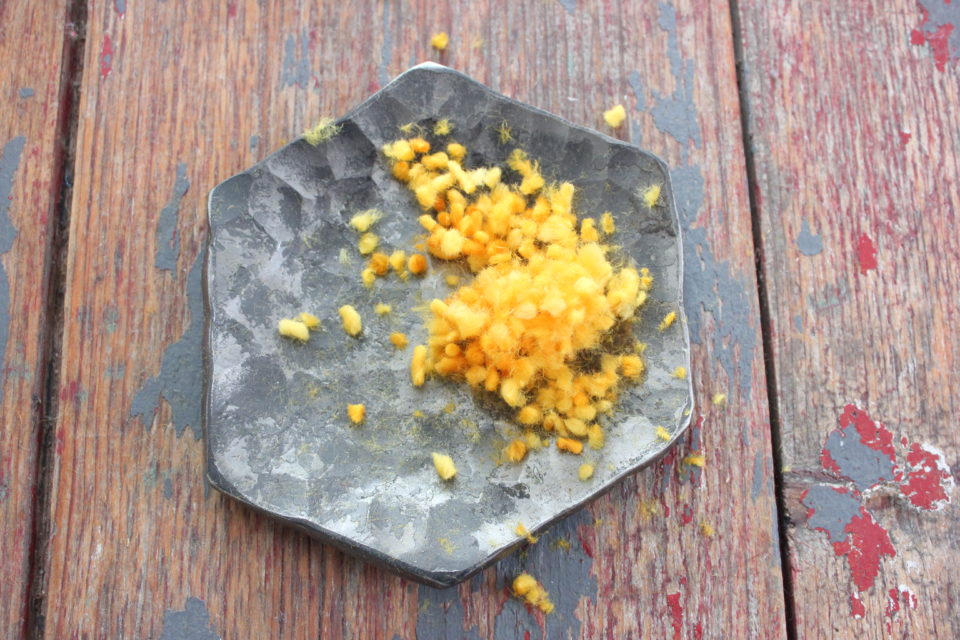
These fluffy trimmings are just so fun against the iron of this little dish, I just threw it in here because it brings me joy. 🙂
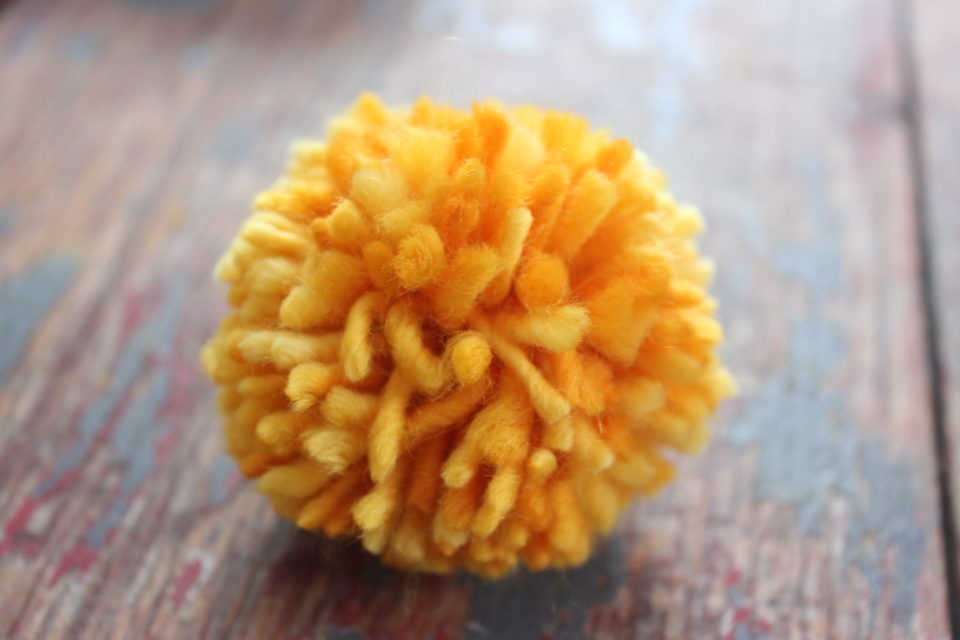
After you are happy with your trimming, you have a pompom!!!
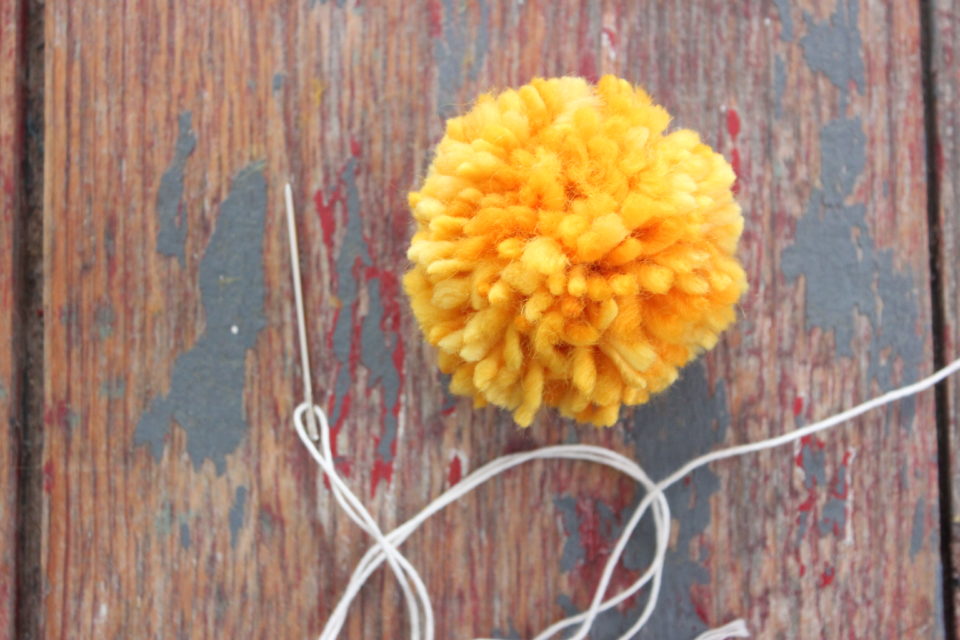
Again, I used my warp thread to string my garland on. I used a needle to string the pompoms together. You need to find the center of the pompom, where you wrapped the other string around, because you have to thread the string through there or your pompom won’t stay on!
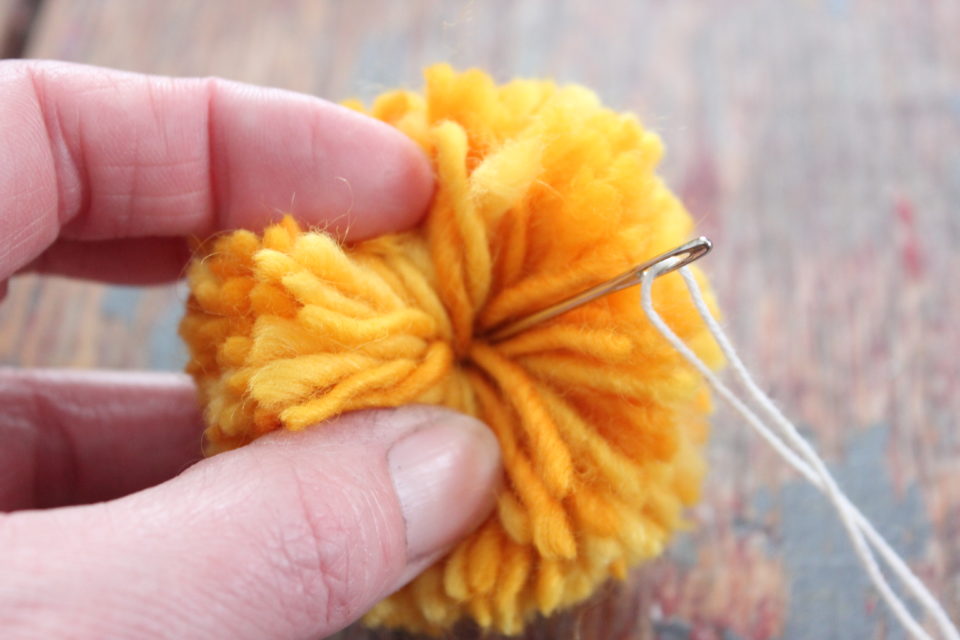
After you have your pompom threaded on, it’s just a matter of repeating as many times as you want pompoms!
I spaced my pompoms out for the tree. This year’s tree was too big and too round to make a solid garland for. So, I just added more warp thread and the knots are small enough that the pompoms will slide over them.
And after Christmas, I still wanted to see my pretty garland, so I slide them together and hung them in the hallway! Now I can see them all the time and I will say, they make me pretty happy!

Now, I love colour, it’s no secret. But this would be equally as gorgeous in a fluffy cream yarn, too! All colour, or no colour, it’s a fun, easy way to decorate your tree or your home!
Colourfully yours,
Lori


Jenna
January 9, 2019 at 8:23 amOh, I am in LOVE with this garland! Inspired to try one soon!!
lori@farmfreshstyle.ca
January 10, 2019 at 6:17 amIt’s so fun!!!