Browsing Category

Makeover

2 In Decorating/ Makeover

MCM Coffee Table Makeover

When certain projects come across my path, I know I have the perfect peices in my stash to help make them extra special.  So, when it came time to decorate a Stones Prestige Display Home called The Maritime, I knew I had the perfect table to give a makeover and be a fun little accent in the living room.

I love working with the Stones Prestige Homes crew and have been fortunate enough to lend a hand in the design of quite a few display homes now, as well as helping their customers create the right look in their own home.  In fact, I’ve even helped both Chantal and Danielle, the sisters who are the driving force behind Stones Prestige Homes, with their amazing homes, too.  So, after working together for close to 4 years now, they trust my judgement and basically give me free rein when it comes to the finishing touches for the display homes.  I will, however say, that I first met them when Michael and I purchased our first home with them

I had this table in my stash for years – I bought it when I was working around the corner from this little tea shop that also sold antiques, vintage and other random things.  I paid a whole $5 for it.  We used it for a little while but I never liked the scale of it with our sofa, so it got traded out.  Although, looking back on this picture, I sure do love it with that rug! And hey, where’s that wooden tray now?!!  Anyway, here’s the before:

I wanted to do something a little fun with it, instead of just paint it one solid colour.  So after I did a few coat of Miss Mustard Seed Milk Paint, I added a few stripes to it in colours that fit the interior….and well, as it turns out, the exterior, too.  I love the vibrant colour palette of navy paired with yellow.  So with some painters tape, I taped off a few stripes and painted them with a couple of coats.  And ta-da, a fun, unique table!!  I also sealed it with Tough Coat, so that if it is used, then the surface is ready to be put to use!

Here it is, sitting in its new home!

It’s just the right amount of fun and function!  The stripes add the pop that it needs against the sofa and rug.

Since the house is called The Maritime and sports a sunny yellow door against the prettiest blue siding, I thought the navy and yellow made good choices as a little punch on the table, too.  What do you think?

To be continued,

Lori

PS And if you wondered what MCM stands for, it’s Mid-Century Modern!!

1 In Clear Day Farm/ Decorating/ Makeover

Our Pyjama Lounge

I love rearranging furniture and shopping my home and stash to transform spaces in our house.  But I especially love it when I manage to create my new favourite place to hang out!

Have you heard of a Pyjama Lounge?  Am I talking crazy talk?  My kids think I am, they hate it when I refer to the spare bedroom as the Pyjama Lounge, but I just think it’s funny.  Why you might ask? Well, one of my go-to podcasts, Young House Love Has A Podcast, mentioned it in one of their weekly episodes { which you can check out HERE } and for some reason it stuck in my brain.  And this was long before we created the space even…but it stayed in my brain, rattling around, waiting for the perfect chance to pop out – when we created a cozy spot in our back bedroom, apparently!  And so you don’t think I’m completely off my rocker, even Apartment Therapy thinks its the cool thing to have in your home – you can read their article HERE.

Also, do you spell it P-Y-J-A-M-A or P-A-J-A-M-A?  I googled it….I’m a Canadian who reads a lot of books based in old Europe so I use Pyjama…. Random things that come to my attention while writing a blog post!

Anyway!!!!

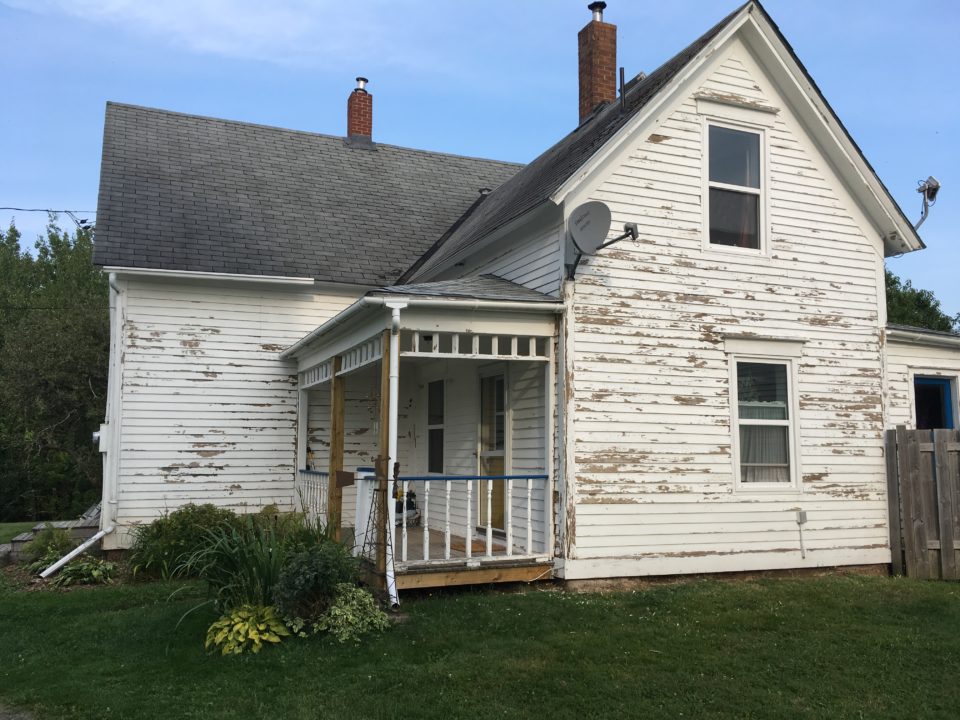
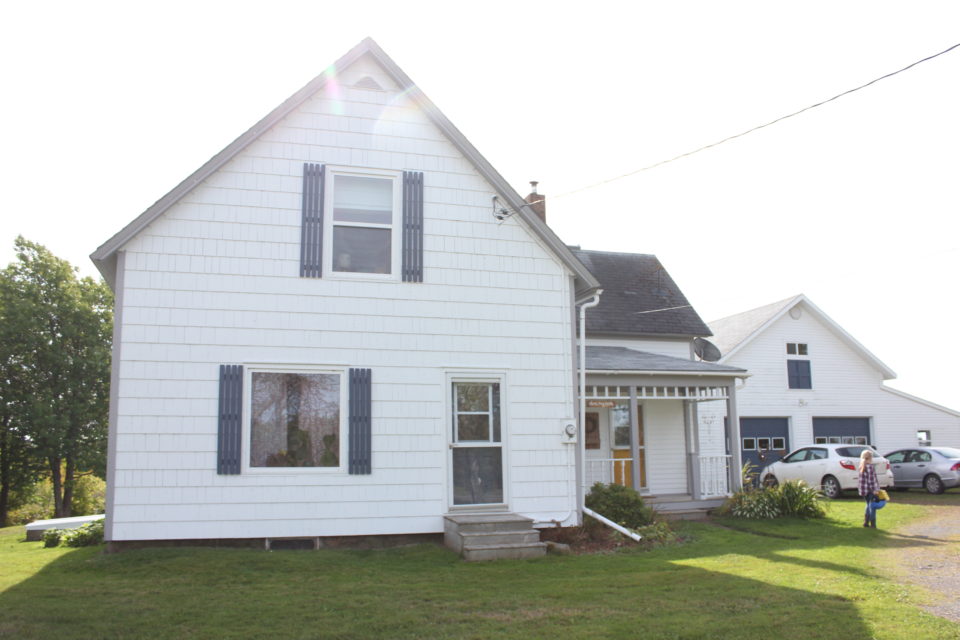
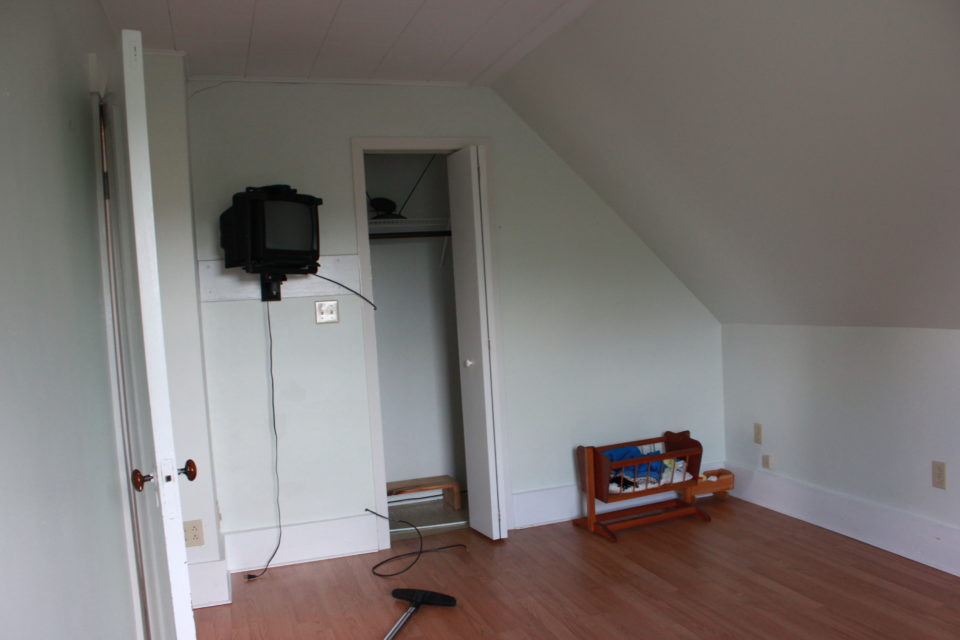
Let me back up a little for you.  Nearly 4 years ago when we moved into our ‘new’ home, Hannah scored herself the biggest bedroom in the house.  She had all the toys, the bunk bed, the play kitchen, kids table and chairs – basically all the fun kid-stuff in her room. Here are some before pictures:

When we first moved in…

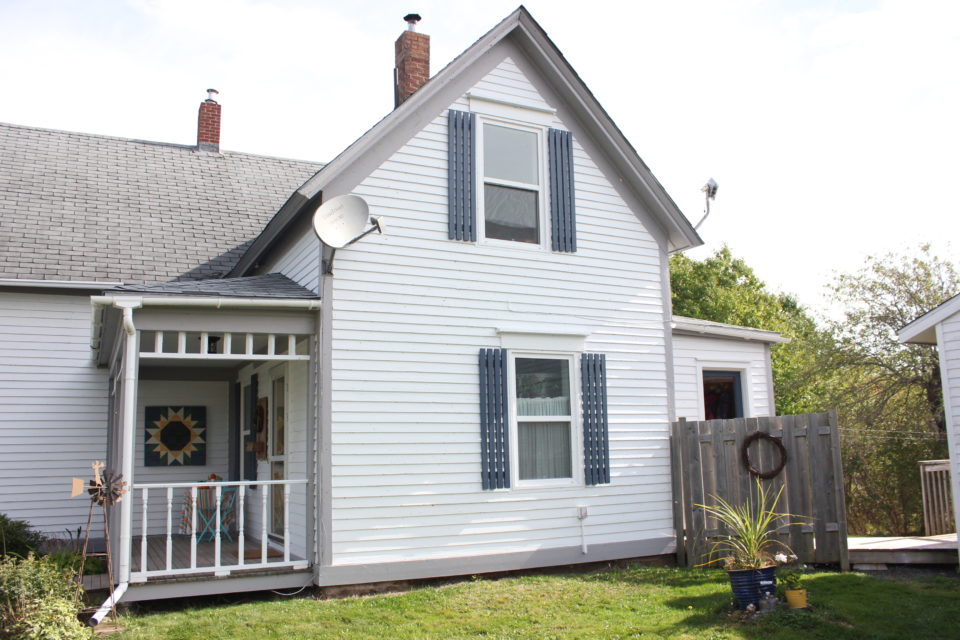
Fast forward to Winter 2017 when Lena begged to move into what was then our back bedroom.  It was our home office and spare room.  And that’s the bed that all the clean, unfolded laundry would land on.  It’s the smallest, most awkward room but it has a pretty sweet view over the hills and the horse pasture….which is exactly why Lena wanted it.  And besides, switching up rooms as a kid is just plain fun – I haven’t outgrown that yet 😉

So, Lena moved into the back bedroom and before we started shuffling beds, dressers and stuff, Hannah asked if she could take over Lena’s old bedroom.  And since I had no real reason to say no, she moved in there with half the toys she had and the rest got purged.   It took some time because I was doing it with just their help, Michael happened to be away when all this happened.  And it was a case of this had to move before you could move that and that other thing had to switch with that and so on and so on until finally each girl had their own stuff in their new space and I had a new spare bedroom and home office that was much roomier.  There was still the patching of walls, touching up the paint and then rehanging their own decorations….that part of it only took me about a year to get done 😉

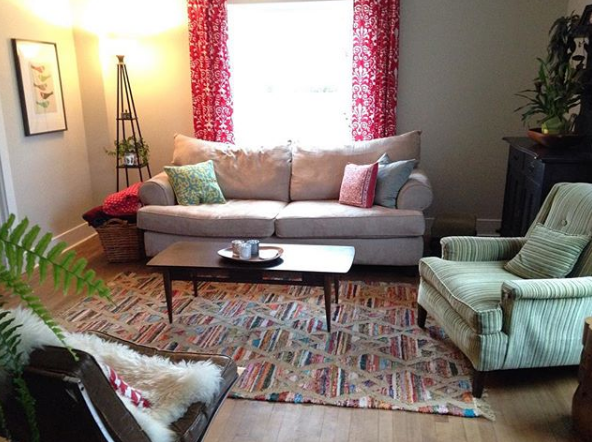
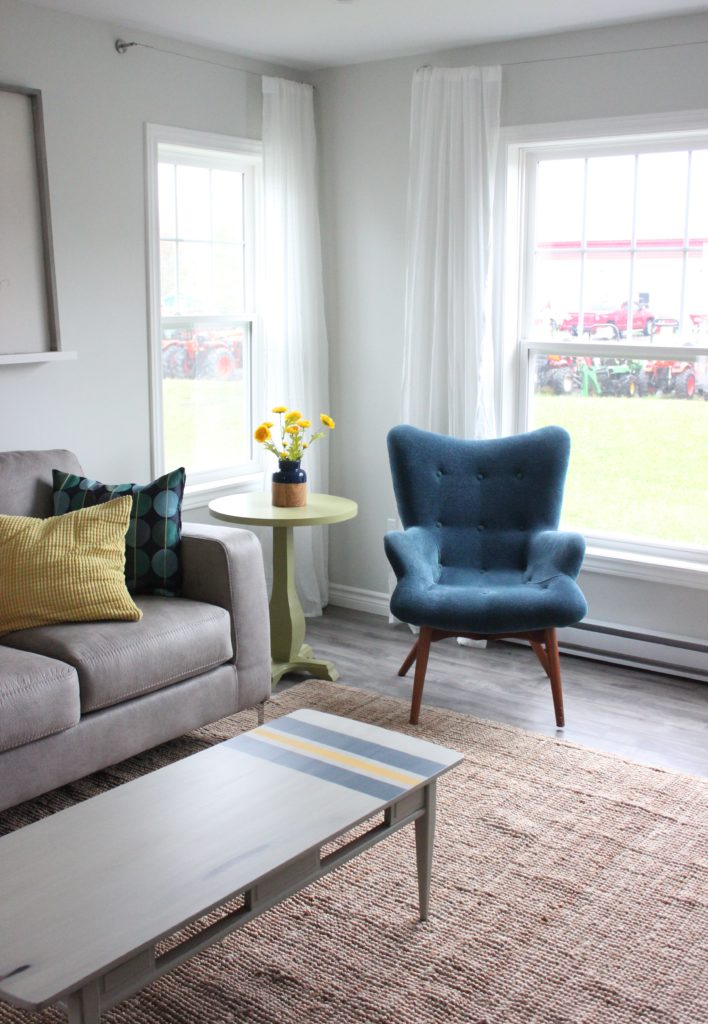
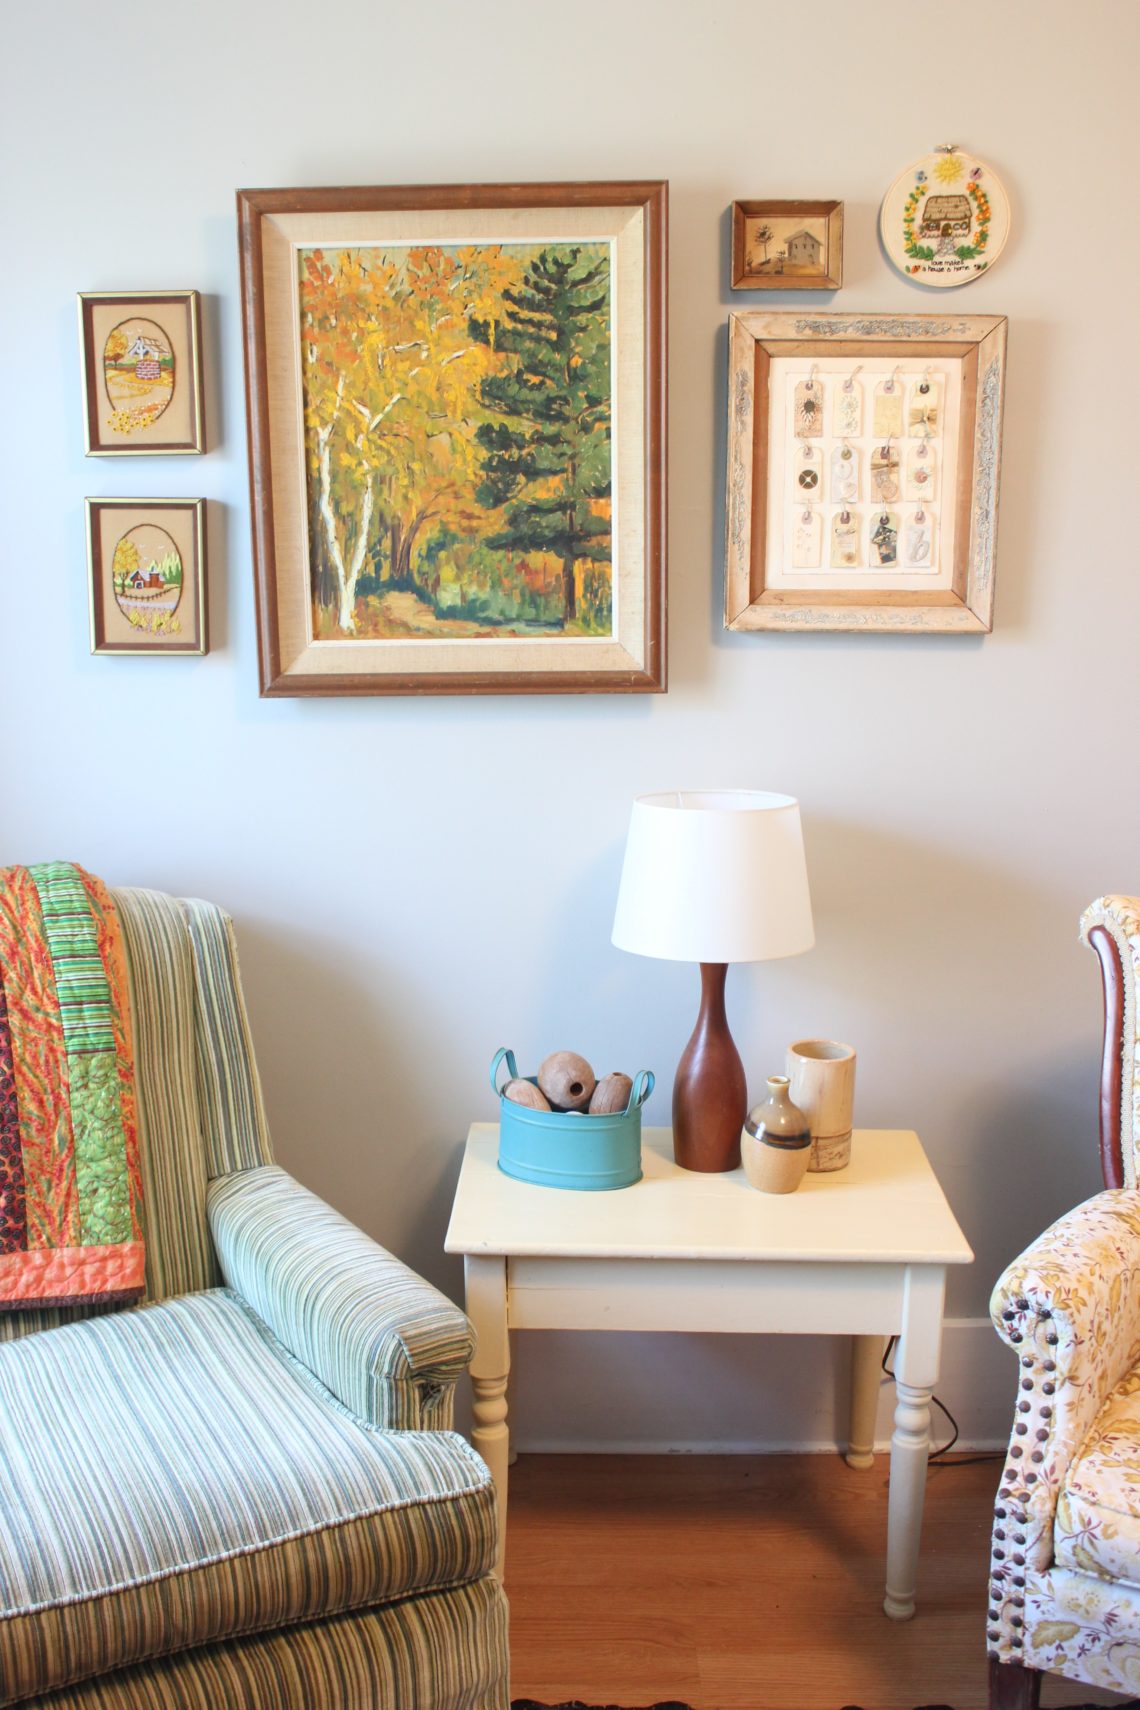
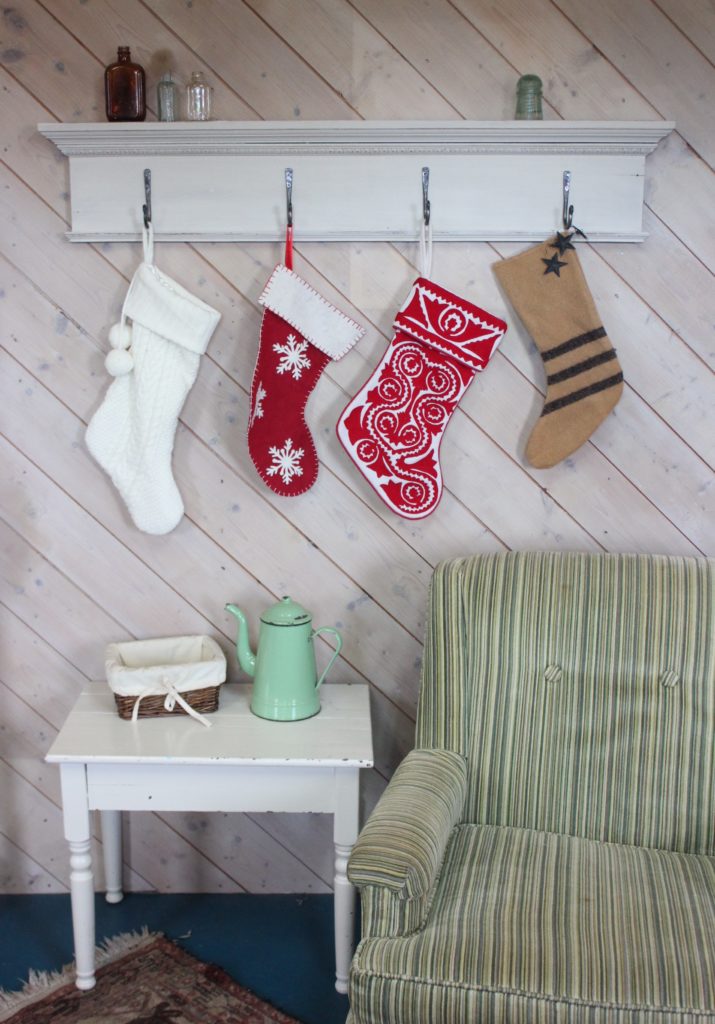
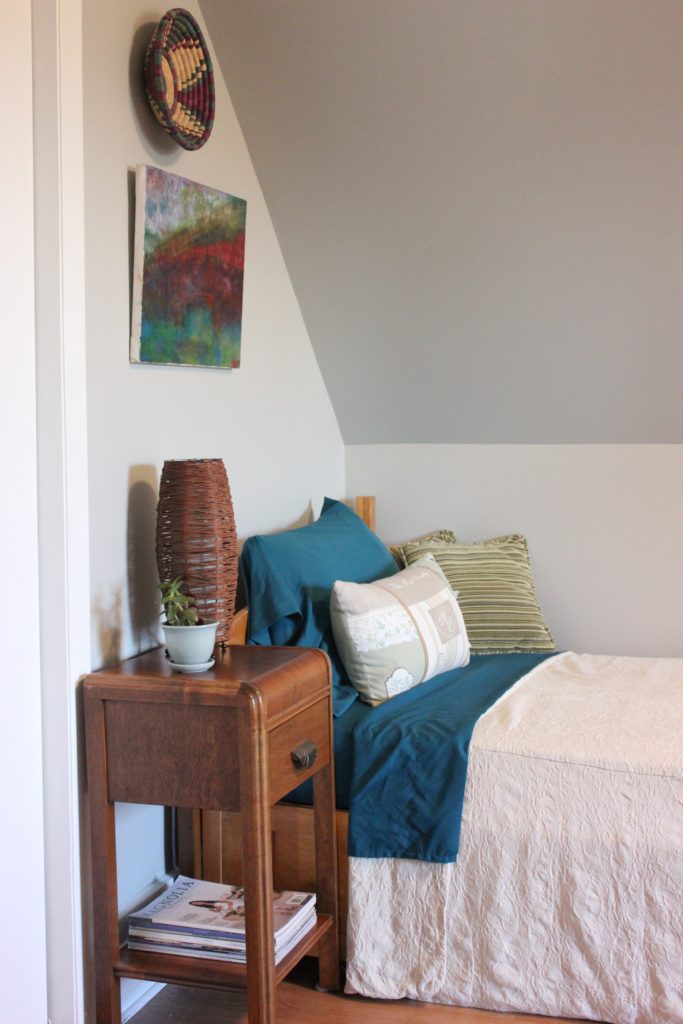
All along, the plan for the back bedroom, was not only spare bed and office, but also a little sitting area, originally for Michael.  Now, even though the rooms have switched, the spare room is still on the back of the house and it still gets called ‘the back bedroom’.  But now that the back bedroom actually had more square footage, we had room to finally make that sitting area we talked about for years!  We hauled up the comfiest arm chair we own, a yard sale find that I upholstered while on maternity leave with Hannah, and tucked it by the window.

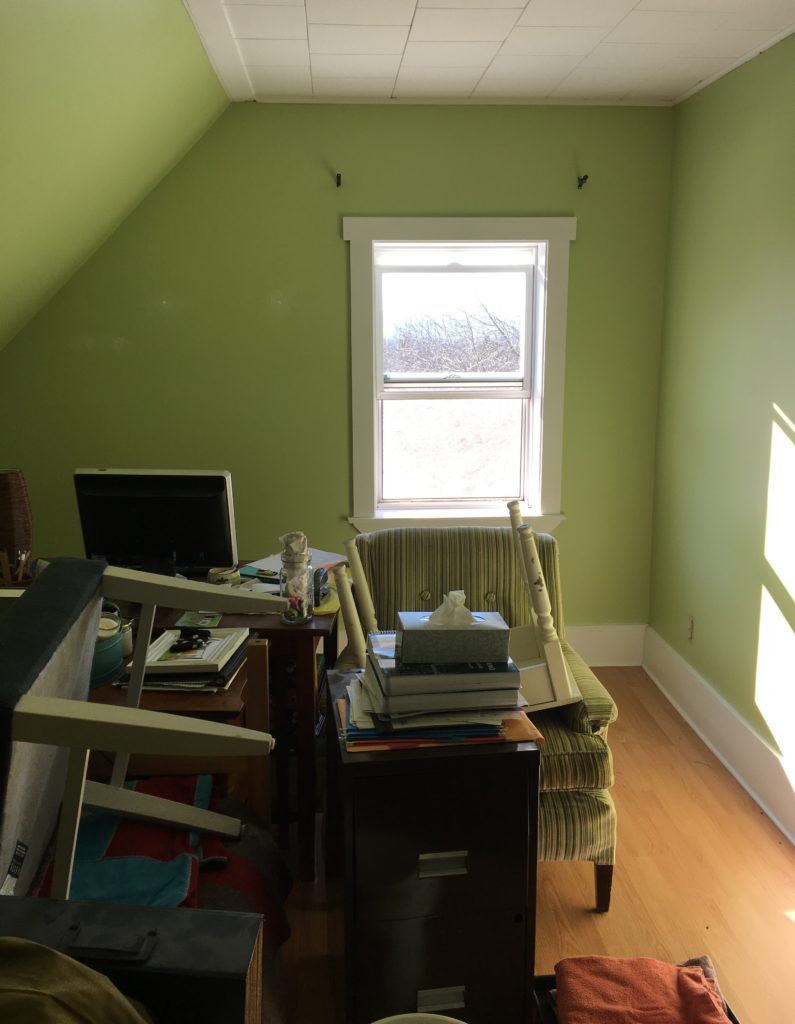
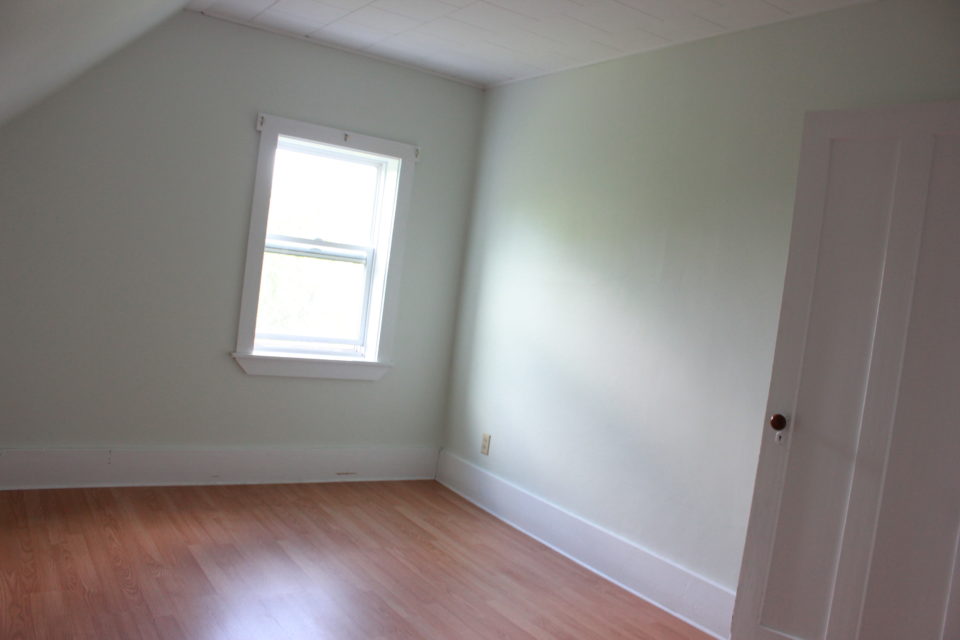
The room had been painted before we moved in and it was the prettiest shade of green.  But after nearly 4 years of living, it needed to be painted again.  So I grabbed my bucket of paint and got to work.  The above picture is everything piled into the center of the room so I could paint.  Hannah came in to give me a hand, too, she likes painting, too, and I like her company.  I hung curtains I had for The Verandah that never got used, a $13 score from Winners.  And then got to work putting everything back together.  I stole my rug back from Lena’s room, lugged up another chair from my stash and grabbed a little table for between the chairs.  I wanted a lamp, so again I turned to my stash and used a wooden base that I had found years ago at a local yard sale and then stole the shade from Lena’s lamp….poor Lena!!!

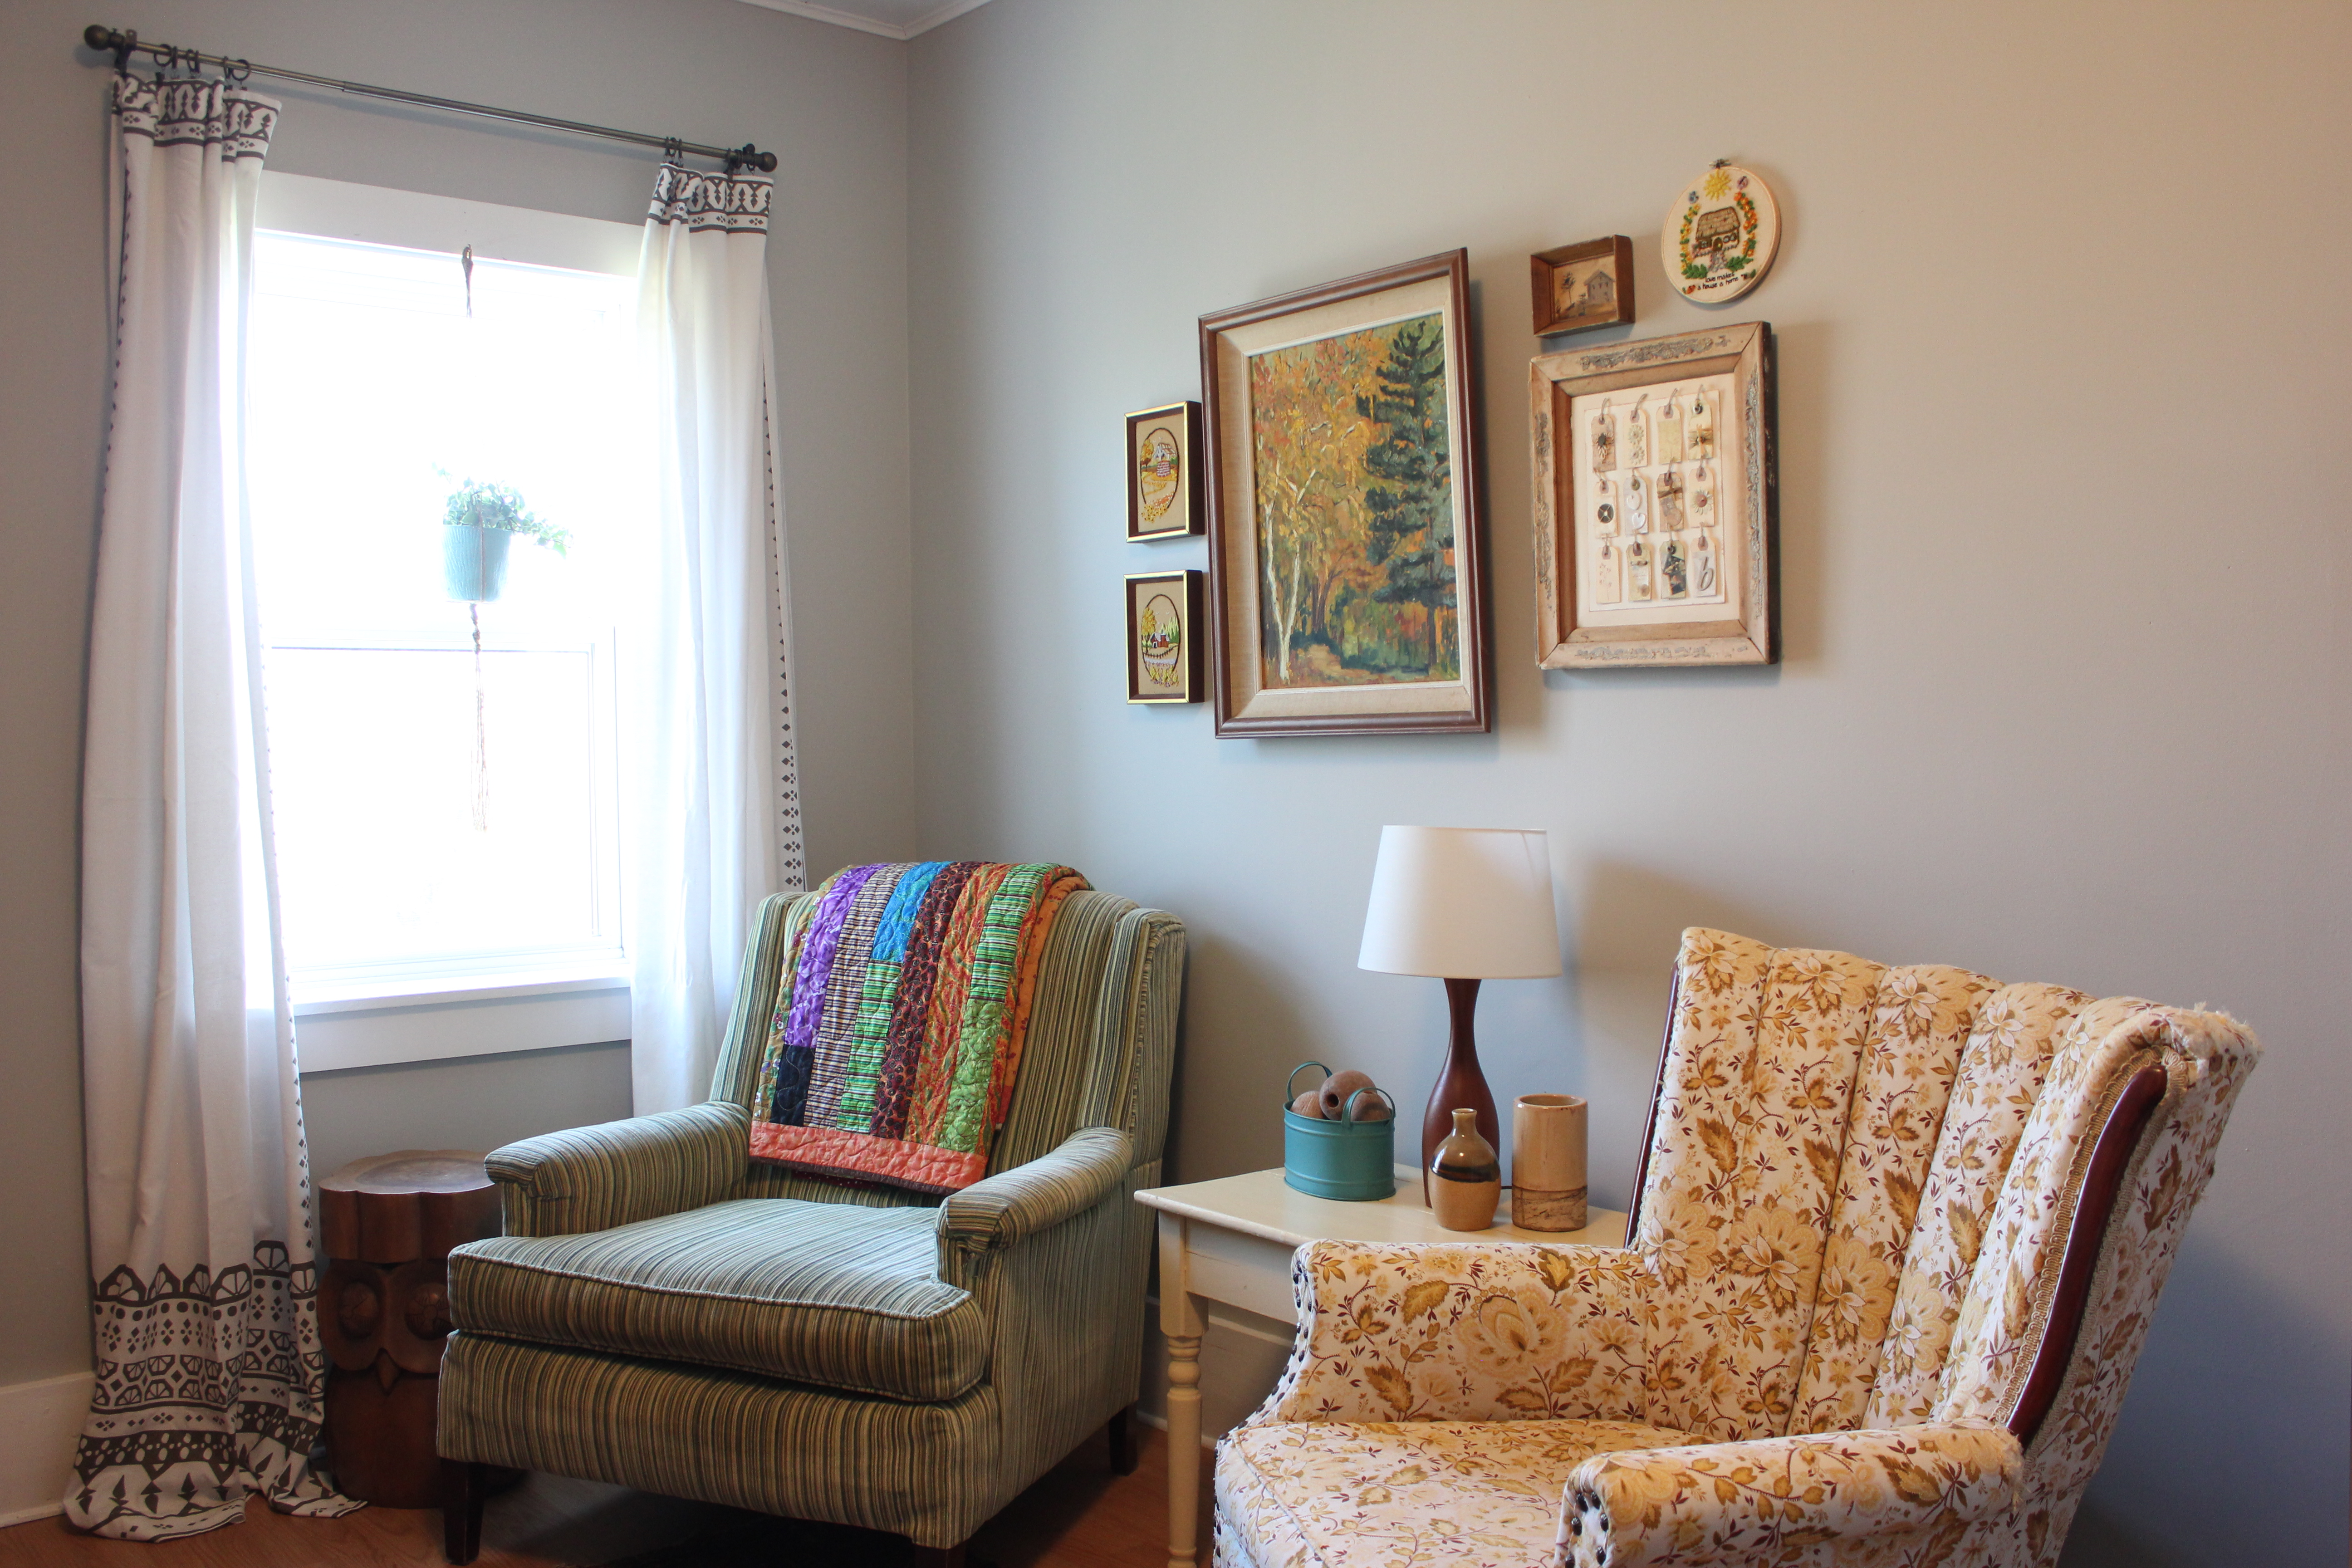
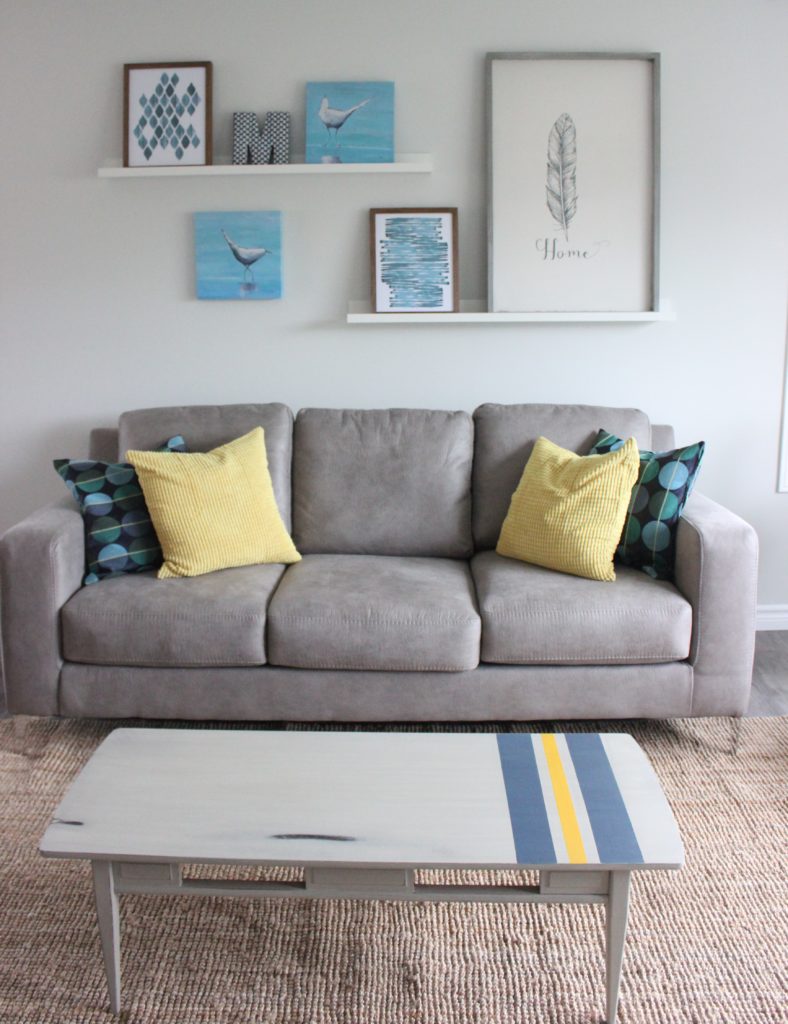
The colour palette was kind of based off the green arm chair and the yellows in the fluted chair, along with some tones in the rug.  I also painted my old wooden desk chair in Miss Mustard Seed Boxwood and sanded it way back so it looks like the paint has worn off from years of use.  And then the art that I started adding to my gallery wall just carried it along that path even more.  My grandmother’s painting, a few embroidery pieces that I was given when both my in-laws and parents were in the process of downsizing, a piece that I did, a tiny house on a hill painting…the gallery wall will grow and expand, especially as we get into yardsale season 😉  But that’s the fun part of it, too!

I find myself in here most evenings, laptop on my lap and a quilt wrapped around me.  It’s a cozy spot to curl up at the end of the day.  It’s relaxing and quiet.  There’s no TV, but if I want to watch Netflix, I have my laptop or my phone.  It’s also a great spot to read, too.  It’s such a luxury to be able to curl up with a good book!

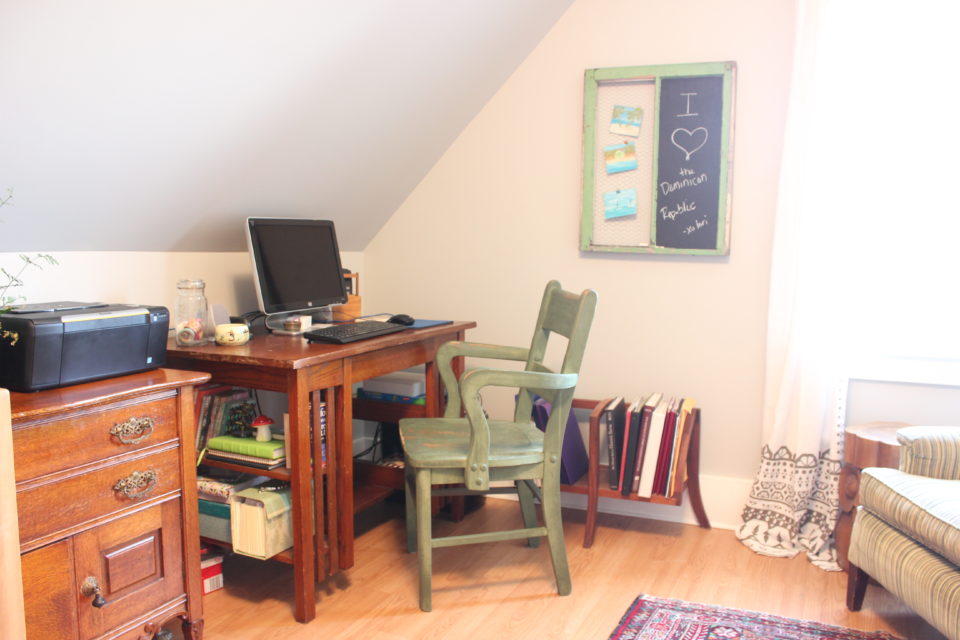
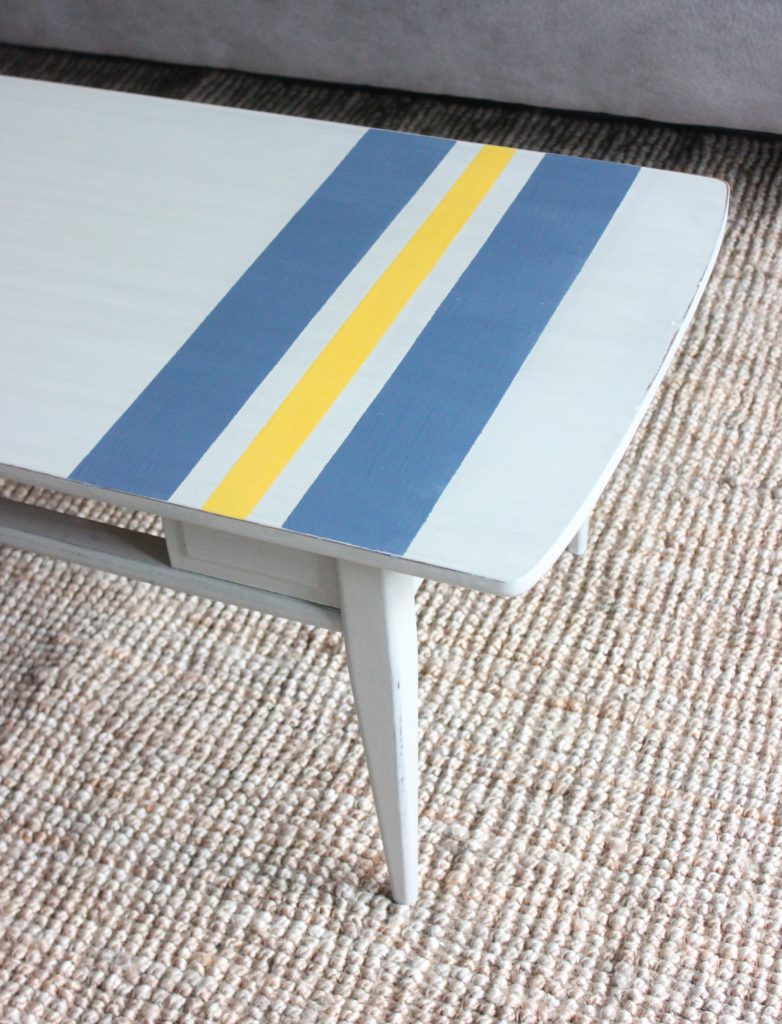
And the best part – do you want to know how much I spent on this room update? Zero.  Zilch.  Zip.   Every last thing was already in my possession.  This is the benefit of shopping your home and having a stock pile of furniture to draw from.  { The down side is all the extra stuff takes up space which I also struggle with, you can read about that HERE and HERE }  The paint was leftover, the art was kicking around, and I always have various colours of Miss Mustard Seed milk paint on hand so I can paint something at the drop of a hat.  Like the day I decided I wanted to paint the little table yellow – so I took it out to the studio and painted it.

I hope you enjoyed the little tour of our back bedroom – I have it all fluffed and ready because Janice came to visit this weekend!!  We chatted, watched a great movie and hit IKEA!!  Sooo much fun!!

To be continued,

Lori


In Decorating/ Make Something/ Makeover

Lintel Coat Rack

Can one have too much storage?  Too many places to hang a coat? Too many hooks around the house? I thought not.

There is nothing worse than not having a hook for coat or bag when you need one.  I feel like I’m always looking for more way to incorporate more hooks in our house so that I’m not finding things laying on the floor.  So, today we’re partnering with Phillips & Chestnut again on a great project for around the house to help solve the storage issue with a great piece of salvage….a lintel. { You can read my first parntered post HERE }

Have you heard of a lintel?  Not to be confused with a lentil, that’s something completely different and I’m not much into showcasing recipes here.  According to Google, the source of all knowledge, a lintel is a horizontal support of timber, stone, concrete or steel across the top of a door or window.  They are sometimes also referred to as a Boston Header. So, once upon a time, this hung across the window or doorway of an old home.  And now?  Wellllll, it’s getting a makeover and a slight re-purpose so that it not only looks good, but has a function in our home.

I love the detail on this one, it has some great mouldings.  I did have to do a few little repairs, gluing a broken piece of trim back in place.  But it was an easy fix and being able to keep the gorgeous trim was a must.

I painted the lintel with a coat Miss Mustard Milk Paint.  My only prep work was a quick scuff sand, I’m pretty low on prep work.  Then I painted two quick coats of the mixed milk paint.  Now, I can’t tell you what the colour is, it’s a mix of Farmhouse White and Schloss, you know, use up the last bits of what you’ve already got mixed. 😉

After the two coats were dry, I gave it a light sand with 220 grit sandpaper.  I didn’t even bother sealing it.  It isn’t going to get hard use where I want to hang it { which is still up for debate… } and I love the raw paint finish.  I added some beautiful hand-forged hooks from R+R Handmade, a local blacksmith and artist couple whose work I greatly admire.  I love how simple they are!  And honestly, I had bought other hooks, but because of the depth of the moulding along the top, the hooks weren’t going to work.  So, Plan B was put into motion and I’m glad that Plan A didn’t work, I love this look and am so happy with the finished product.

With Christmas closing in on us, I styled it with a few stockings.  This is the perfect place to hang your stockings if you don’t have a fireplace in your home!  How sweet is this?  I’m loving this little vignette in my studio!  I almost hate to take it down and bring the stockings into the house for Santa to fill.

Here’s a close up of one of the handmade hooks by Ruben – I love the curl!

Sweet, eh?  I’m really pleased with how it turned out!  I love taking something old and forgotten and making it into something pretty and useful!  Repurposing or upcycling is so fun!  And a sweet place to hang stockings – even better!

Think if I find some more stockings for the house, Santa will fill them ALL?

To be continued,

Lori

PS I recieved free product for this blog post from Phillips and Chestnut, but my take on it all is just that 😉

5 In Decorating/ Make Something/ Makeover

Sap Bucket Makeover

We live in Atlantic Canada and Maple Syrup is a huge part our of culture, right?  I love me some maple syrup and the old sap buckets are plentiful and so handy!  

I’m excited to announce a new partnership happening here on the blog with one of my favourite stores – Phillips & Chestnut!  I love what Rosemary and Steve are doing in their store – the salvage products, the paint, the classes and the knowledge they share – so I’m thrilled to bits about this!  And I hope you are ready for lots of creative projects, too!  I’ve worked with them in the past on a few classes and projects, which you can read about HERE and HERE.  Plus, I toured their barn HERE and showed you want I took home HERE and a quick store tour HERE.

So, the first partnership project is showcasing a sap bucket but it isn’t so much about the sap bucket as the decoration ON the sap bucket.  But, I’m getting ahead of myself here, already!  I’m just too excited….

First things first – I painted the bucket.  I did zero prep, no washing, no sanding, no bonding agent in my paint. I like low/no prep projects like this! If the paint chipped in places, I was good with that.  I used Miss Mustard Seed Milk Paint in Mustard Seed Yellow, I thought about Farmhouse White but I did my test piece in that but I like colour, so I went with yellow, instead.

I wanted to try out the transfers on something that didn’t matter if I screwed it up, so I grabbed a flowerpot I had painted a thick, chunky layer of paint on and very easily rubbed the transfer on with no problem.  I actually cut it into sections so that I could easily get it to fit on the flowerpot. And I have to say how much I love how it turned out!

Then it was time for the transfer on the sap bucket.  These are something new that Phillips & Chestnut have started carrying from Iron Orchid Designs, but they remind me of scrapbooking supplies I had years ago.  You can check out them out HERE to see the complete line of their Decor Transfers.

I didn’t seal it before I applied the transfer.  I wanted to be sure the transfer was going to stick.  I just put my two coats of paint on and gave it a light sanding and wiped all the dust off. Then came the fun part, rubbing the transfer on.  I positioned the transfer and grabbed the handy dandy little stick they include and rubbed the image onto the sap bucket.  It’s so easy.  Just. Don’t. Move. It.  In fact, they recommend taping it down with some low-tack painters tape. I couldn’t find my painters tape so I used some washi tape instead 😉

There, it’s done!  You could seal it with a wax or sealer that doesn’t have harsh chemicals in it but, I’m ok with wear and tear on a project like this.

These sap buckets are great for decorating inside and out year round.  Pop some fresh flowers or blooming branches in for Spring.  They’re great for keeping some drinks on ice for summer time and in the fall, fill it to the brim with some gourds.  I love filling mine with different seasonal goodies and putting it on display.

All the products I used for this project are available at Phillips and Chestnut.  You know I love using Milk Paint, I enjoy the process of mixing my paint and the easy application of it, and they carry the complete line of Miss Mustard Seed Milk Paint.  The Iron Orchid Designs products are something new that they started carrying and I’m thrilled to be able to showcase them.  I received some of these products from them at no charge so I could demonstrate them for you but my take on the products is just that.  I’m already working on the next project! So stay tuned…

To be continued,

Lori


7 In Clear Day Farm/ Makeover

House Beautiful

Three years ago we moved into our ‘new’ home and talked about getting the outside painted.  Finally, this summer it happened. And we couldn’t be happier with the results!

Our house is an old home that has a history dating back to 1882.  I grew up across the road and spent a lot of time here as a young teenager with the family that called it home during that time period.  It’s been white for as long as I can remember.

We knew when we bought it that it needed some freshening up on the outside.  There was some of the siding, eaves and fascia that needed some TLC, too.  It was all more than we wanted to tackle ourselves. So we hired a neighbour to do the carpentry work for us and a painter friend to tackle the painting.  Over the course of the summer, our house was transformed.

The guys we hired to do the work for us were fabulous and I enjoyed having them around.  Their workmanship was great and they were friendly, informative and did the job in the best amount of time they could, weather depending, of course.  So if you’re local and looking for good guys to get some work done, drop me a line, I’ll happily recommend them. 😉

Here is a picture of it when before we even knew for sure it was going to be ours – at this stage it was a dream and a hope!

This will give you a better sense of the Before:

Here is a progress picture. The back is southern exposure and needed the have the old cedar shakes replaced so new clapboard was installed.  There still is a few walls with the shakes that will probably over time get switched out to clapboard, too, but they are still in good shape.

We debated back and forth what to do about the colours of the exterior.  We both loved the idea of adding more colour, the simple blue and white palette we had did nothing for either of us.  But neither of us were sold on the idea of a colour on the wood siding of the house and still having a white vinyl garage.  Finally we settled on grey trim, white body and blue shutters and doors, except the main door, which I wanted bright yellow.  The exact colours we used were Stormy Monday for the trim and Newburyport Blue for the shutters, both from Benjamin Moore.  The main body was painted in their ‘ben’ line in the basic white right out of the can, nothing added.  The door was called Shop Door and it was a FAT Paint Company.  Now, I have to add that as much as I love the colour, the fact that it took 5 coats to cover the previous green was rather frustrating.

Ta da!!!  Here is the finished product!  I love how much more character the exterior has and how much more personality!  This colour palette is classic and will stand the test of time.

The day I took the after pictures, we were being invaded by Asian Beetles, there were so many, you can actually see them in the following picture – but I want to show you how awesome the porch looks!! The barn quilt, the new Clear Farm Sign, the hop vine wreath…

This house holds so much history for me.  I’m so thankful to call it home.  We are making memories here, putting down roots. And now the exterior seems to suit us a whole lot better, too!

To be continued,

Lori