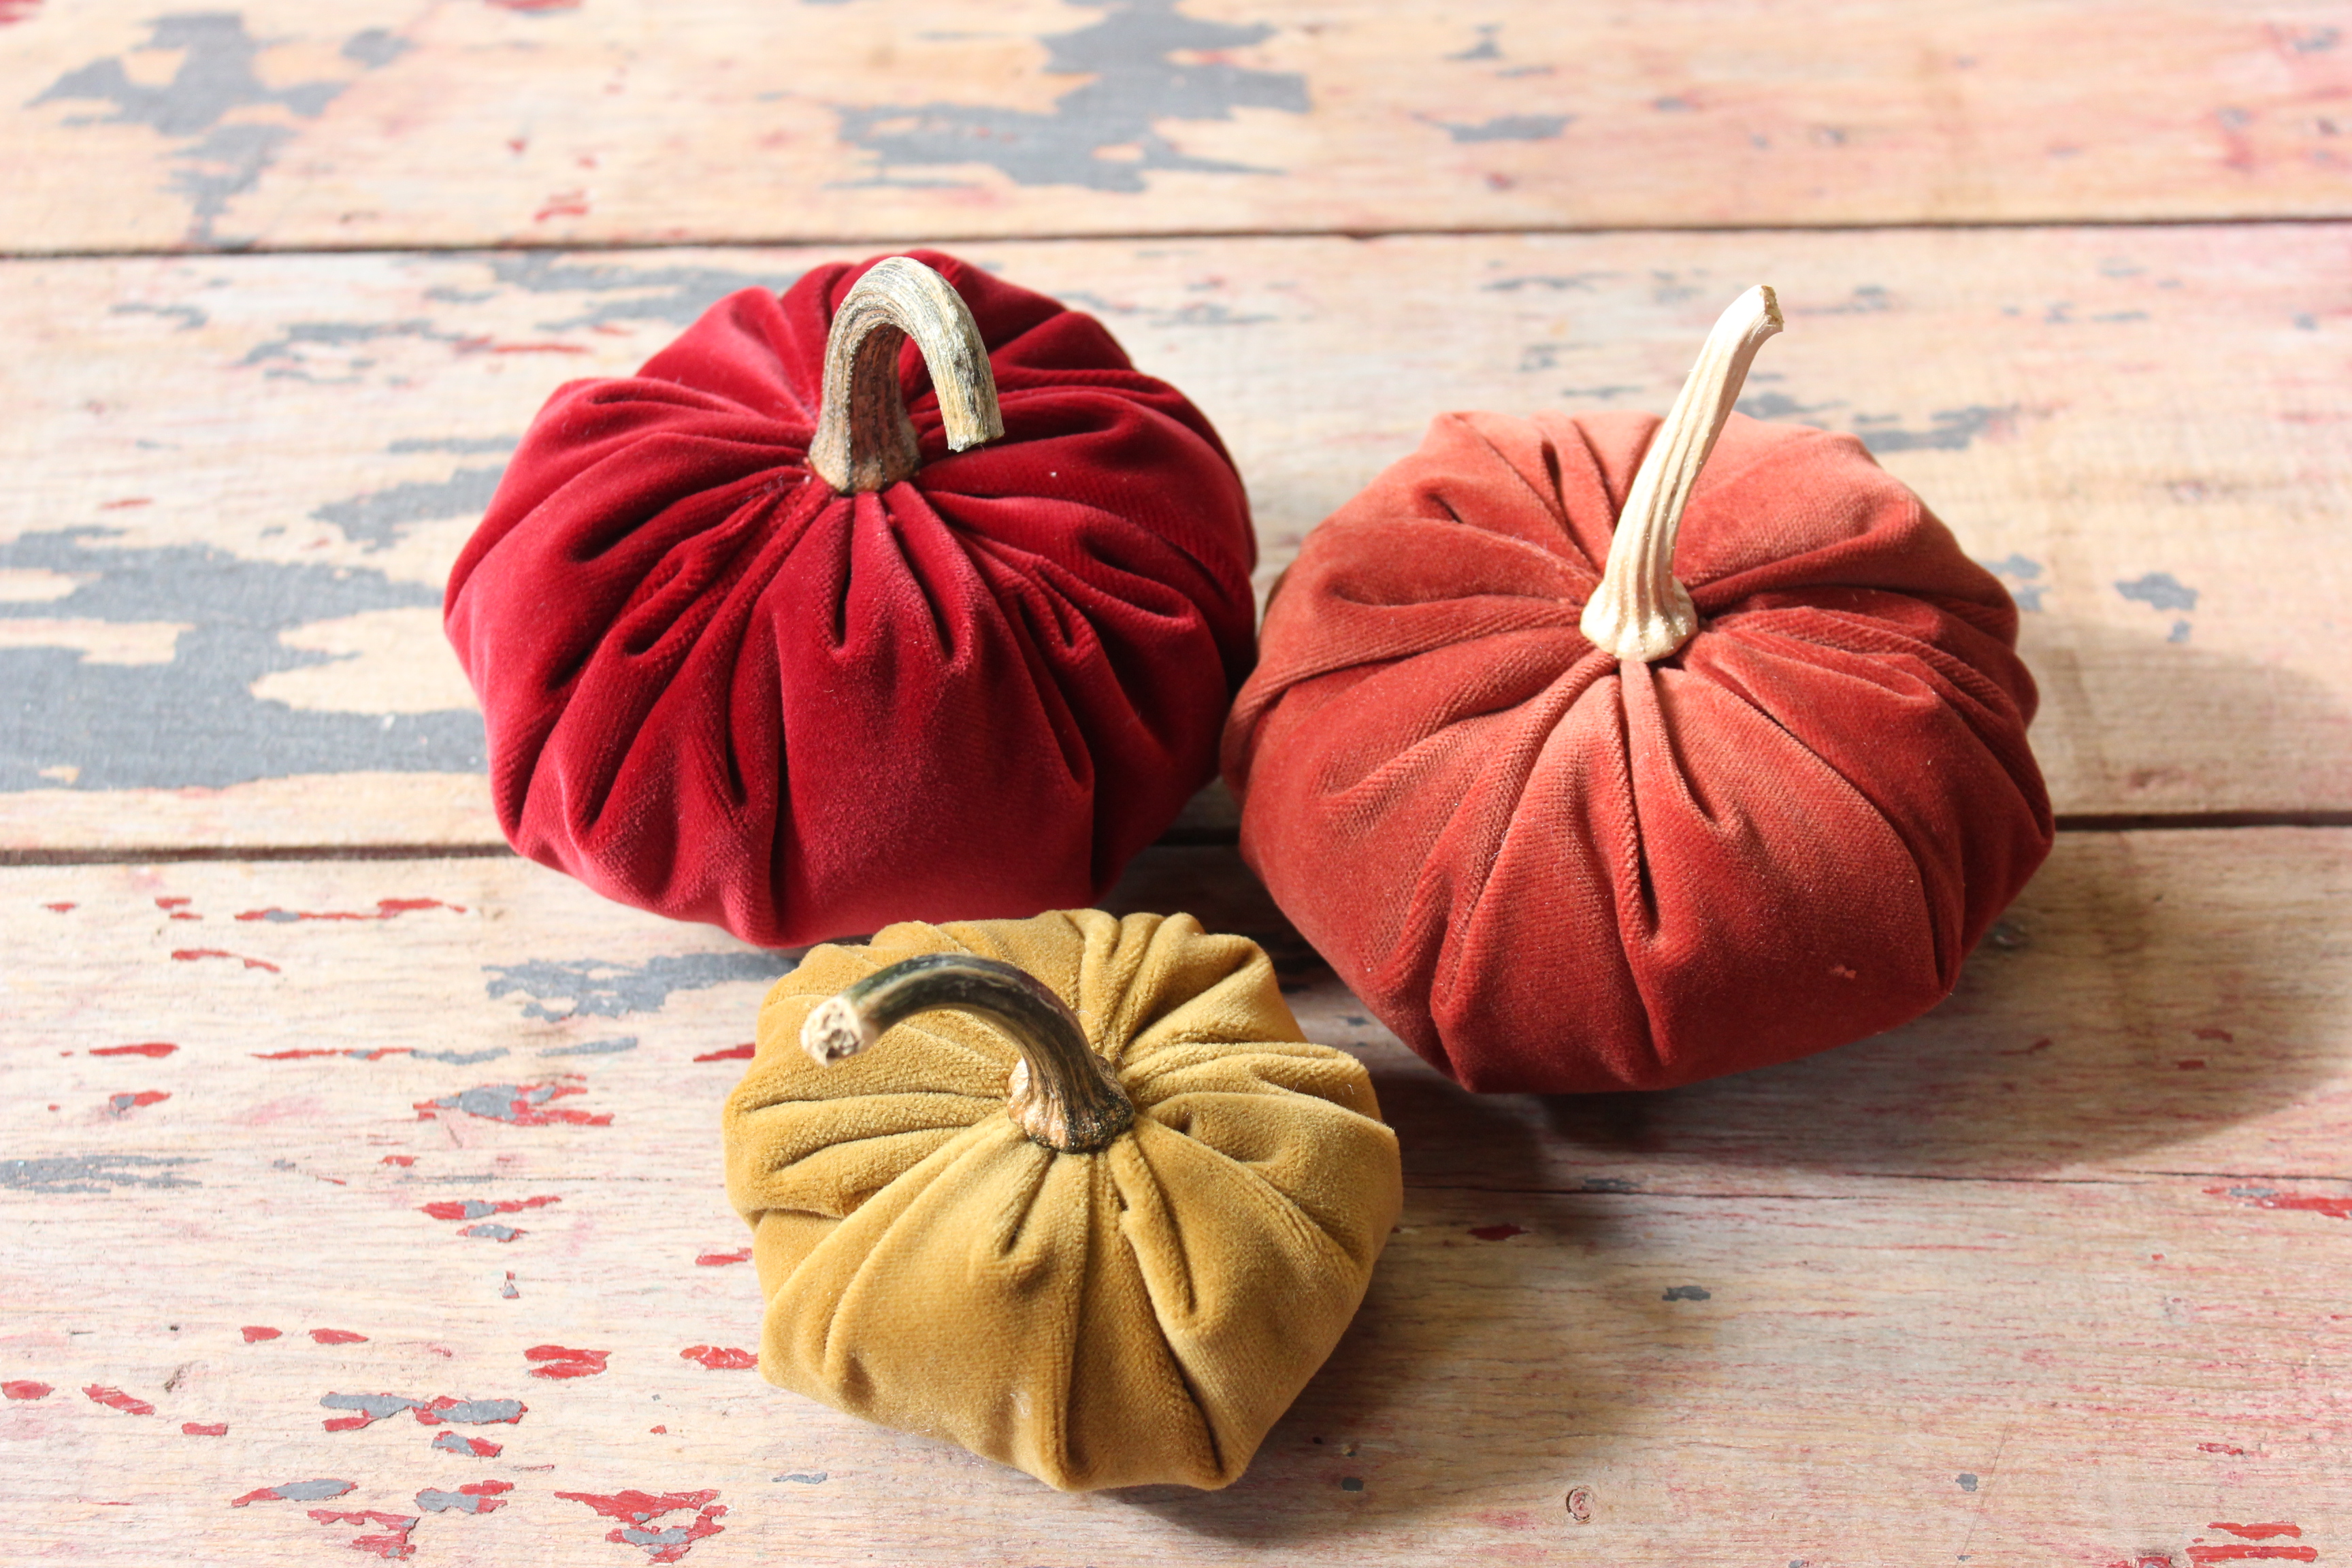
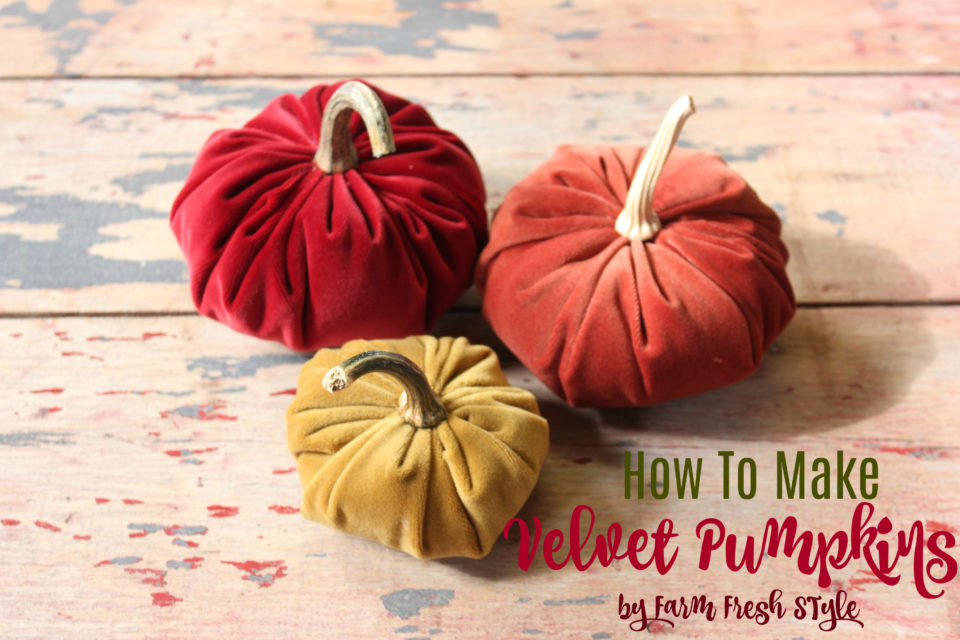
I’m sure you’ve seen them, those gorgeous, rich velvet pumpkins that are all over Instagram and Pinterest! Well, I decided I’d jump on the bandwagon to see just how easy they are to make!
Fall is definitely in the air around these parts. The calendar may say it’s only the start of September, but the weather and the fact that the furnace kicked in tells me that fall is most certainly on its way. Which means I can start decorating for fall! I love fall decorating, I love the colours, the earthy textures and the coziness. And pumpkins are the perfect thing, right? But I like pumpkins that last from year to year. So, I thought I’d give those velvet pumpkins I’ve been seeing every where a try. In fact, I knew I wanted to do this so last fall I saved a few pumpkin stems for this year’s project.
Guys, these are so easy to make. Probably 10 minutes or less per pumpkin. And how adorable are they??
Here’s a list of supplies:
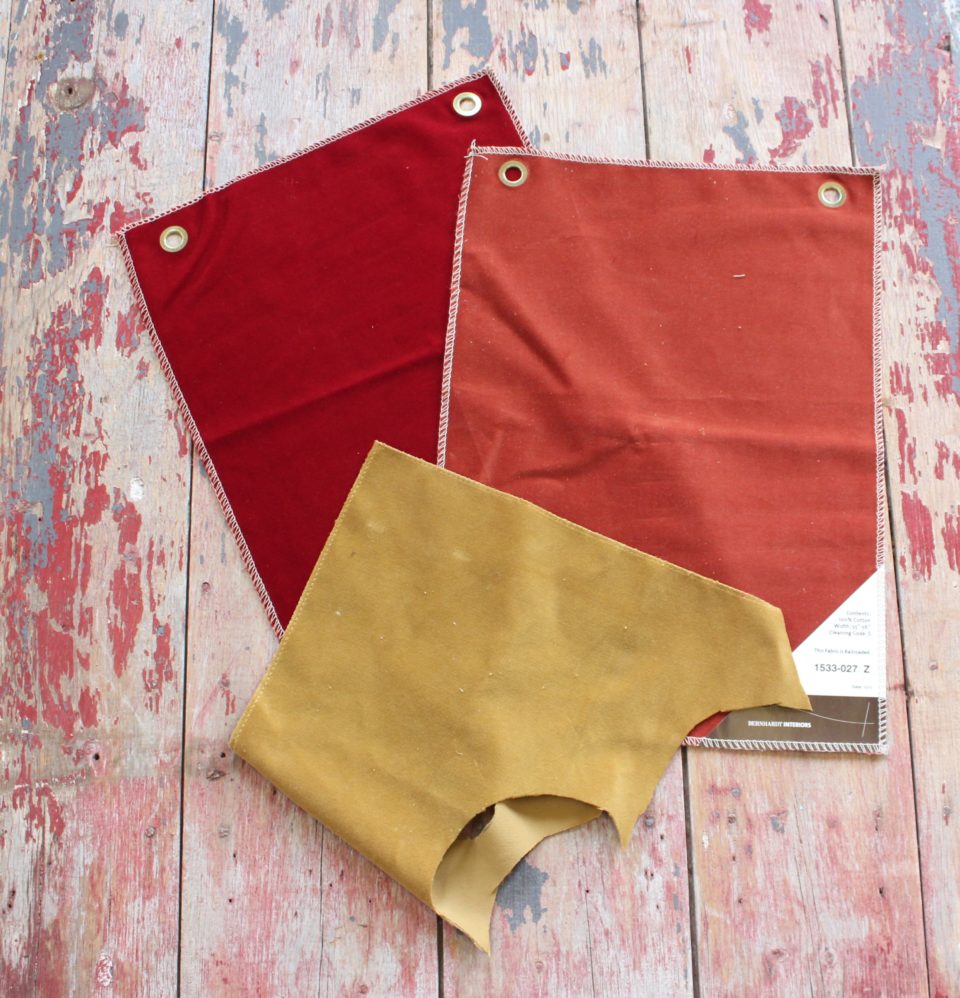
Velvet { I used discontinued fabric samples from work }
Pumpkin stems, driftwood or sticks
Stuffing
Needle and thread
Scissors
Hot glue
Chalk or pencil
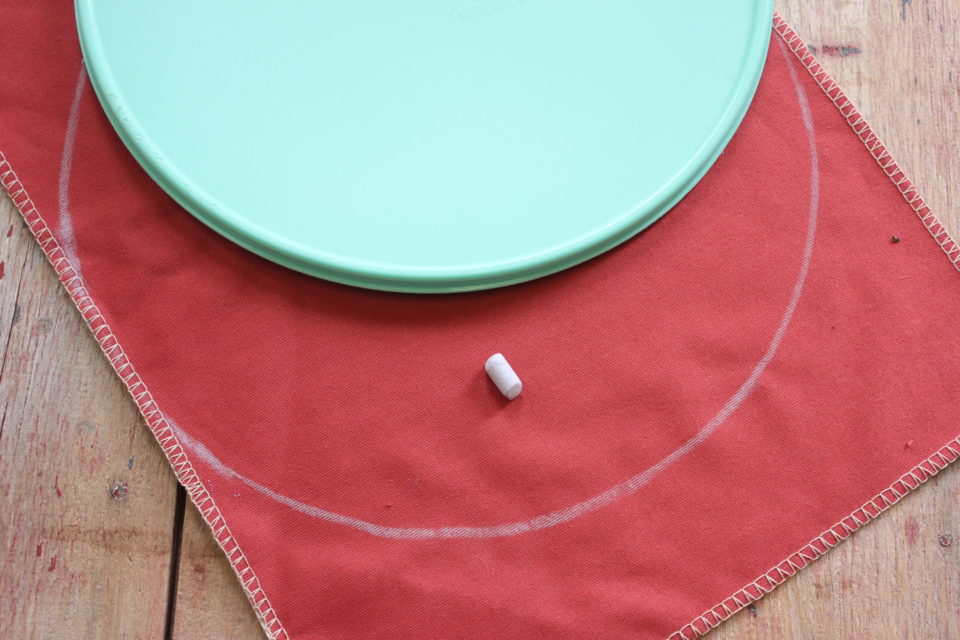
Something round to trace { I used the lid of my Tupperware Pie Keeper and a bowl }
Step 1. Gather supplies
Step 2. Trace your circle onto the velvet. I did it on the back so the chalk lines didn’t matter.
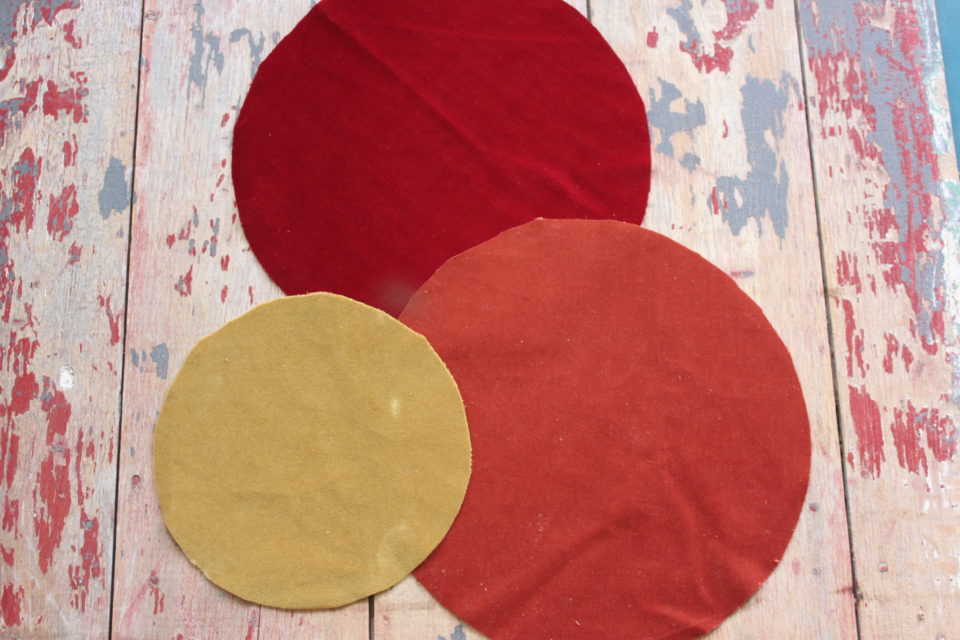
Step 3. Cut out your circles.
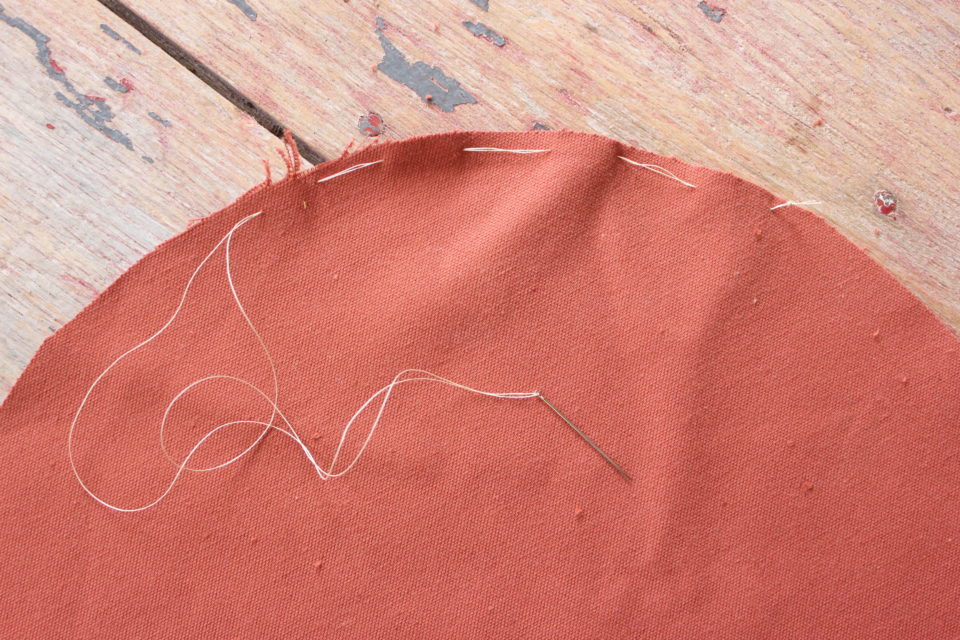
Step 4. Using a long running stitch, stitch around the outside of your circles. { I learned the hard way, so keep your stitches spaced about an inch or so apart and double up your thread, I used quilting thread for extra strength. }
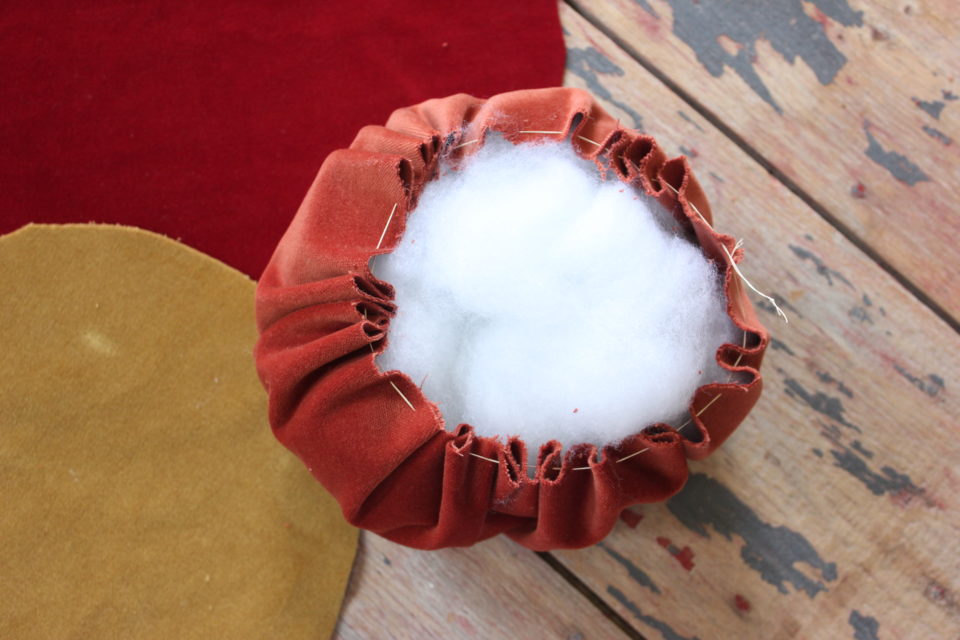
Step 5. Pull the threads to gather it. Pull as tight as you can, ideally without breaking your thread { See previous note and insert eye roll }
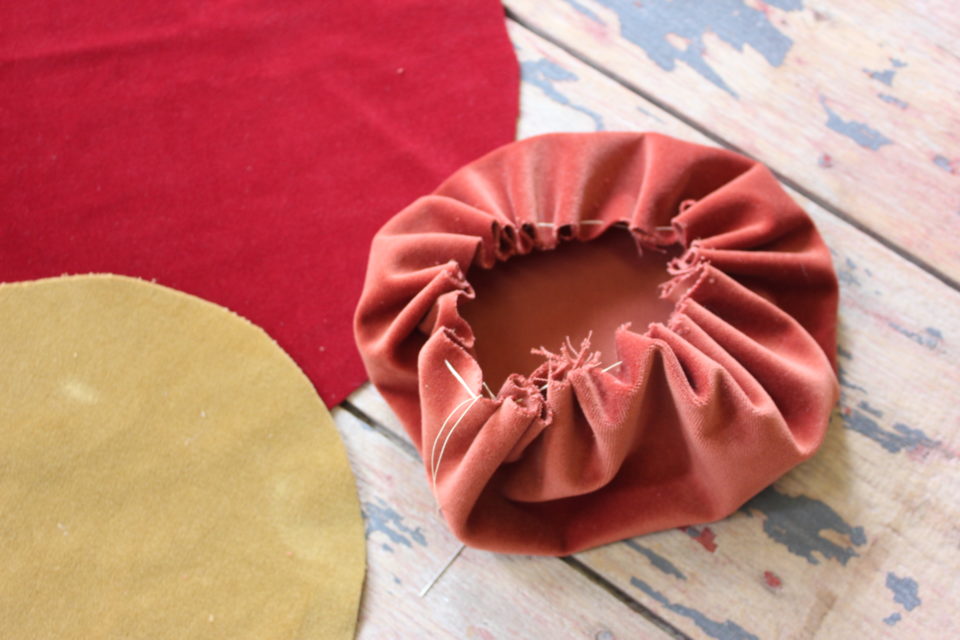
Step 6. Stuff it.
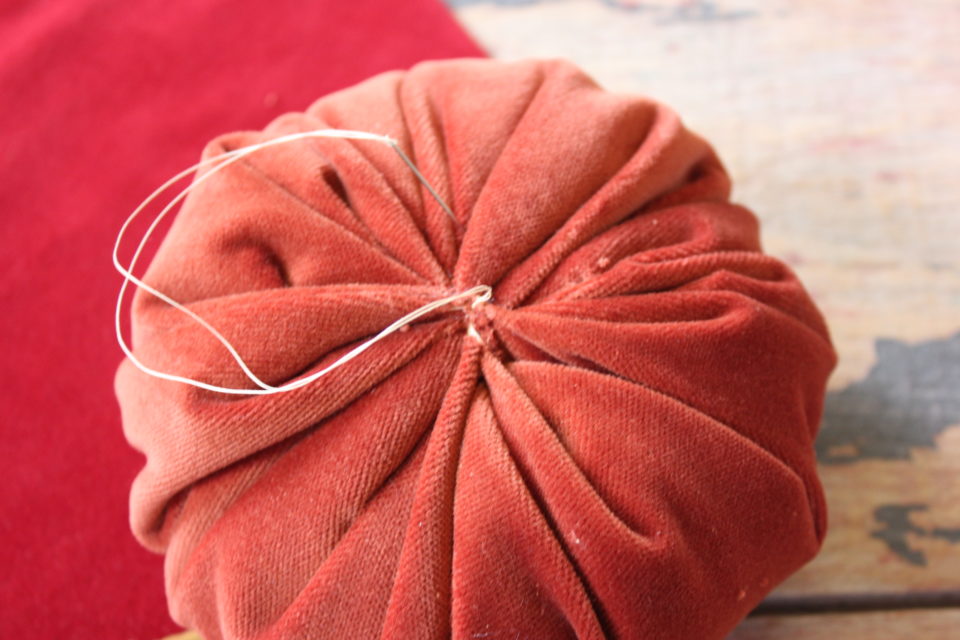
Step 7. Pull the strings tight and knot it off. I also did some stitching back and forth to close the hole over even more.
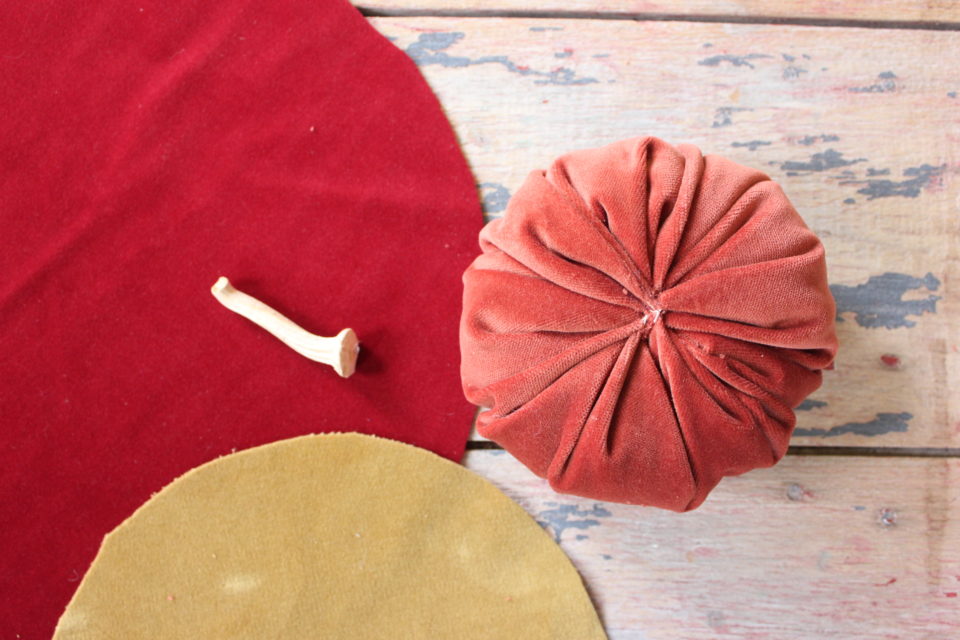
Step 8. Hot glue the stem in place.
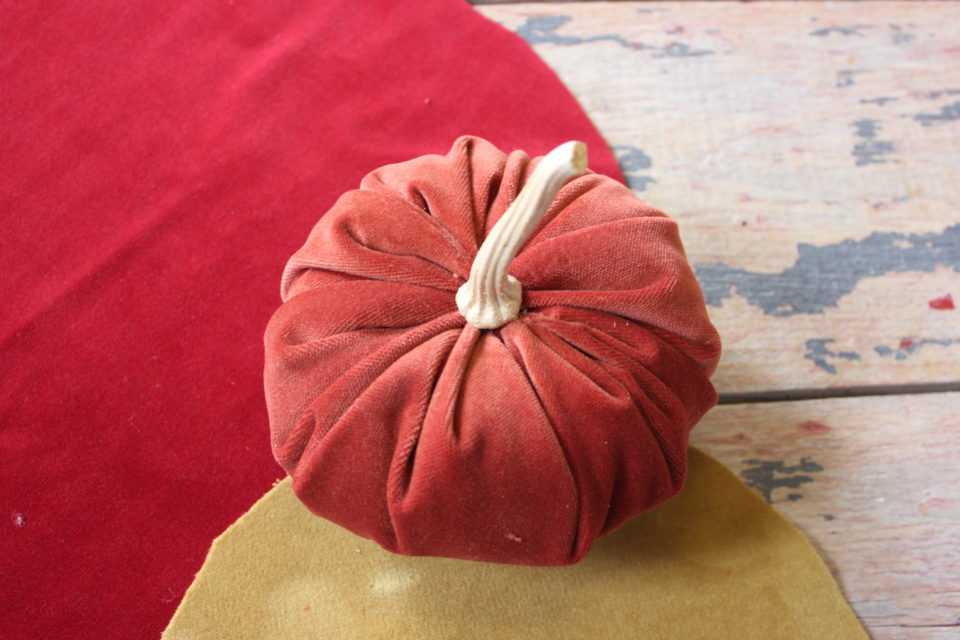
Step 9. Decorate your home with your pretty Velvet Pumpkins!

Aren’t these adorable?? I love them. And the colours I had worked really well for fall, too. But you could do them in any colour to suit your decor. I’ve seen creams, whites and aquas that are so soft and pretty!
Hope you enjoy them! Now I’m off do take some pictures and do a little fall decorating!
To be continued,
Lori
If you are looking for another fun pumpkin decoration, you can check out this one….it’s from those first posts I did so don’t judge!