Monthly Archives

April 2017

4 In Makeover

One Room Challenge – The Studio – Week 4

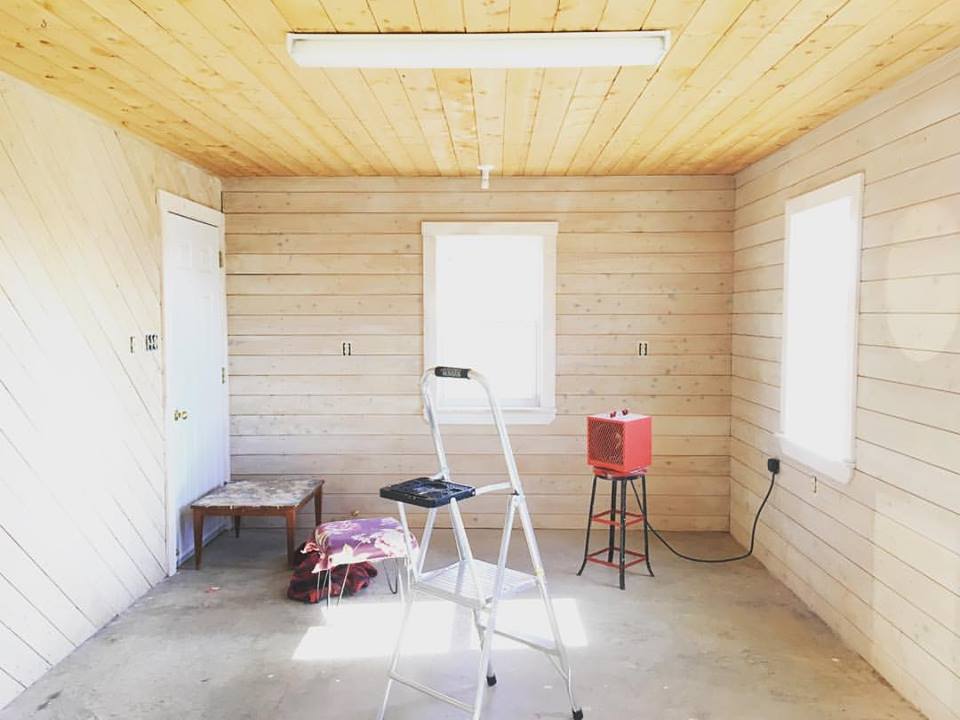
We are closing in on the end of the One Room Challenge, only a few weeks left!  It’s been exciting to see the transformation happening within the studio.  But, boy, what a pile of work!  This week’s progress has been minimal in comparison to last week, which you can check out HERE.  An empty studio and white washed walls are hard to top!

But, still, I have some work to show for my efforts over the course of the last week. With the exception of having to finish doors, and paint the floor, I feel like the hard work is behind me.  Getting those walls done was a huge hurdle and now that’s behind me!  Thanks much in part to Catherine’s help!

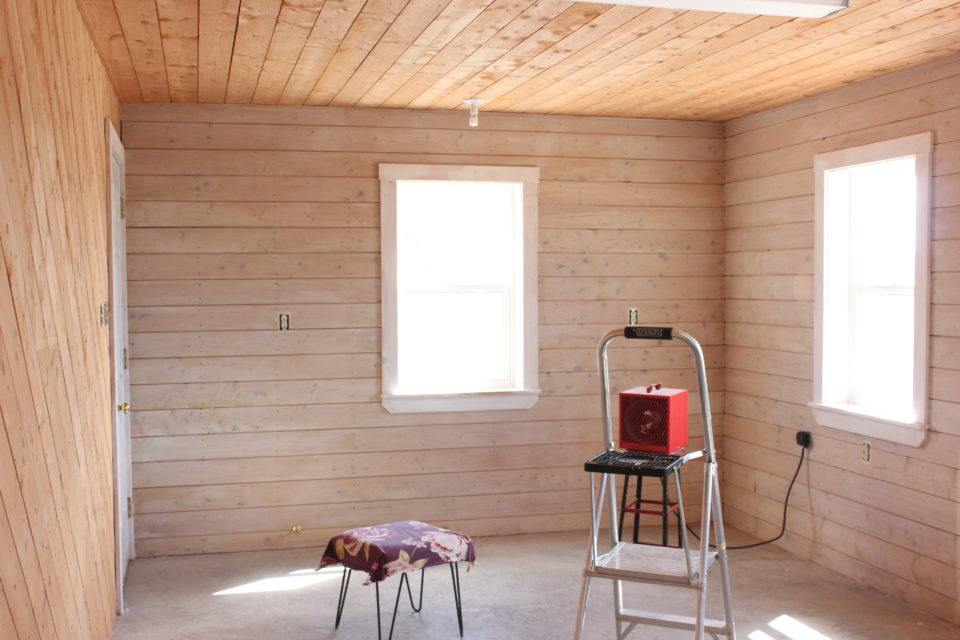
This week I got to do a few fun little things while the trim paint dried.  Painting white paint over white primer on 3 doors and 4 windows is a thankless job, but it will be nice when it’s completely done.  It already has made a huge difference to how crisp the space looks.

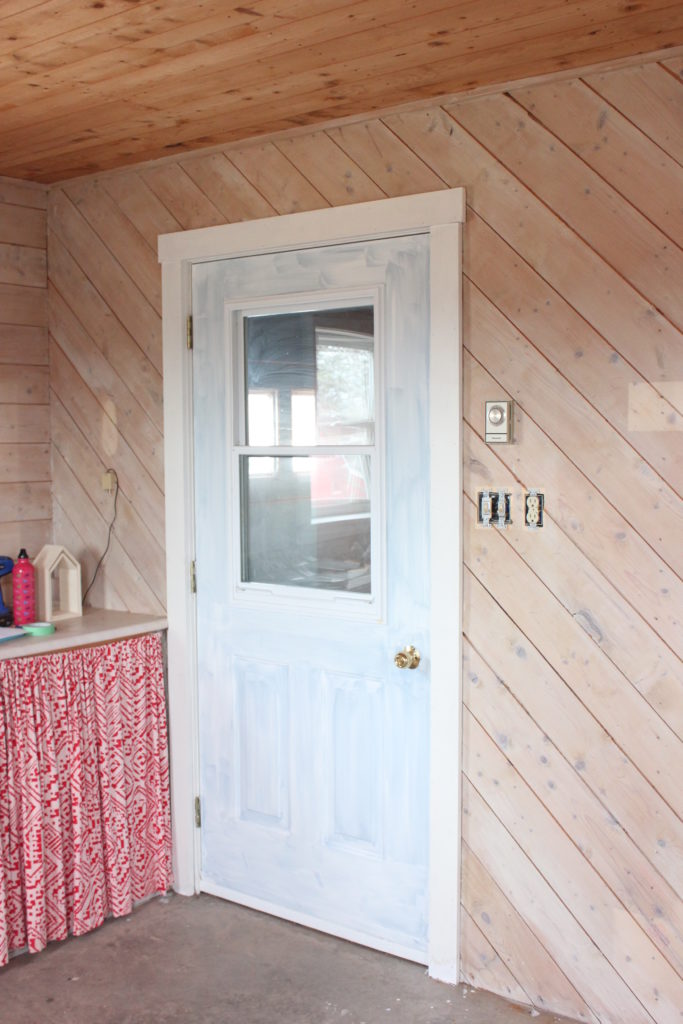
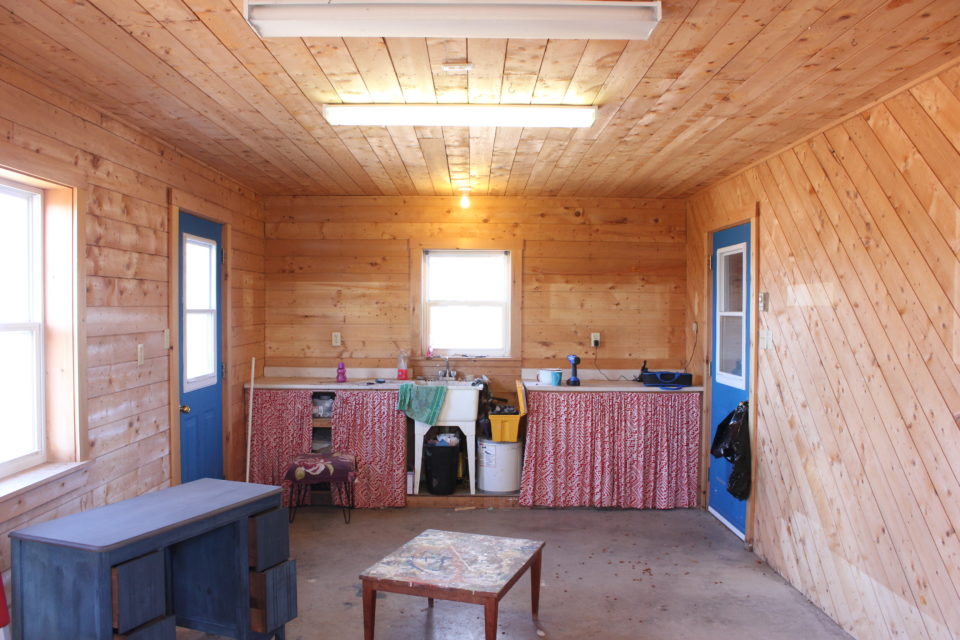
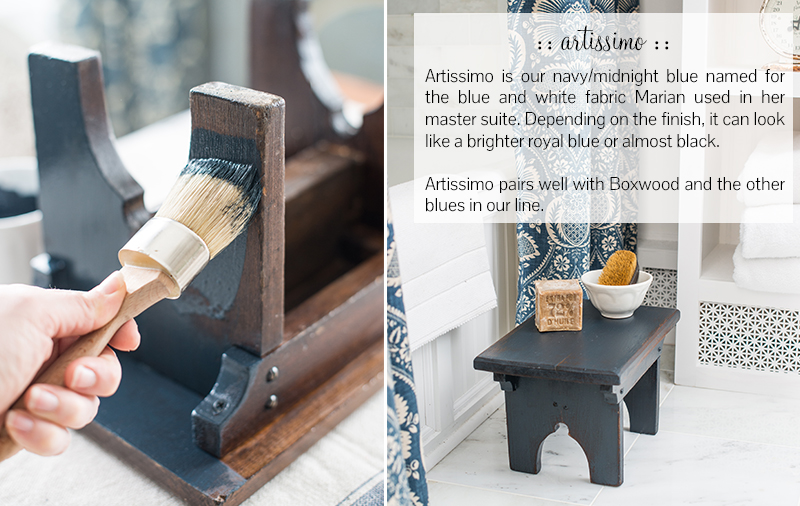
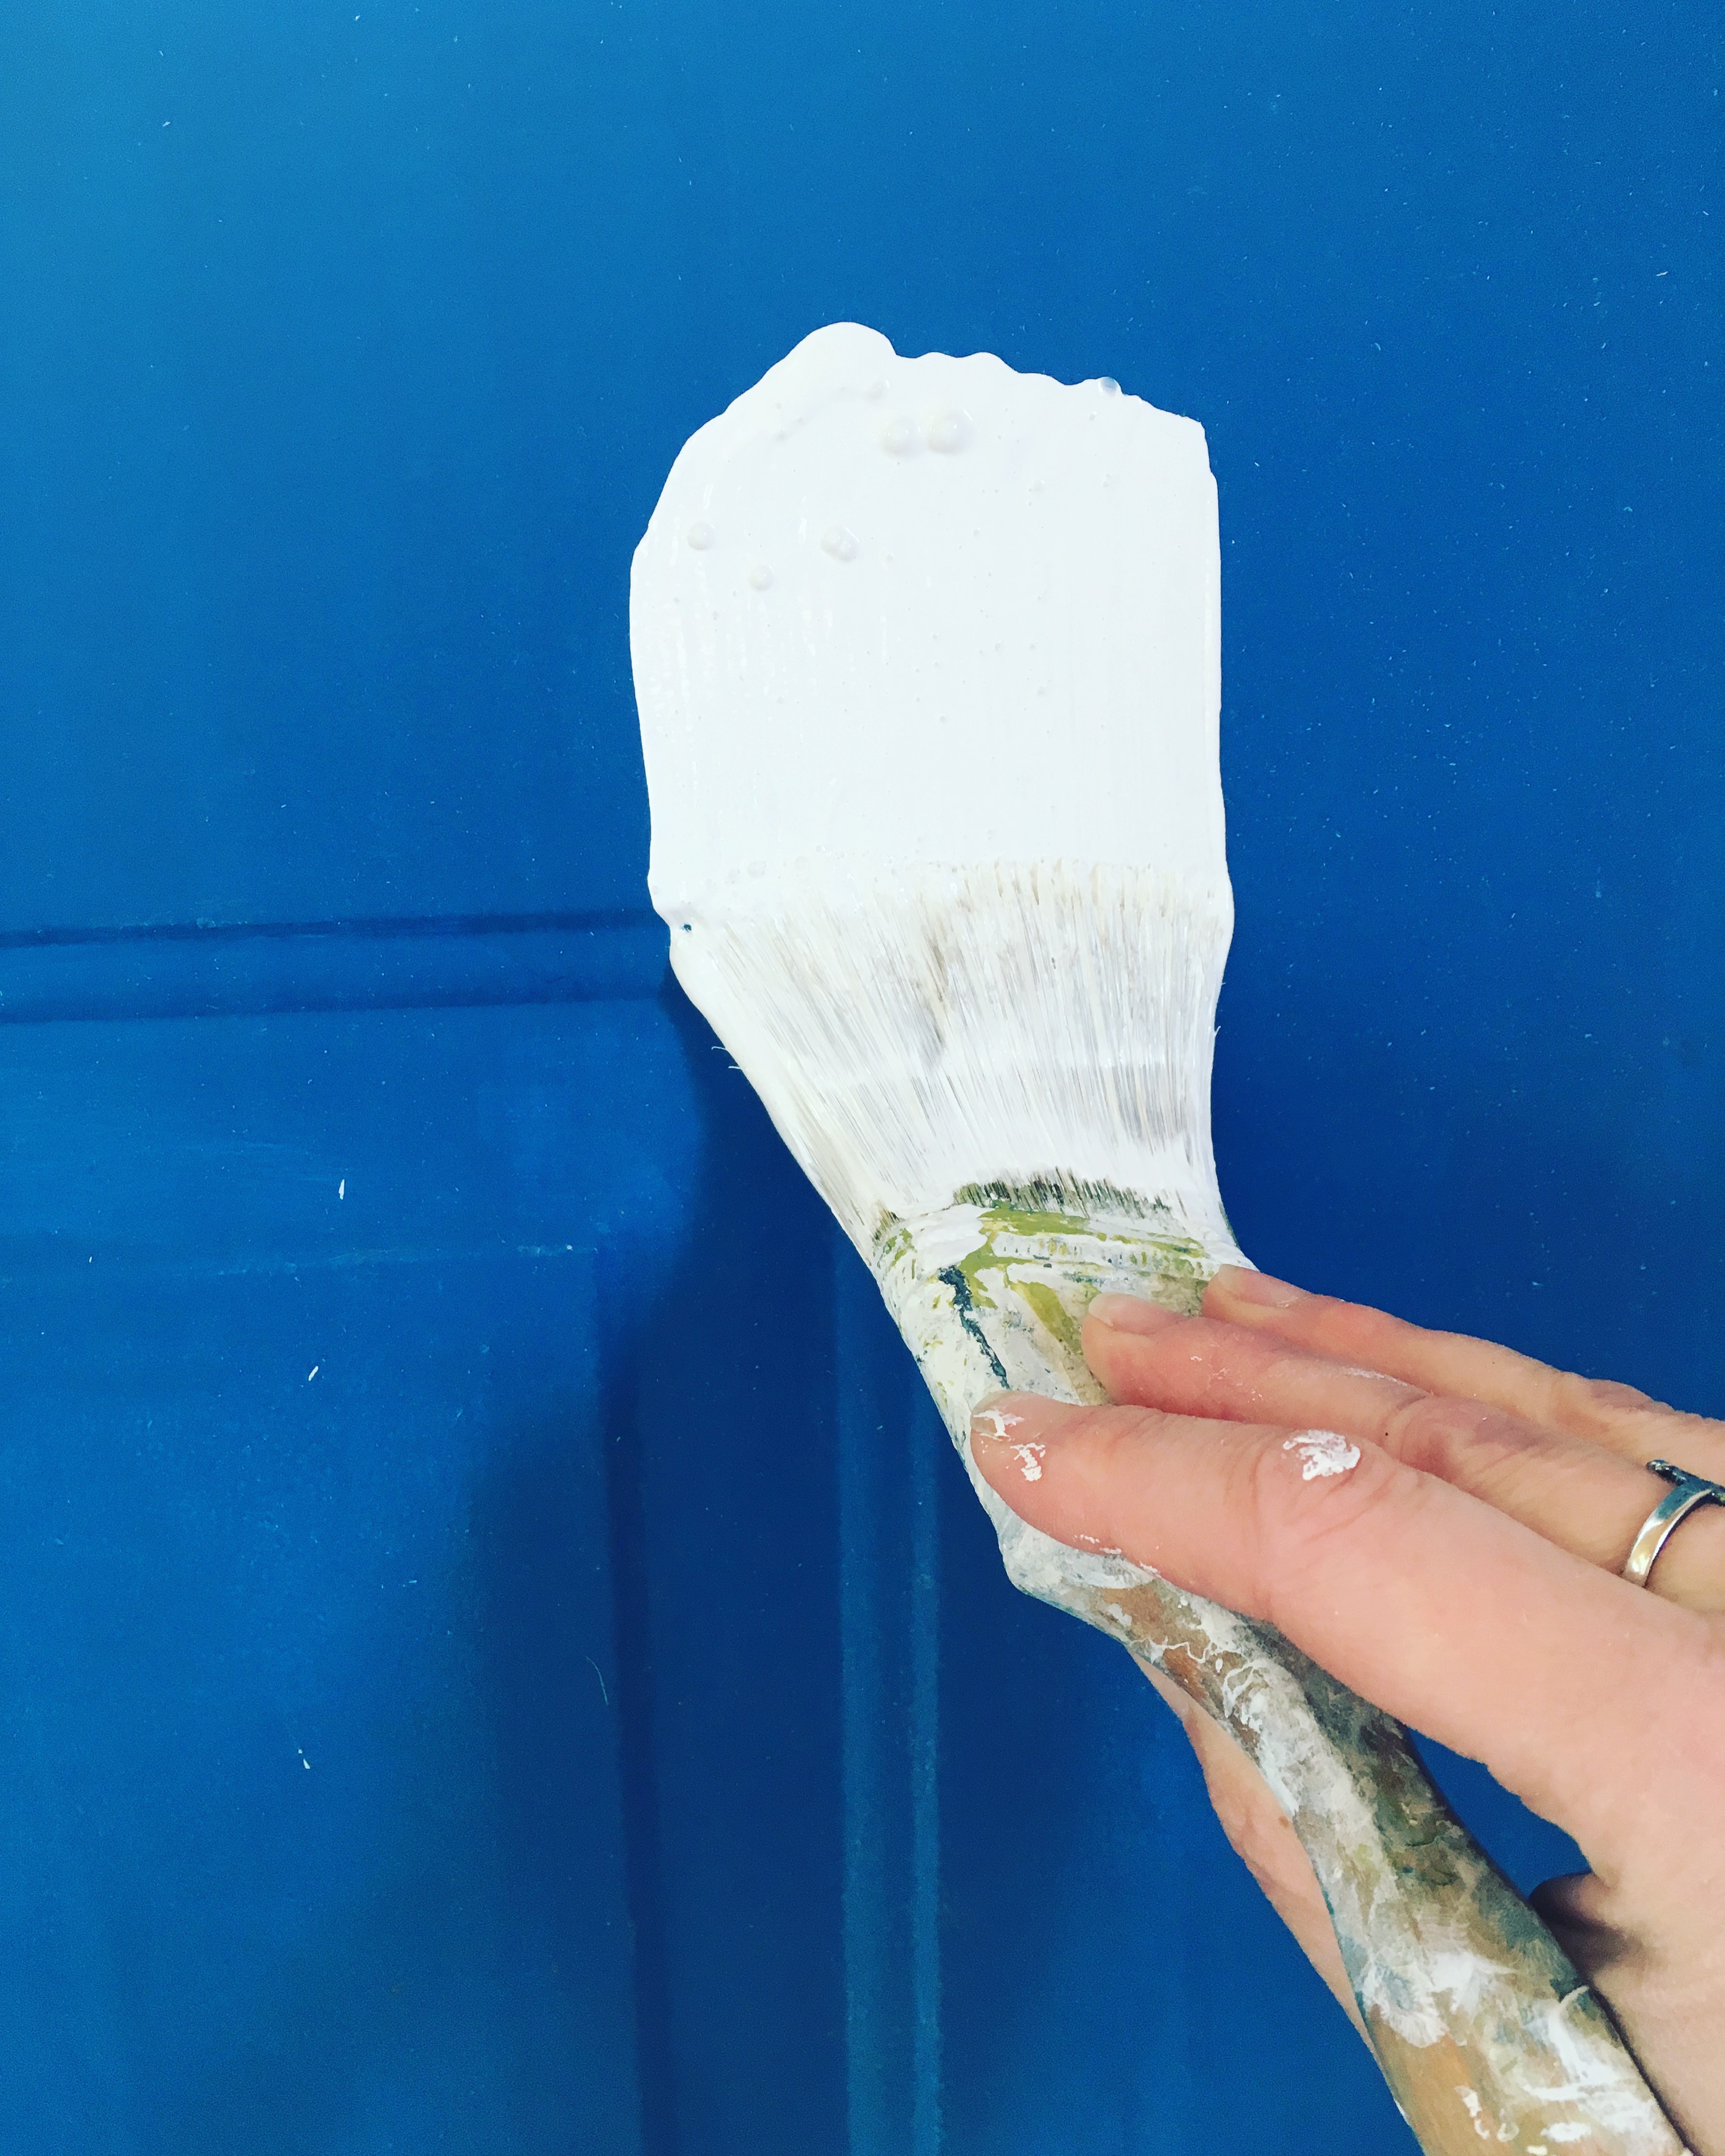
And painting out the blue on the doors was GREAT!!  I need to talk about the blue here for a minute.  Now, I want to start by saying that I do like blue.  I have lots of blue in my life.  But this blue, oh this blue….is EVERYWHERE! All our shutters, all the exterior doors in the garage and house are this blue, including the two huge garage doors.  I’ve painted out our front door, I did that the summer we moved in so now it really pops with its bright green.  We will be painting the whole exterior of the house this summer and I will be changing the blue…ironcially to another blue, but this time a deeper, richer blue.  But the inside of the studio doors do not need to be blue, it always stood out so much in any pictures, so it was with great glee that I brushed on that coat of white paint!

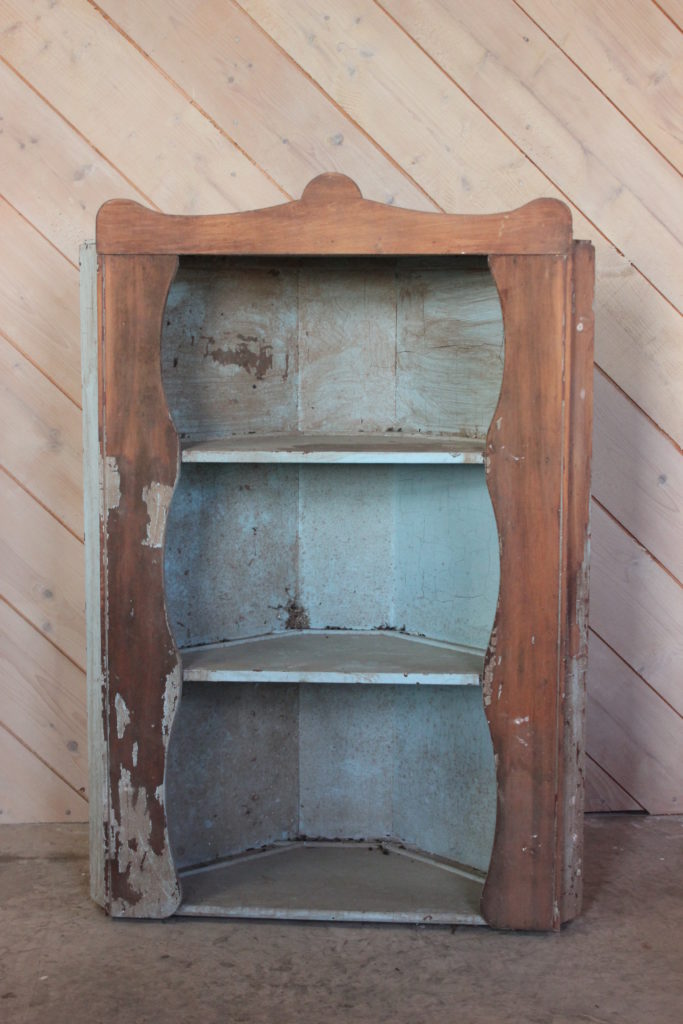
My other fun progress was digging out the corner cabinet from the loft and dragging it down into the studio for its….makeover? Hahaha!!  I’ve had this $5 yard sale find for years tucked away and I believe that the previous owners started to strip it but quit part way into the project.  I’ll just say I love me some chippy paint!  So, when I got it down from my stash in the loft, I snapped a picture of it, even before I cleaned the dead flies and bird poop off it and put it out on Instagram and FB to see what other people would do with it.  The feedback was incredible!  People have strong opinions about chippy, weathered old pieces.  Some said to keep it as is, some said paint the outside, leave the inside, while others thought I should do the opposite.  Some said paint it all!  So what did I do? First I washed it. 😉 But the rest you’ll just have to wait to see it!!

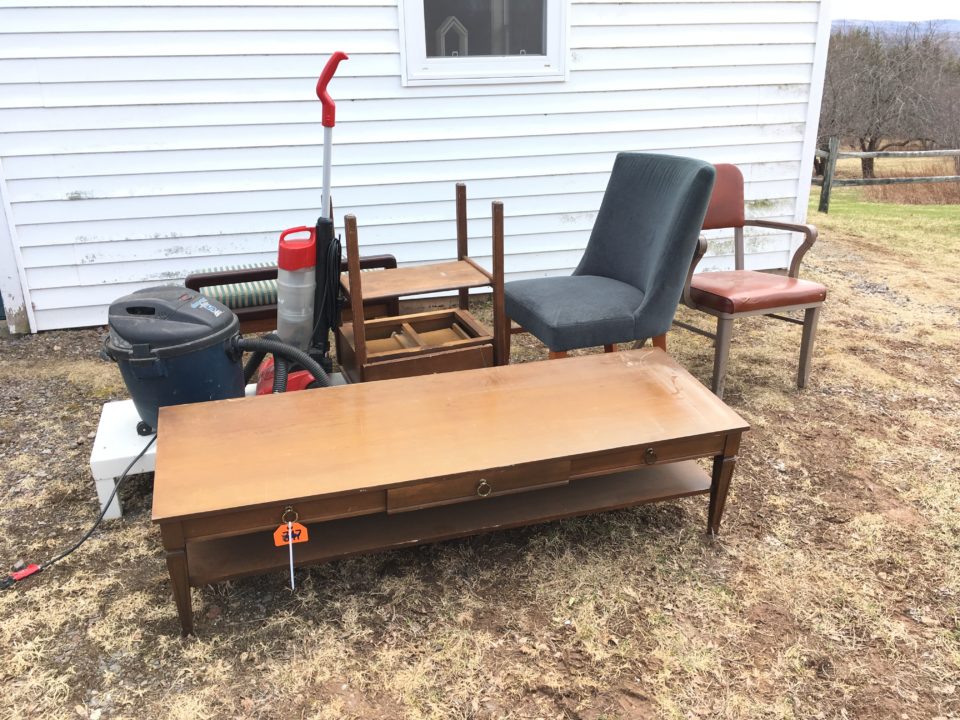
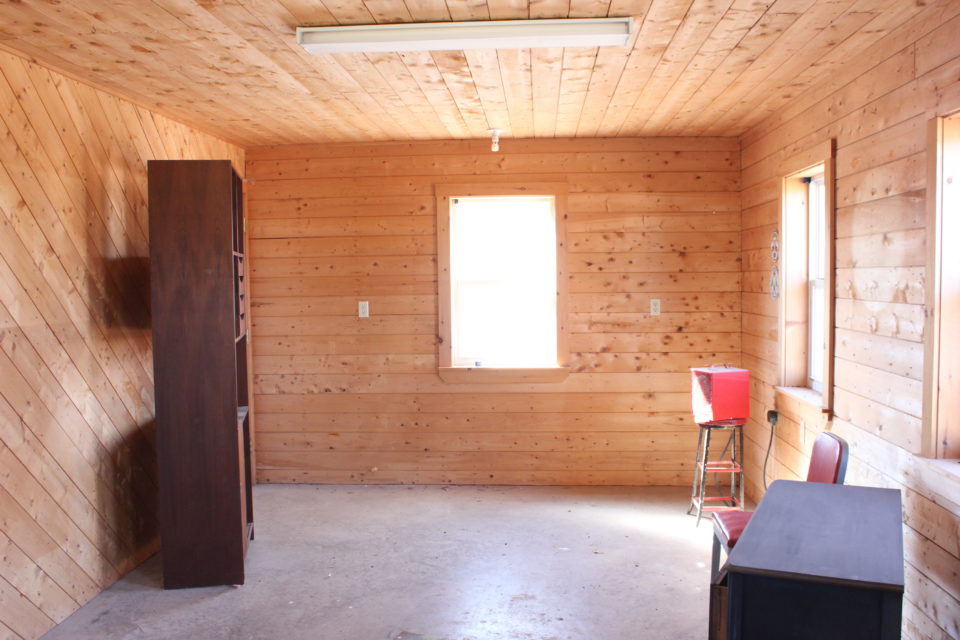
Part of the plan came together by happenstance.  Every Spring and Fall, the Atlantic Stockyards has a Machinery Auction.  I started going after Michael told me about the wooden screen door that went for about $2 and not to him.  He obviously couldn’t be trusted to bring home the right stuff from the auction so I just had to take matters into my own hands.  So, I’ve taken in the auctions whenever I can. This year Dad and I loaded up the girls and headed for Truro.  Now, I will say there are rows upon rows of various farm equipment – from tractors to wagons, saw mills and ploughs.  But, of course, I’m not going for that stuff. I’m going for the random other stuff that people drag there – like wooden wagon wheels, industrial lights, platform scales, milk cans, tool boxes and yes, the furniture.  Random, I know.  And that’s what makes it so fun!  You truly never know what might be on the auction block at one of these sales.  I loaded the back of Dad’s truck up with furniture and 2 random vacuums that were part of the lot. Coffee table, end table, a bench, 2 chairs and a low metal stand and 2 vacuum cleaners.  Yep, that’s how I roll. So, what does this have to do with the studio?  Other than the fact I barely had room to store this stuff?  Well, one of the pieces is going into the new plan.  But what piece in the picture above? Well, you’ll just have to wait!!

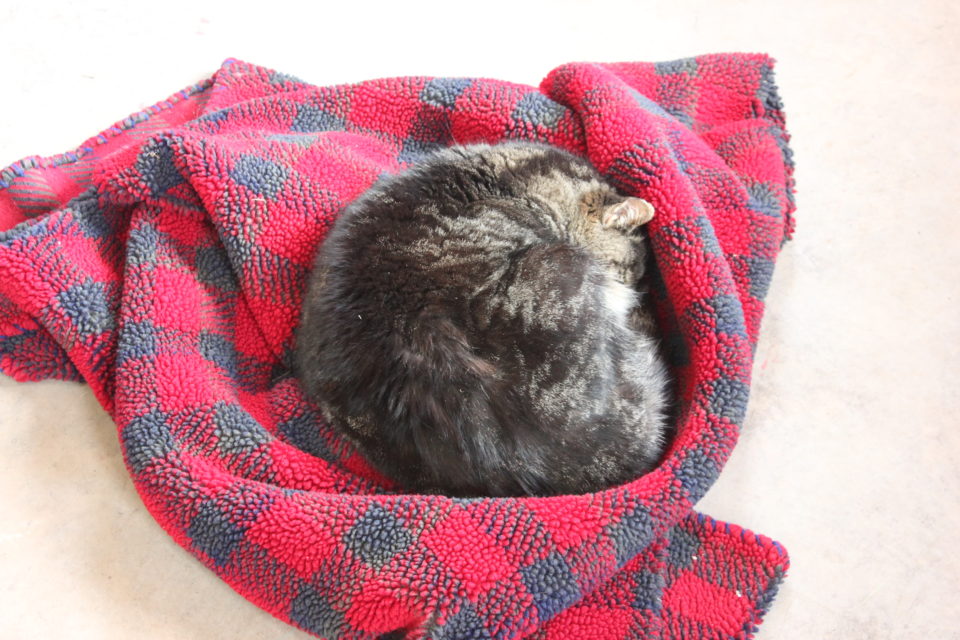
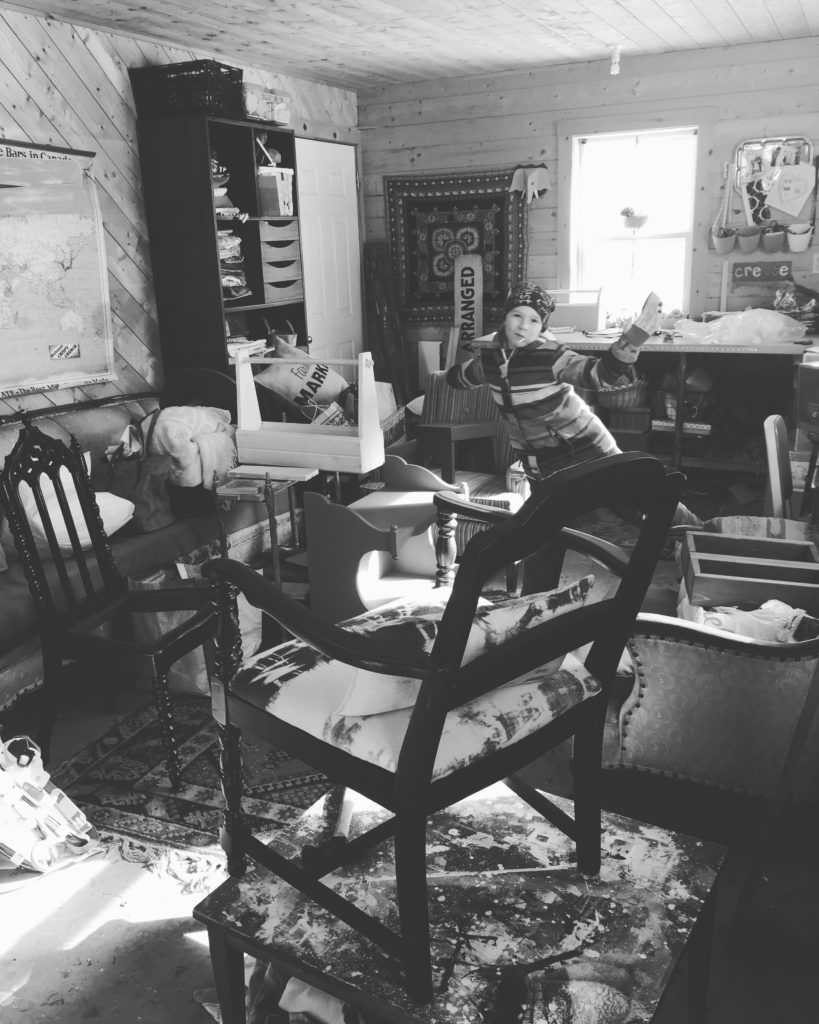
I like to add in here just how put out Buttercat is that there isn’t a spot left for him to sleep when he sneaks into the studio while I’m working.  Finally, after listening to him complain, I threw a blanket down for him by the heater and he proceeded to curl up and have a nap.

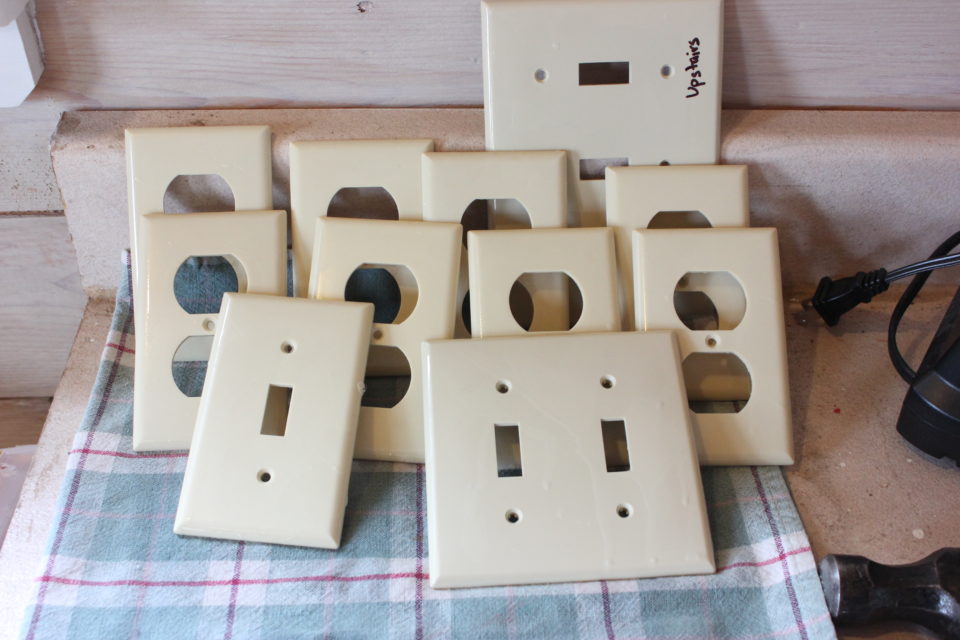
The other exciting thing I did this week was wash the plate covers. 🙂 I know, right?

So, that’s it for progress to show you this week.  Let’s check in on that To-do list shall we?

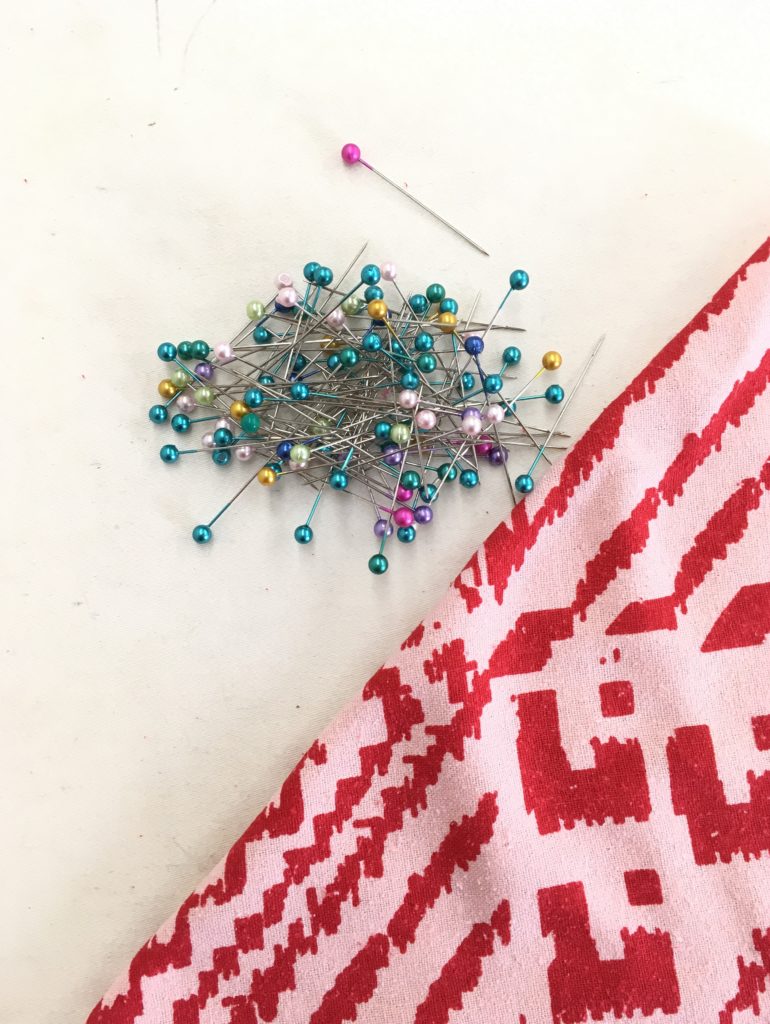
Sew the curtains for the prep table – done

White wash the walls – done

Paint the floor

Frame the chalkboard – wood bought and cut

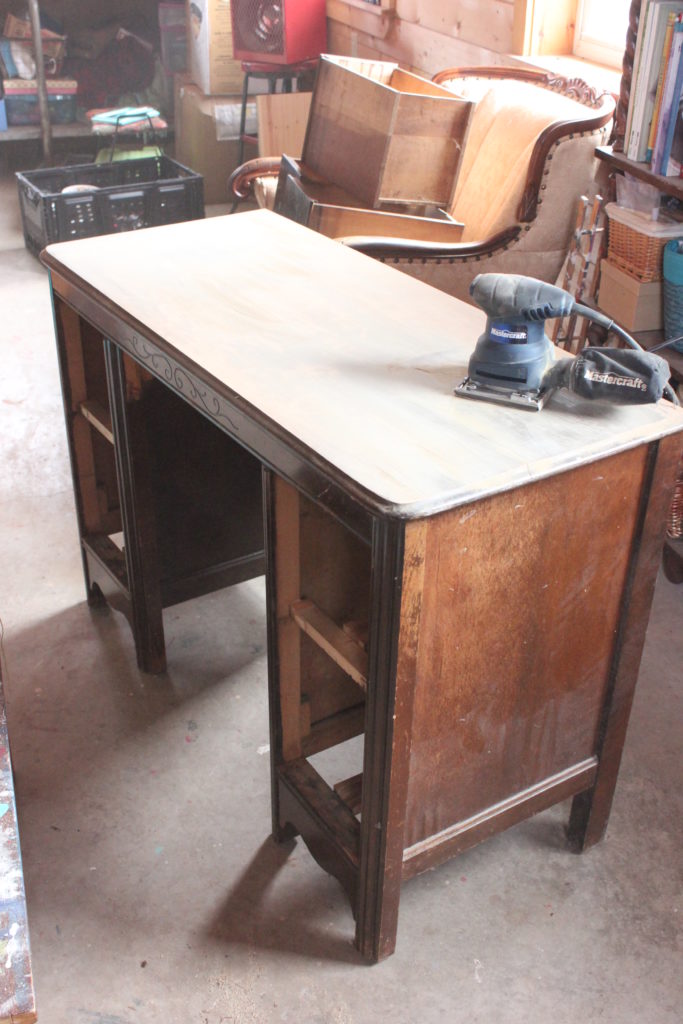
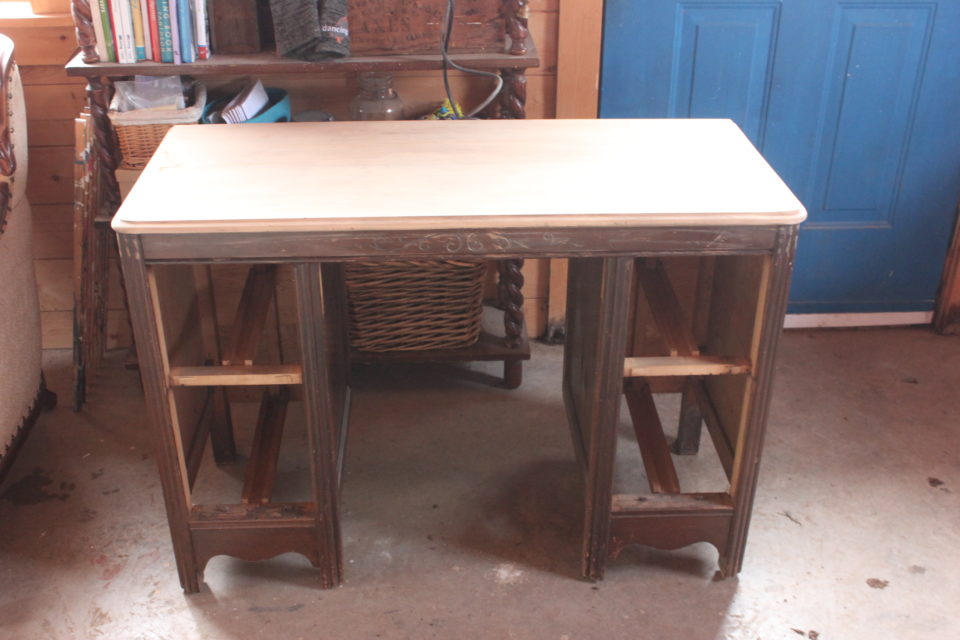
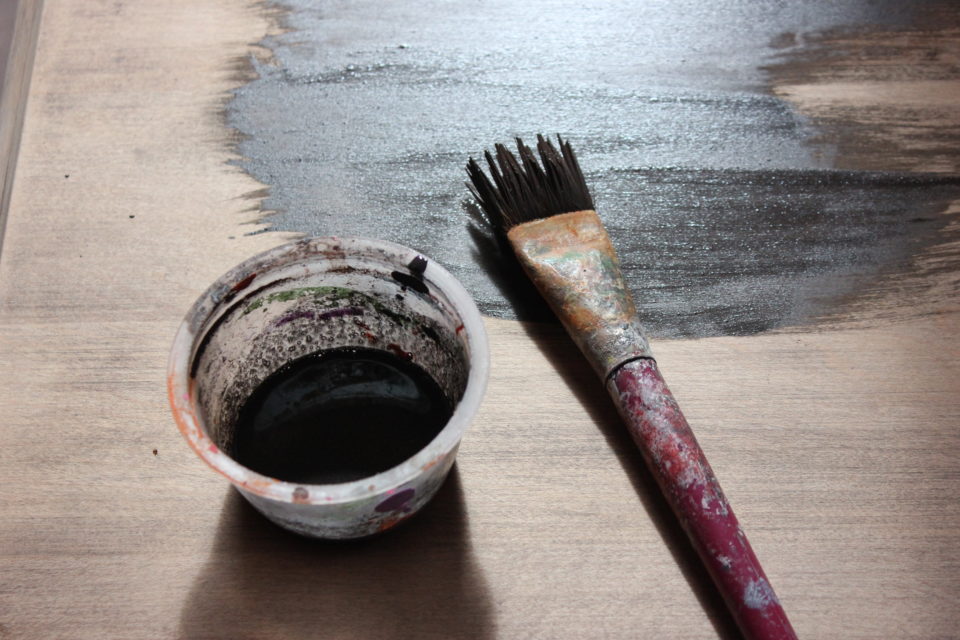
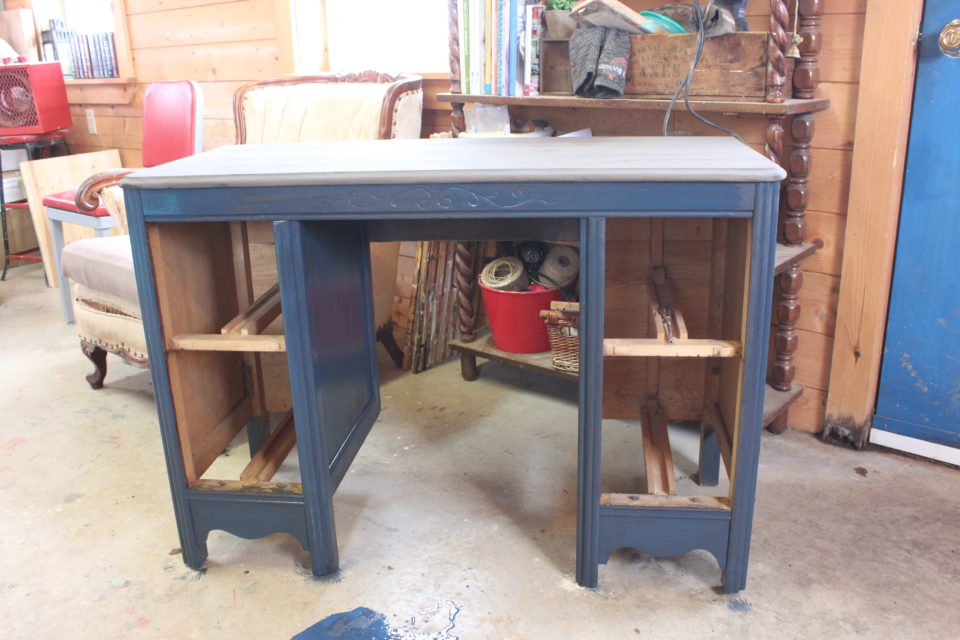
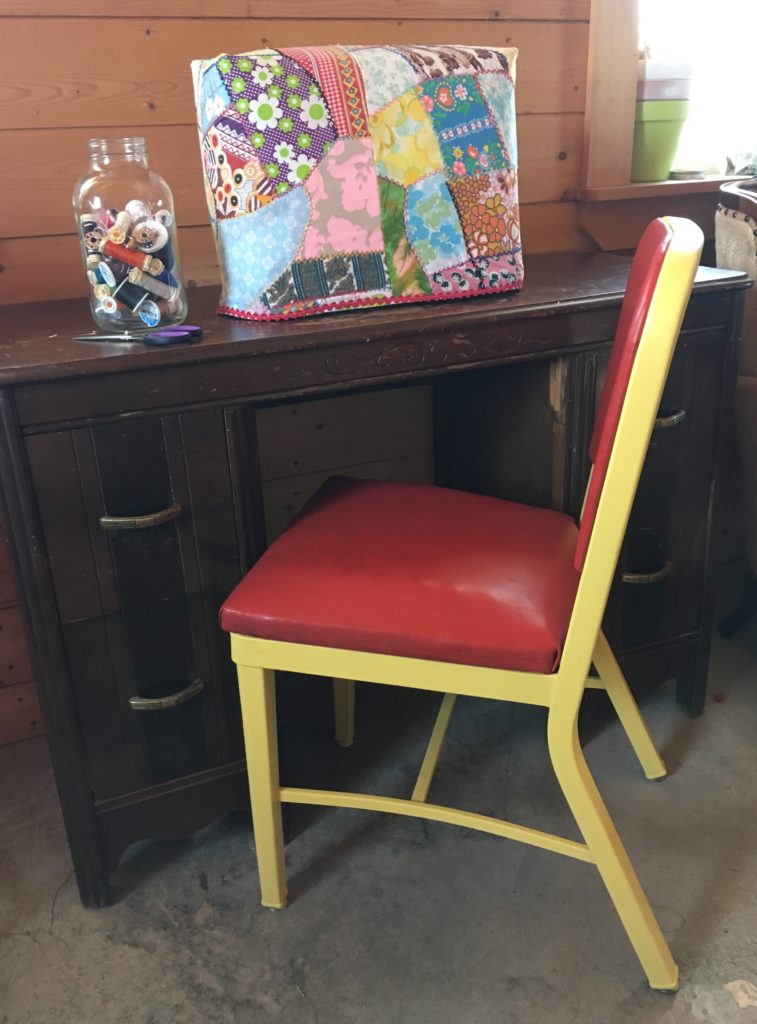
Paint the sewing desk – done

Paint and hang the corner cabinet – done

Paint the doors – kinda done {sigh, they need a third coat to cover that blue…}

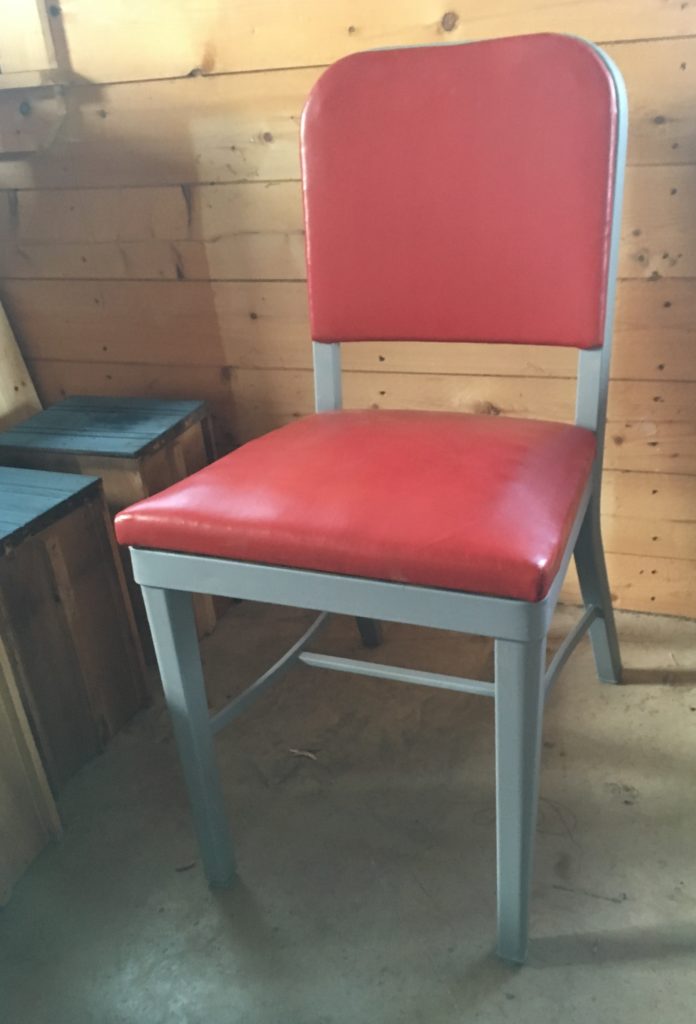
Paint the sewing chair – done

Paint the trim – done

Once I make it through the To-Do list, I get to do the fun stuff – decorating and re-organizing it all! And then do the big reveal on Week 6!!

To be continued,

Lori

PS To see more Week 4 updates from other bloggers in the ORC, click the logo below!


6 In Life

When You Spot a Necklace

The running joke is I’m going to start a fashion blog called ‘Bluejeans and Blundstones’ because, let’s face it, that’s my go-to style.  I’m not one to peruse the fashion sites and flip through the latest issue of the hottest magazine.  But when a necklace in your Facebook feed stops you in your tracks, you know it’s the one for you.

So, I chatted with Rebecca of Beck & Boosh about it and here it is!  A chunky, geometric number with blacks, browns, white and the perfect shade of peach.  I use the word peach with hesitation.  Peach doesn’t invoke a good colour connotation…..our old bathroom still comes to mind.  But all paired together on a black chain makes for a bold look.

I don’t spend a lot of money on clothing, jewelry and footwear, it’s not really my thing.  So when I am looking to change up my wardrobe, I need things that are versatile, easy and can be worn in a variety of ways .  I’ve paired this necklace with a few outfits from my closet to show you how I would wear it for the Spring season.

First up is an outfit that I would wear to work.  A floral shirt with a solid peach back paired with a flirty black linen skirt makes for a dressy but fun outfit for meeting with clients.

Next up, same shirt but paired with a pair of denim capris, because we are talking about me after all. #allthedenim This would be something I would wear for the weekend whether it was hitting the yard sales or going on tour with my family.   Easy, but still stylish.

The last outfit in my spring collection is a flowy skirt matched up with a simple top with a geometric trim on it.  This would be an outfit I’d wear to work, church or even out on a roadtrip.  Simple with a little bit of fun but very comfortable, to boot.

I love wearing this necklace, it adds a bit of edge to an outfit, garners some attention and is so versatile.  If you are looking to add a great little number to your wardrobe, click HERE to pop over to Beck & Boosh’s website to order yours today!

And as for me, I’ll head back into my closet to see what else I can pair this baby up with for another day at work!

To be continued,

Lori

I was provided with this necklace by Beck & Boosh but my take on it is just that 😉

1 In Makeover

One Room Challenge – The Studio – Week 3


Well, I feel like I’ve made some huge progress on my One Room Challenge to share with you this week.  My body feels like it was huge progress anyway…

Guys, the studio is empty.

Empty.

Like a few tools I needed and a ladder kind of empty.  Here it is with just a few bigger pieces left in it…

And it’s huge.  I had no idea how much space I had.  Maybe I should rephrase that.  I had no idea how much stuff I had.  So. Much. Stuff.  I filled a garage bay with all that stuff, piles on top of piles.  But I don’t think you really want to see that….

Since last week’s update, which you can read HERE, I discovered that it wasn’t the task of redoing the studio that overwhelmed me, it was all the stuff I had collected and hung onto that overwhelmed me.  To the point that I didn’t enjoy going out to the studio anymore.  All the stuff was making it hard to move around and hard to find a surface to work on.  It had become a joy suck.  The spot that had been my happy place was sucking the joy and the creativity out of my life.  Here’s a quick flashback for you, in case you forgot just where we started:

The space will be well guarded when it comes to putting things back in.  I already have a plan to eliminate some of the furniture that had lived in there.  And I’m going to do some serious purging and sorting.  I’m hanging onto things for potential projects and makeovers.  But if I never get around to it, then it’s time to let it go.  I can’t do everything, I can’t make everything and I will no longer hang onto everything.

I’m really thinking about how I use the space and what jobs I do in there.  I was doing the dustiest jobs right beside a shelf that was filled with little knick-knacky things.  Duh!!  That was dumb!  It was always dusty!!  And I don’t want to go to the studio to do housework, I want to play, to create!  Needless to say, this space is going to function much better when all is said and done!

One of the main reasons I wanted to whitewash the walls was because it was a busy backdrop to photograph against.  But it really didn’t matter since there wasn’t a wall to photograph against anyway! So in the new plan, there will be empty wall space and I’ll try my very hardest not to fill it.  I struggle with gaps…truly I do!  Until I want to photograph something and there’s stuff everywhere!

It was a huge job just to empty the studio out but I finished it and started the white washing before my friend, Catherine, showed up to lend a hand.  One of the things I love about Catherine is she is my sounding board.  When I’m debating something, whether it’s in real life, in fashion or style or in decorating, I use her to bounce ideas off.  So, when the whitewash wasn’t quite looking how I had hoped it would, I stopped and waited for her arrival so I could get her take on it.

She agreed that it wasn’t quite right but maybe we should let it dry before making the final call.  But during this whole debate, the decision was made to paint the trim work throughout the studio a solid white and no longer just white wash it like I was originally going to do.  So, while we waited for the trial white washed section to dry, we put a coat of primer on all the window and door trim.  And by the time we finished that, we knew the white wash really would be alright and we carried on with the rest of the walls in the ratio I had mixed up.  { If we decided to go with a more solid white wash, it would’ve meant waiting to do the work unto I could get back to Phillips and Chestnut another day for more Farmhouse White Miss Mustard Milkpaint because, of course, I mixed all I had….and I even know better!! }

Three walls later, Catherine left with some of her kids and I continued on painting the last, and hardest wall…the diagonal wall.  Ugh.  To prevent dry lines and weird overlap marks, a complete board needed to be done at once, which was pretty easy on the horizontal boards but meant a whole lot of climbing and squatting on the diagonals!  But I finished it off, with a 1/4″ of paint left in the bottom of the big Tupperware container I was using to mix and hold all the paint.

So, once again, my To-Do list grew!  Let’s review:

Sew Curtains for the prep table – done

White wash the walls – done

Paint the floor

Frame the chalkboard

Paint the sewing desk – kinda done

Paint and hang the corner cabinet

Paint the doors

Paint the sewing chair – kinda done

Paint the trim – kinda done

But look at that progress!!  Looks a million times better – so bright and fresh….maybe that’s just because I washed the windows, though….

So much to do, so little time left!!

To be continued,

Lori

PS – To see other guest participates of the One Room Challenge – click the logo below


2 In Makeover

One Room Challenge – The Studio – Week 2

Here we are, at the second week of the One Room Challenge.   I suppose you’d like to see the progress? I’m at least happy to admit there is progress to show!  { If you missed Week One – you can see it HERE }

Well, I’ve made a few decisions for the direction I’m heading with the colour palette and some changes to the layout.  I’m excited to make the space look and work better for me.

I have the fabric for the curtains on the prep table – I’ve had it pretty much since we moved in here, back in July of 2014.  I got it on clearance at Fabricville for about $2.00/yd and I manged to get the ones done up for the counter but not the table.  There isn’t quite enough to do exactly what I want but I’ll make do and not tell you my exact plan so you won’t know the difference. 😉  I just need to get the hardware to hang it – I knew I wanted to go to Walmart for something but couldn’t remember what it was!! Does Momma Brain ever go away?!?!

The desk I use for sewing was a desk that we had in our house growing up, I’m not really sure the history of it and apparently neither does Mom, she couldn’t remember where it come from.  Lena had it is her room until the last makeover and then we put it in the studio and swapped out what was my sewing desk with the old computer desk in the back bedroom….again, being able to shop from your own personal ‘stash’ is great!  We checked in with mom and she’s okay with my painting the desk out so I’m going to do it in Miss Mustard Seed‘s Artissimo – I’m a huge fan of deep blues!  When I showed Mom the sneak peek of it, she said she may want it back when it’s all done.  Hands off, Mom!!

Here’s the before, or in reality, the during because I forgot to take a picture until I started sanding it, of course!  My plan is to keep the hardware, paint the drawers and sides in Artissimo and then stain the top.  And when it’s finished, I’ll put my favourite finish on of Miss Mustard Seed’s Hemp Oil to seal it and add to the richness of it.  My original idea was to paint the desk a turquoise colour, but when I started looking at painted desks on Pinterest, it was the deeper, richer colours that really appealed to me.

Here it is with the top sanded off…I have to admit, I’m surprised how little time it took to sand the finish off on the top.  Probably 20 minutes max and it was down to the raw wood again.  I love my palm sander for jobs like that!  And the raw wood will absorb the stain (which is just a watery mixture of Curio and Typewriter from Miss Mustard Seed) really well and add a nice bit of contrast to the painted wood on the rest of the desk.

Then I stained the top…

And then I put on the first coat of Artissimo paint.  And I knocked over the cup with my paint in it and said a ‘farm word’ which my girls quickly corrected me on!  Oops!!  I tried to use as much of that paint as I could so not to waste it, thankfully it’s just the first coat and the chunks can easily be sanded out…sweeping the floor was on my list…. 😉  And from there on out, I’m happy to admit I just used the word ‘crap’ and nothing worse….

Just keepin’ it real for you!  That’ll probably be the last you’ll see of the desk until the big final reveal, I need to keep some secrets to show you at the end of it all!

The chair that I use at that desk will need to change up a bit, too….yes, I’m adding MORE projects to my list!  This is a road-side score that I grabbed while traveling with the handsome Mr. Byrne….can I just add how mortified he was that I stopped and loaded this number in the car! 😉 Now, probably about 2 months ago, I decided I would give it a facelift and painted it but now I need to change it again! I’m not loving the yellow…so it got a coat of a custom grey I mixed for another project.  And the seat? Yeah, that’s paint!  I used Fusion Mineral Paint and waxed it!  We’ll see how it holds up but I’ve heard great things about it so I thought I’d try it for myself!

Office Chair Before Before:

Office Chair after Makeover 1.0:

Office Chair with one coat of Makeover 2.0:

The floor will be going painted with Benjamin Moore’s Porch & Floor paint, which I have used many times in the past and I love it.  I think painting out the floor will really make the space feel less like a workshop off the garage and more like an intentional space.  It will also hide all the various colours of paint I’ve used over the last three years and force me to use a drop cloth!  The colour I’ve decide on is Pacific Ocean Blue 2055-20.

One of the other project on my To-List is to paint out the doors between the studio and the garage and the door to the outside.  I’m very sick of this blue.  Very, very sick of it.  All the doors and all the shutters everywhere here at Clear Day Farm are painted this colour and when we get the house painted this summer, I’m changing them all!!  The interior sides of these will just go back to white, just to freshen them up and to keep it light and bright.

So, let’s review my To-Do list:

Sew curtains for the prep table

White wash the walls

Paint the floor

Frame the chalkboard

Paint the sewing desk

Paint and hang the corner cabinet

Paint the doors

Paint the sewing chair

It looks like I can only cross one and half tiny tasks off the list this week.  Oh well, I do feel like I’ve made some progress!  The biggest task is just going to be to move everything out to get at the walls and the floor to attack those painting projects! Ugh!  And I know I need to do considerable sorting to pair down what makes it back in. But we’ll save that for another week, I guess!!

To be continued,

Lori

To see other One Room Challenges by other bloggers, click the logo below!


1 In Blogging/ Make Something

Marblized Easter Eggs

I’ve marblized paper but never have I marblized an egg!!  But oh man, what fun!  And such a basic supply list, too – we grabbed everything at the local grocery store.  Easy set-up, easy clean-up and no dry time plus your home will smell like a handsome dude! 😉

We were having friends over and we love doing quick and easy craft projects with our four girls so I thought something Easter related might be fun.  Now, I’m not one to decorate for Easter, Spring maybe but not Easter, so I wasn’t looking for a gaudy Easter craft.  Softly coloured eggs seemed like the perfect project. And cake – cake is always a good idea! But that’s a whole other blog post…

So, anyway, let’s get started!

Here’s your basic supplies:

Eggs

Foam Shaving Cream

Food Colouring

I boiled our eggs, but if you have better lung capacity than me, go ahead and blow those suckers out.  I didn’t feel like blowing out 2 dozen eggs!  We won’t eat these, I’m not about to find out what a shaving cream flavoured egg tastes like, I prefer cream eggs of the Cadbury variety!  With Easter quickly approching, I know they’ll be fine until then and we’ll toss them out or have some fun throwing them at something 😉

We filled paper plates with shaving cream and then dropped food colouring all over and swirled it through with popsicle sticks to create the marblized shaving cream.

And then we got messy! Set your egg in the shaving cream and roll it around until the egg is all covered.  Then we plopped them on another plate to be rinsed off in the kitchen, under the tap.

It was fun to uncover the magic under the shaving cream! The girls would exclaim over the pattern on this one or the colouring of that one, meanwhile us moms were trying to contain some of the shaving cream….we didn’t suceed in that!  It was on clothes, in hair, swiped across foreheads and squished by the handful between fingers.  But, boy, did we smell good!

Here are some of the more patterned beauties!

Now, here are some of my ‘Live and Learn’ tips!  Because no craft is without a learning curve!

  • Cover your surfaces with something waterproof – nothing worse than food colouring staining your table or counter!
  • Make the kids wear old clothes, it gets EVERYWHERE!
  • If you are a hand-model, I would wear gloves. If you don’t mind getting a little stained, don’t bother.  By the end of the day, most of the food colouring was worn off my hands.
  • Re-load the shaving cream with more food colouring between eggs and use lots of it!
  • Don’t bother trying to re-dye eggs that are too pale, for some reason, it won’t work.

Well, I ‘hop’ you have fun doing this project – I think the softly coloured eggs are quite stunning!  If you want to see more Hoppy Easter related posts by others East Coast Bloggers, click the little blue froggy button below!!


To be continued,

Lori