
There are days I have to admit I amaze even myself. Quite the lead in, eh? Especially on a makeover post! But, guys, I’m so incredibly pleased with how this chair turned out!
I have this awesome client who I have done a fair amount of painted pieces for. So when she sent me another text asking if I was up for the challenge, I couldn’t say no! Every project to date has been exciting, satisfying and well, awesome! I love that I’m her go-to girl for these projects and that she has the patience to let me work on them at my pace….sometimes things take longer to complete than I think they will. Sometimes the regular busyness of life, sometimes pulling tacks takes WAAAAAAAY longer than I think!
This was the picture I received from her….I love a perfect before picture – blurry, dusty….really sets the scene for vast improvement!
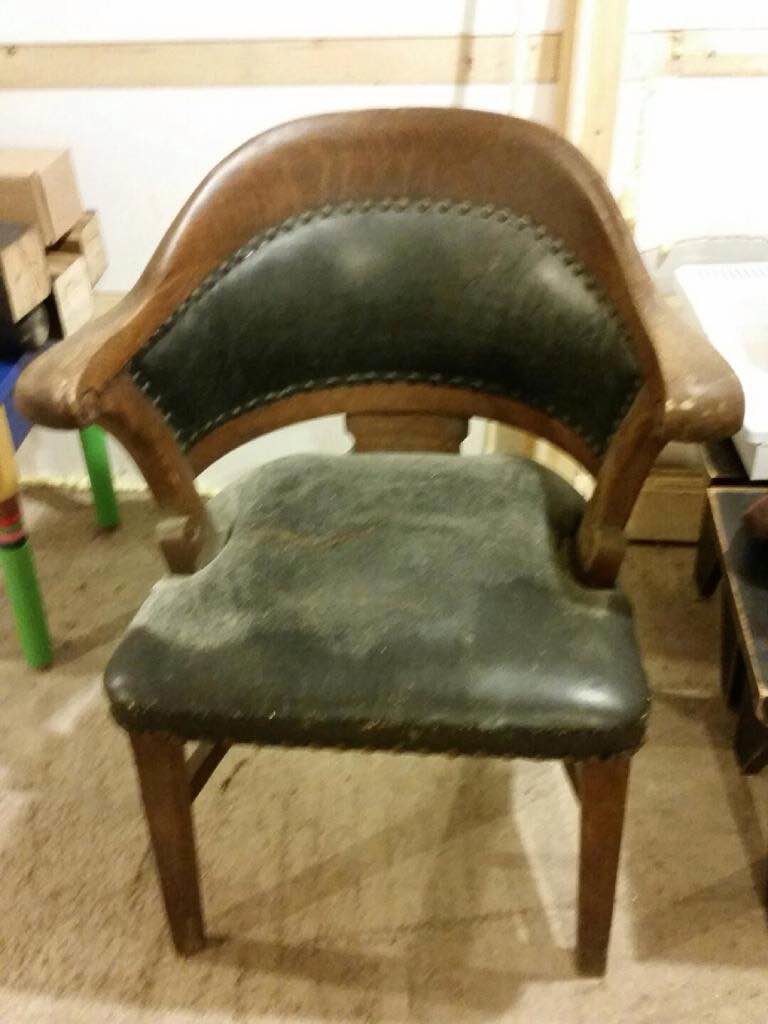
The plan for the chair involved matching paint to a table I had painted, up-cycling my old curtain panels and more tacks. And no chippy paint. 🙂
The most tedious task on this was removing all the tacks. First all the decorative tacks and then all the tiny upholstery tacks under the decorative tacks. And the leather was so old and brittle that it wasn’t even as if I could use it to help the process!
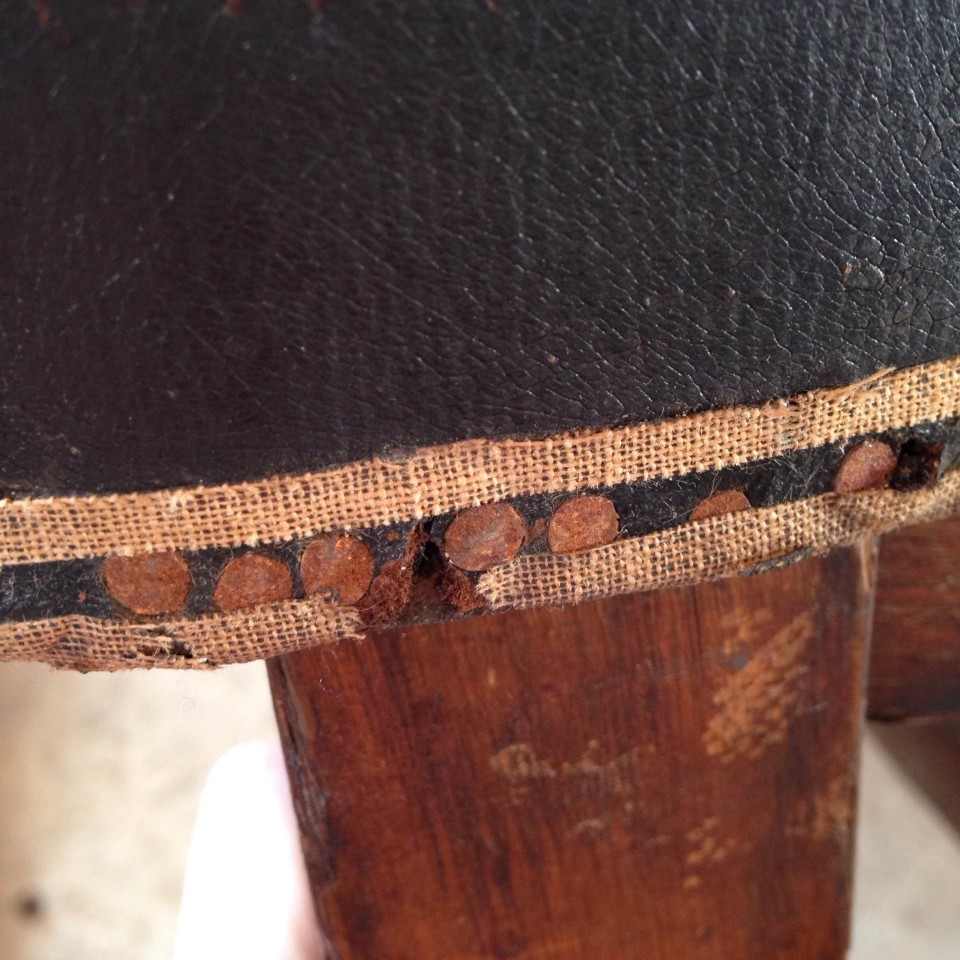
So.many.tiny.tacks.
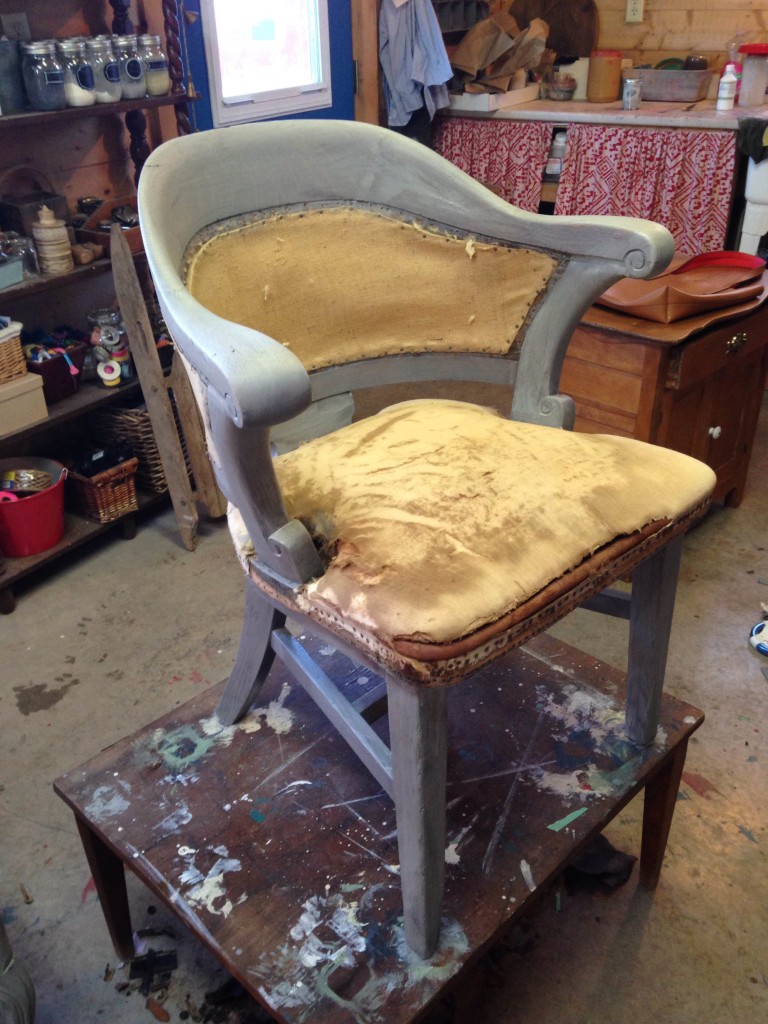
But once it was all stripped down, it felt like huge progress! The seat was in pretty good shape but I wanted to make sure it stayed that way so I re-enforced the bottom with rows of webbing, just to add some support to the springs.
Then I sanded, and sanded some more. With old finishes, you just never really know how the milk paint is going to adhere. So a good sanding and the addition of Bonding Agent made me feel a little more reassured that the paint would stick. The first coat always looks so bad! But two additional coats gave a nice even finish. A quick sand to remove any rough spots was all I did after it was dry. Then a final coat of hemp oil and the wood was all set.
I started upholstering on the outside back, it was the easiest surface to start with and it would give me a feel for how the rest of the upholstery would go. It looked pretty good, so I carried on to the inside back. The inside curve can be a tricky thing to upholster. The fabric tends to want to crease but I managed to get it laying very flat. { Sidenote – thankfully the fabric was an all over floral and not geometric – so much more forgiving!! } Then I added the gimp and silver tacks to finish that section off.
This is where I hit a snag. The seat. Oh dear. My regular hammer and my staple gun wouldn’t fit down between the paddings and the piece of wood along the back. I was at a stand still. I don’t own an upholstery hammer, nor do most people. And I don’t think anyone in Pictou County even sells them. Halifax was the closest place that I could source one. I put a plea out on Facebook and my old working buddy, Mark, whom I watched and learned from for years, replied that he had one with 30 years experience that I was able to borrow!! Mark saved the day!!!
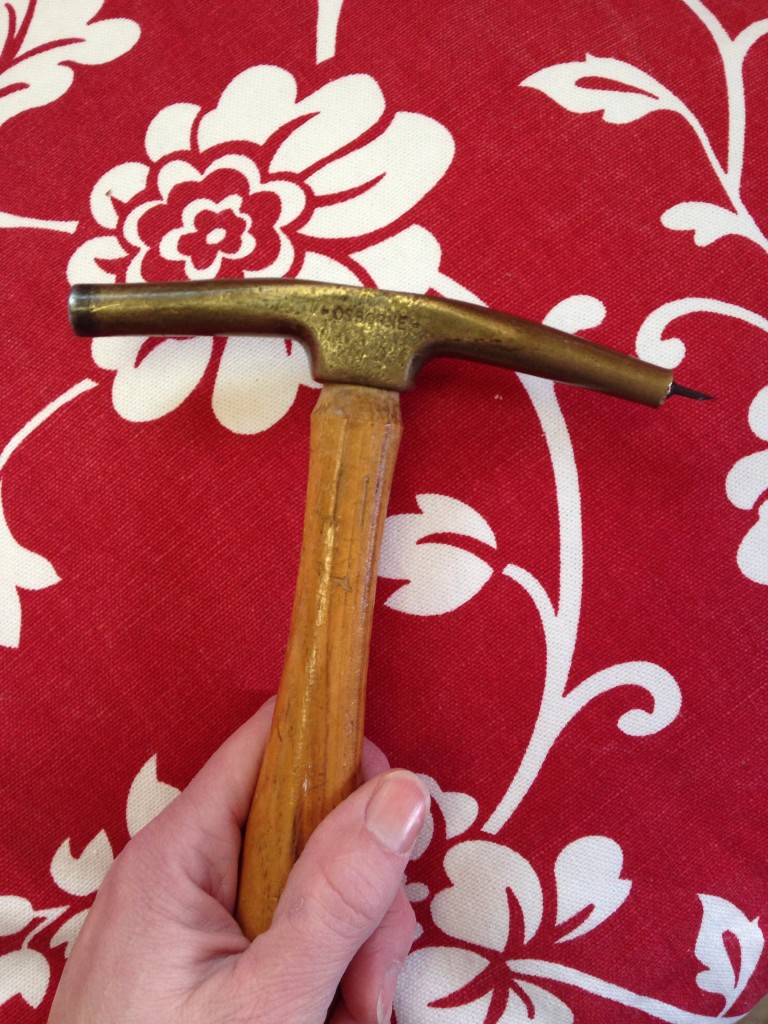
Once I had the right tools for the job, it was so easy to do what I needed to do! And after using his hammer, I definitely need to purchase one! What a difference in working with a hammer made for a specific job as opposed to a regular old hardware store hammer.
Once the chair was completed, I took it in the house to photograph, the studio is in such a state!! It needs a seriously thorough cleaning!
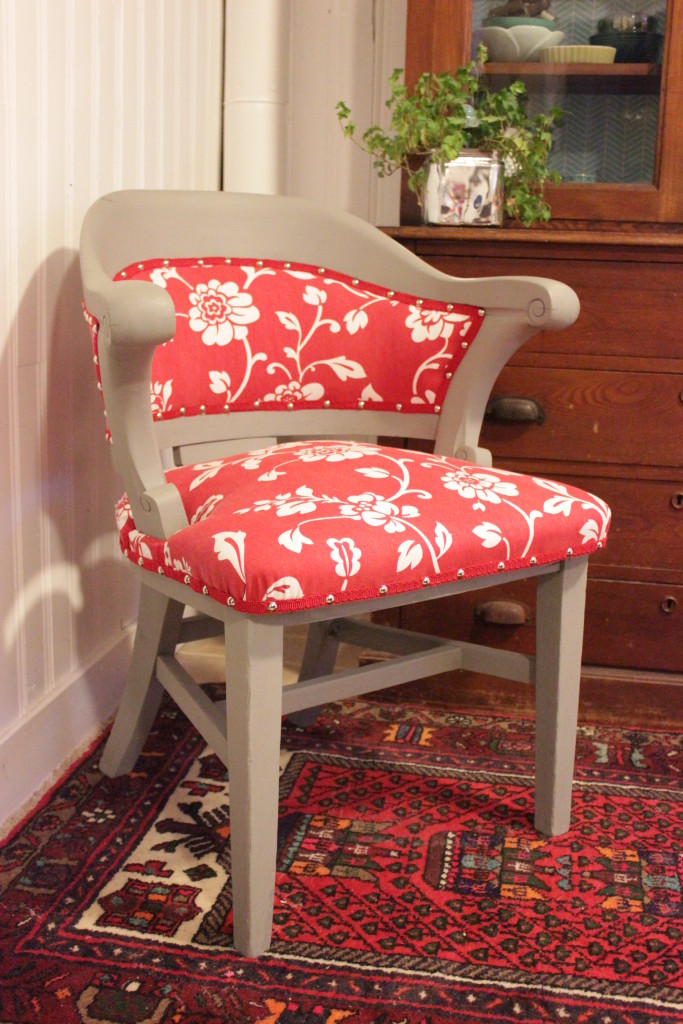
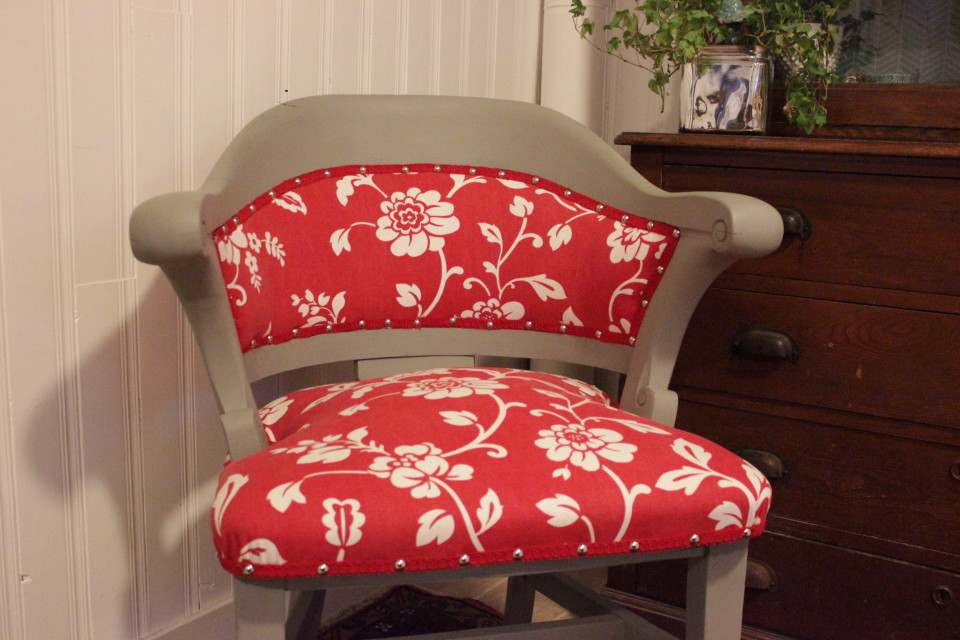
Ta-da!!!! Hardly even looks like the same chair!! I’m so pleased with how it turned out. I love being handed a challenge and stepping up to it. It is so satisfying to be able to say I did this. I took bits and pieces I’ve learned over the years and putting the skills I didn’t know I had to use and coming out on the other end pleased with what I accomplished.
To those of you who put your trust in me with your projects, I thank you from the bottom of my heart. I know that there is a huge amount of trust that happens when I put your piece of furniture in my car and drive away or I add your project to the list in the studio. And I appreciate that you do it. You are helping me learn, expand my skill set and increase my confidence in the studio. Don’t get me wrong, I love it, I know that my God-giving gifts are being used and nurtured here. And I’m so happy that I get to take on projects like this and call it my job!
Now, I’m off to deliver this chair!
To be continued,
Lori
Michael Boyd
January 25, 2016 at 4:03 pmWonderful Work. I really enjoy your posts. So bright and upbeat. Like spring year round. (The warm end of Spring, not the chilly beginning.)