We are being hit with yet another snowstorm. We barely had winter up until last week and it’s been full-blown storm after full-blown storm!! The snowbanks are high, the drifts are higher and some spirits may be sinking…..
But the nice thing about forced to staying home is that fact you can accomplish so much stuff! I’m finishing things on my list and taking pictures, because, well, I’m actually home in the daylight.
This morning I finished off a fun, simple project. All in all, it probably took me an hour at the most to do all the steps for this one. So easy. And it has kind of a neat background story. Wanna hear? Too bad…..
One of my best buddy throughout my teenage years was Mary-Beth. We meet at youth group and became fast friends. We may have found our way into some trouble more than once, causing her sweet mother to think I was a bad influence on her innocent daughter. Wellllll, that’s not exactly the truth. I’m pretty sure Mary-Beth found her way into a few hot spots without my help on more than one occasion.
Fast forward 20 or so years { eeek } and here we are. Mary-Beth lives in Ontario with her precious family but her parents are still in these parts, I always am sure to give Colleen, Mary-Beth’s mother, a hug every time I see her because I know just how much she misses Mary-Beth. She, in return, offers me her old basement window. I’m sure to some, this seems like an odd offer. But, it’s an offer I would not refuse. She knows how much I love a fun project and how much I love old stuff with a neat history. Thank you, Colleen, and really, I am the innocent one….it was her!!! 😉
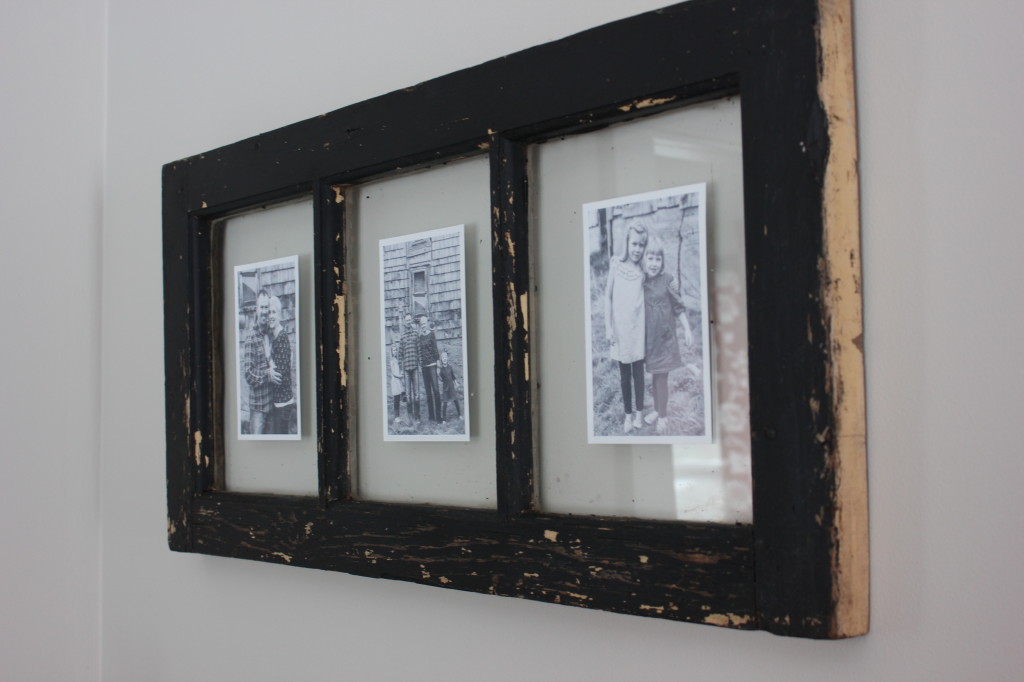
Which, in a round about way, brings us to today’s project. Finishing, hanging and decorating the window frame. The frame was already painted black with a perfectly chippy finish. What I did was just rub some Miss Mustard Seed Hemp Oil on it. Hemp Oil is my new favorite thing. But that’s a whole other post! The Hemp Oil just puts some moisture back in the wood, deepens the wood tones and makes the paint look richer.
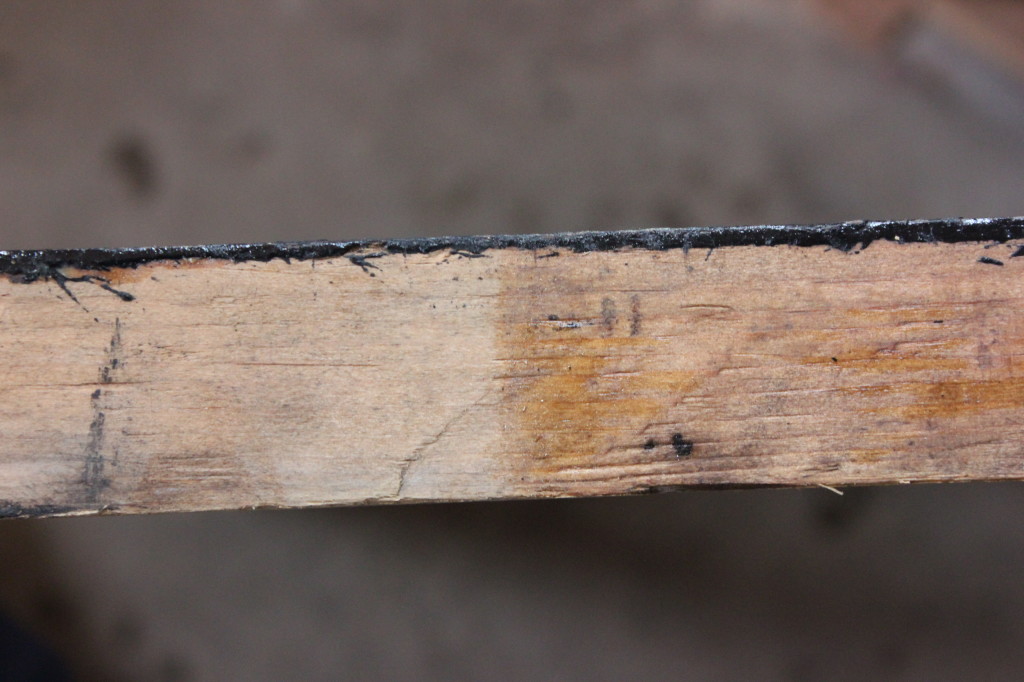
Left side untouched, right side one coat of Hemp Oil
I strung picture hanging wire across the back and cleaned up the glass with regular window cleaner. Then I hung it on the wall where we had a huge wreath at Christmas.

This morning I finally printed off some black and white pictures we had done in May by the talented Christine Whelan-Hachey of Wonkyeye Photography. I just stuck those on each pane with some tape and ta-da – it’s done!!
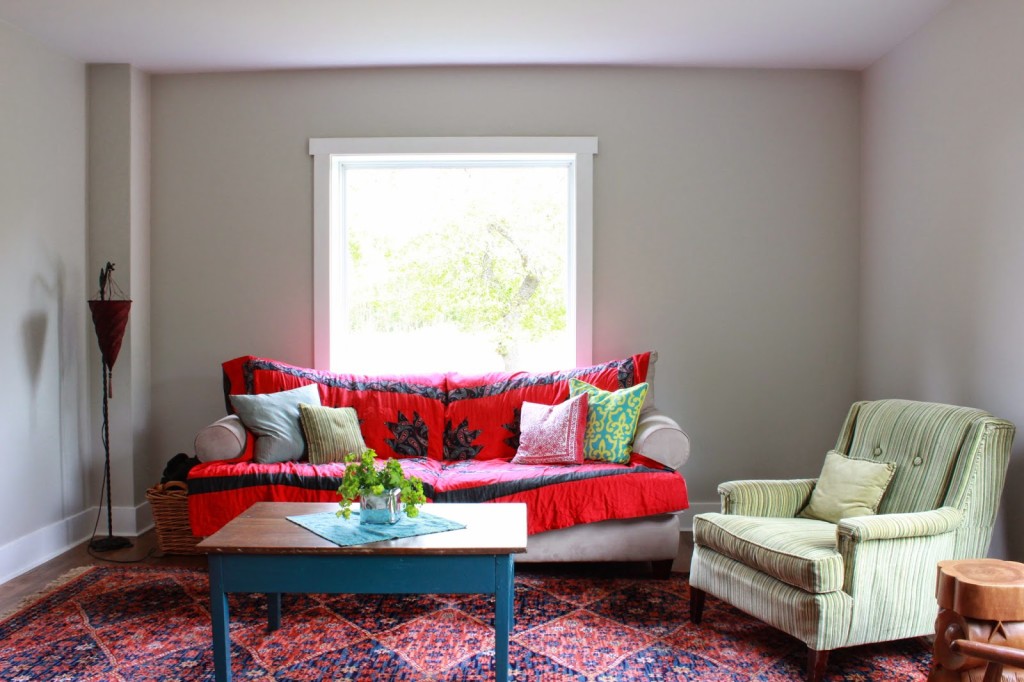
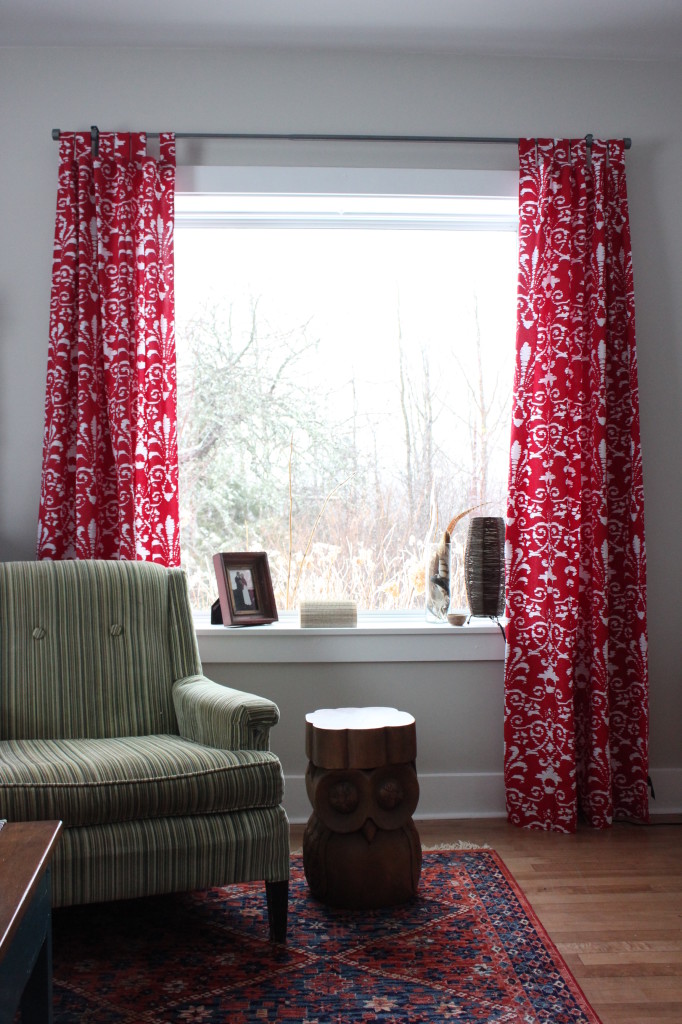
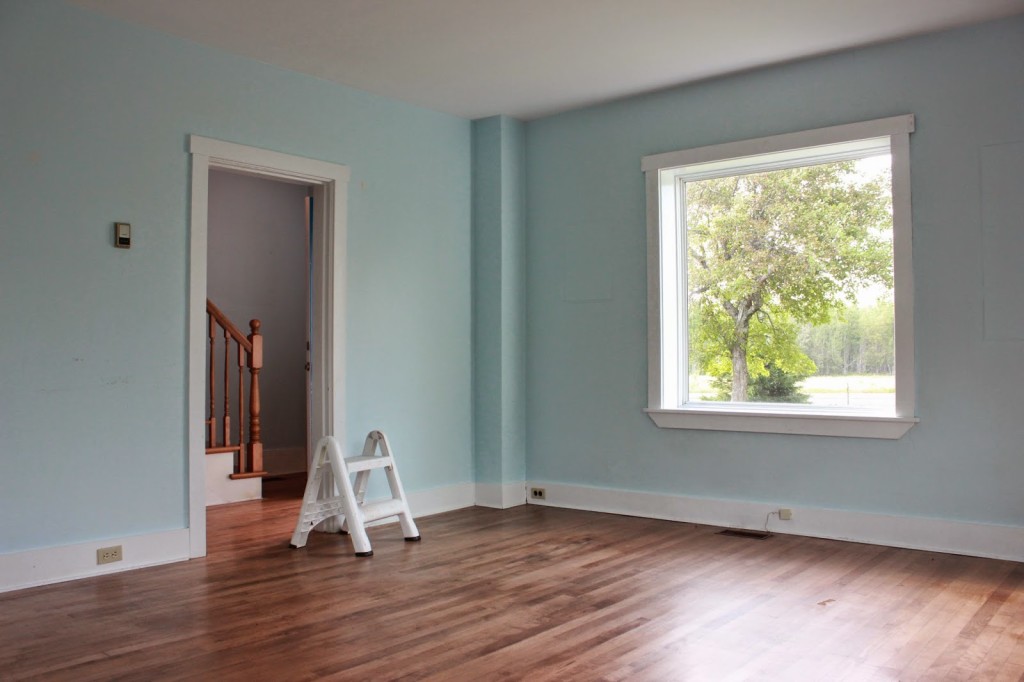
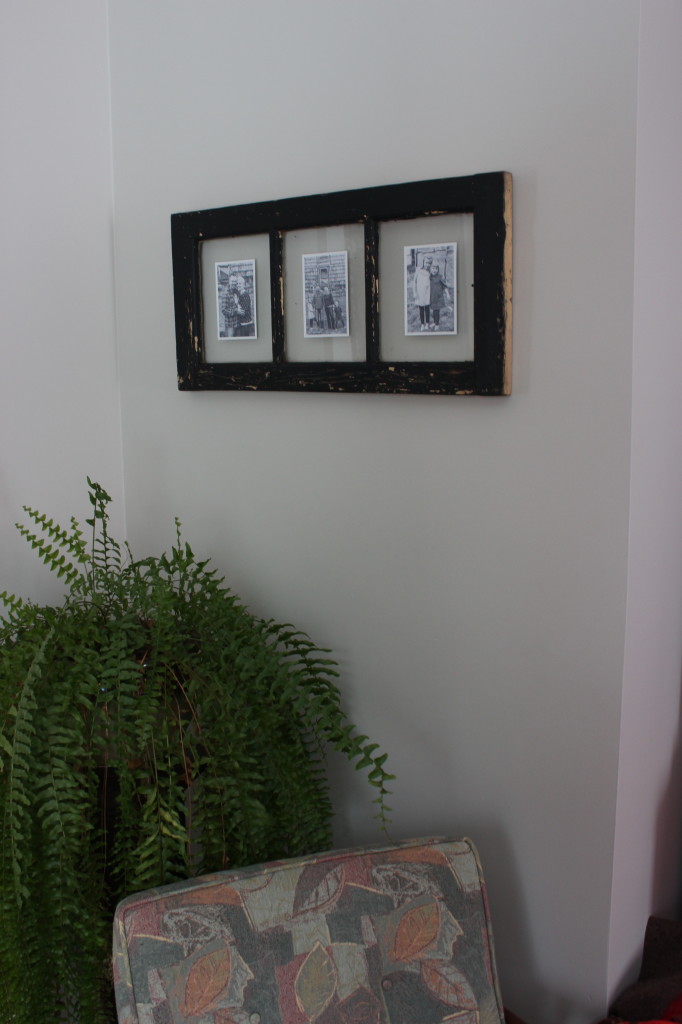 I’m not sure if this will be staying here. I may move it to the right side of the front living room window. Now that the curtains are hung, I have a better idea of what art I want where on the walls. And that spot is bare!!
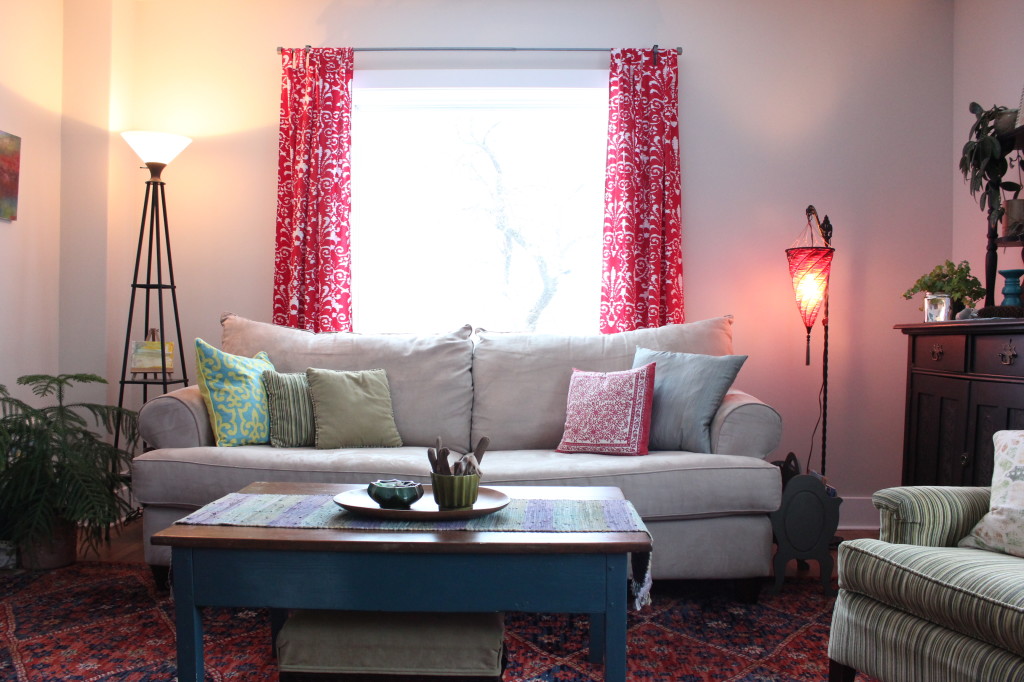 But it is all coming together! I love how bit by bit we are getting settled into the house and claiming it as our own. It was fun going through the pictures of what it looked like in July and how is looks now. I’m so thankful to be here and call this house our home!
To be continued,
Lori

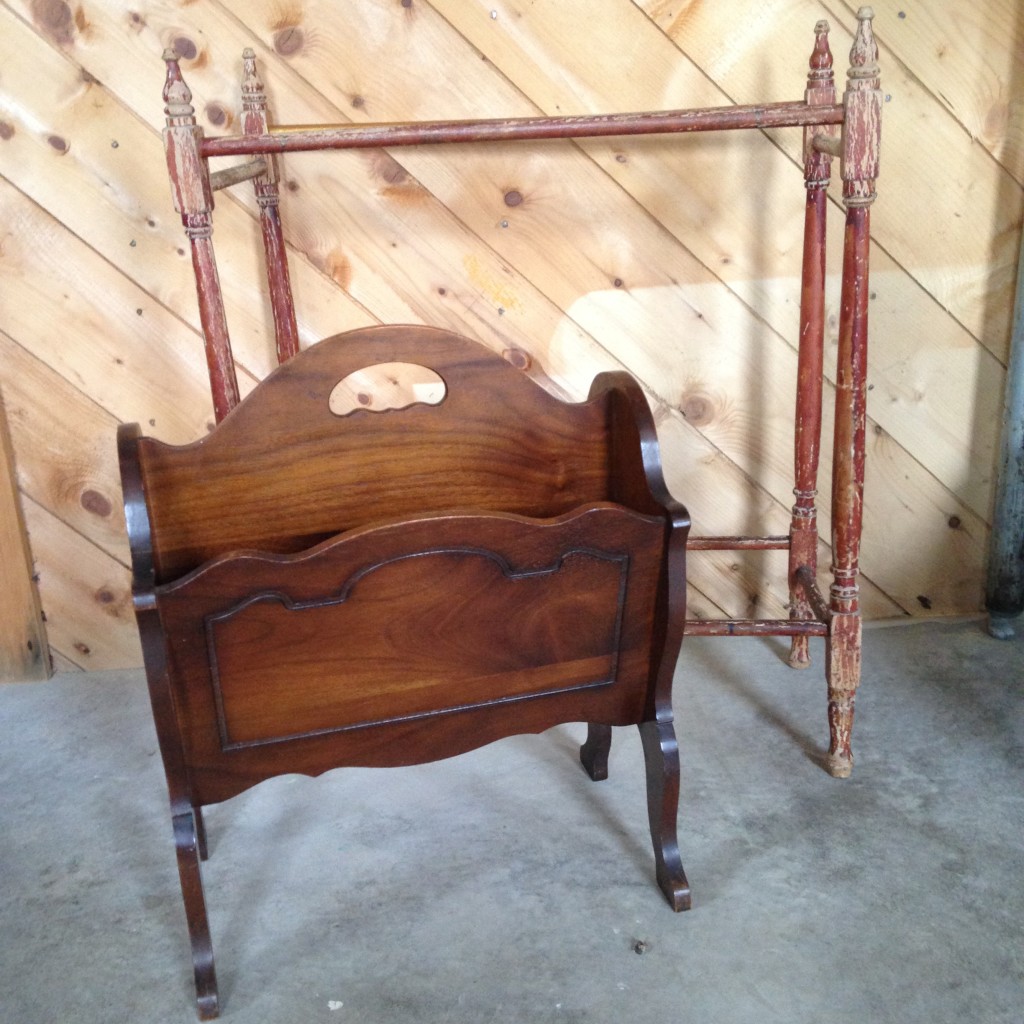 I didn’t do anything to the magazine rack for a long time because I couldn’t decide whether or not I should paint it. It’s Gibbards Walnut. And part of me knows how beautiful the walnut is but I also know….it isn’t me. So, it sat and sat and sat. Until I was working on a secret project before Christmas and I had the milk paint mixed…..so I painted it.
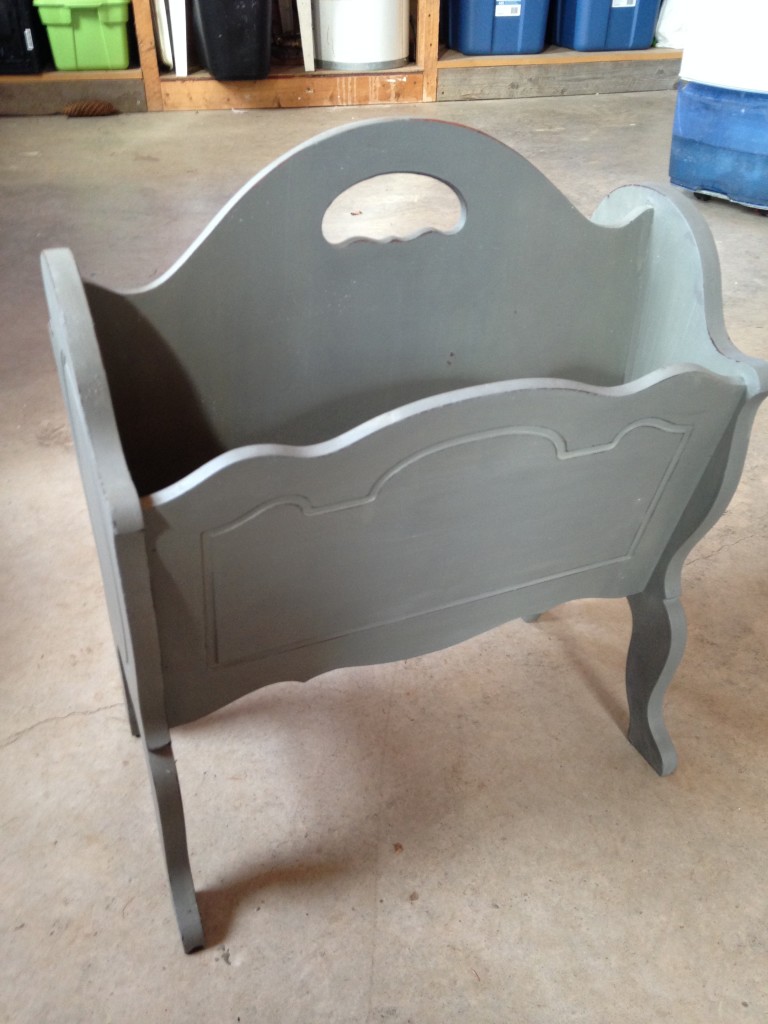 But, it still wasn’t what I was going for. I even had sanded the edges a little to give it a bit more….life. But it still wasn’t what I was going for.
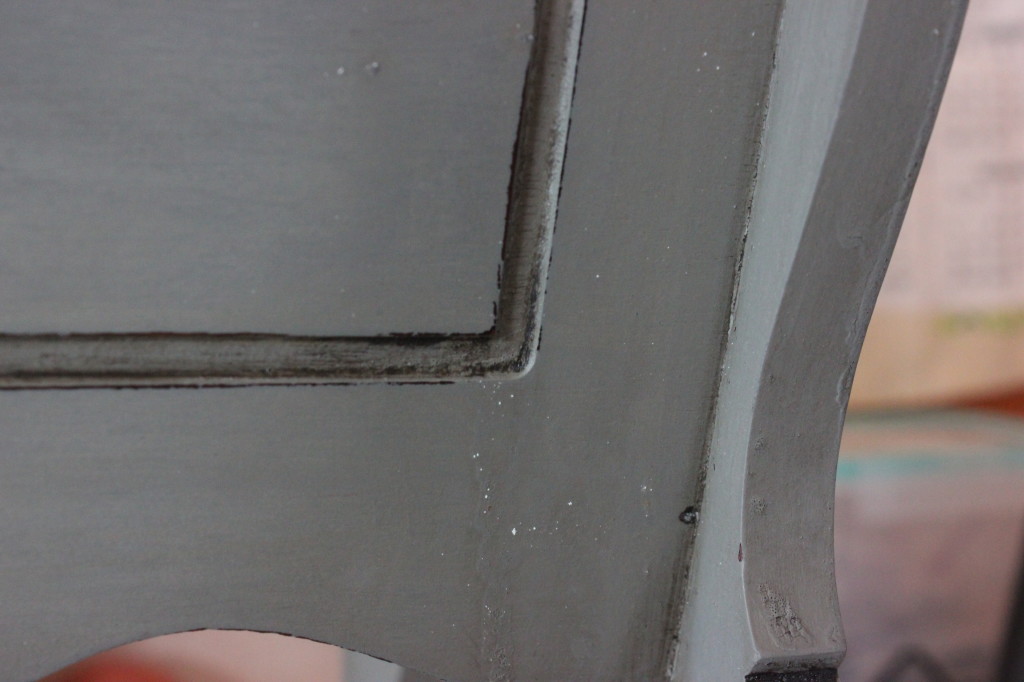
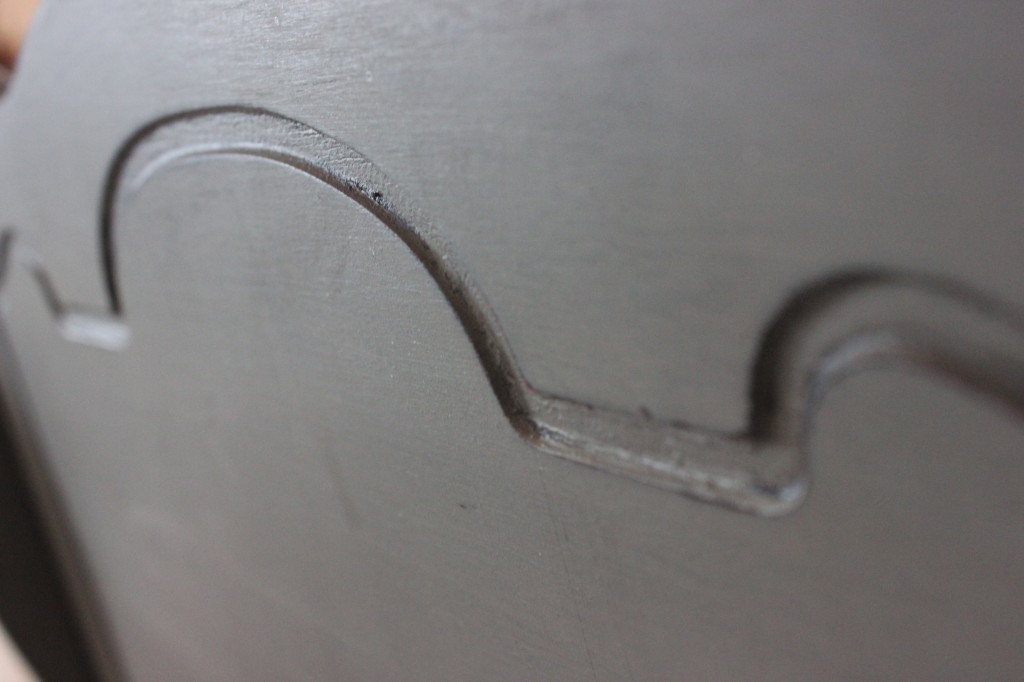
 I’m so pleased with how it turned out. It sits perfectly beside the couch, like it belongs there!! Right now, it’s got a bunch of library books tucked in it. In hopes they all make it back to the library….. You can see in the pictures that the finish isn’t 100% even, that there are little bumps and streaks. Part of that is the fact that I didn’t mix it quite well enough, but part of that is the nature of milk paint.
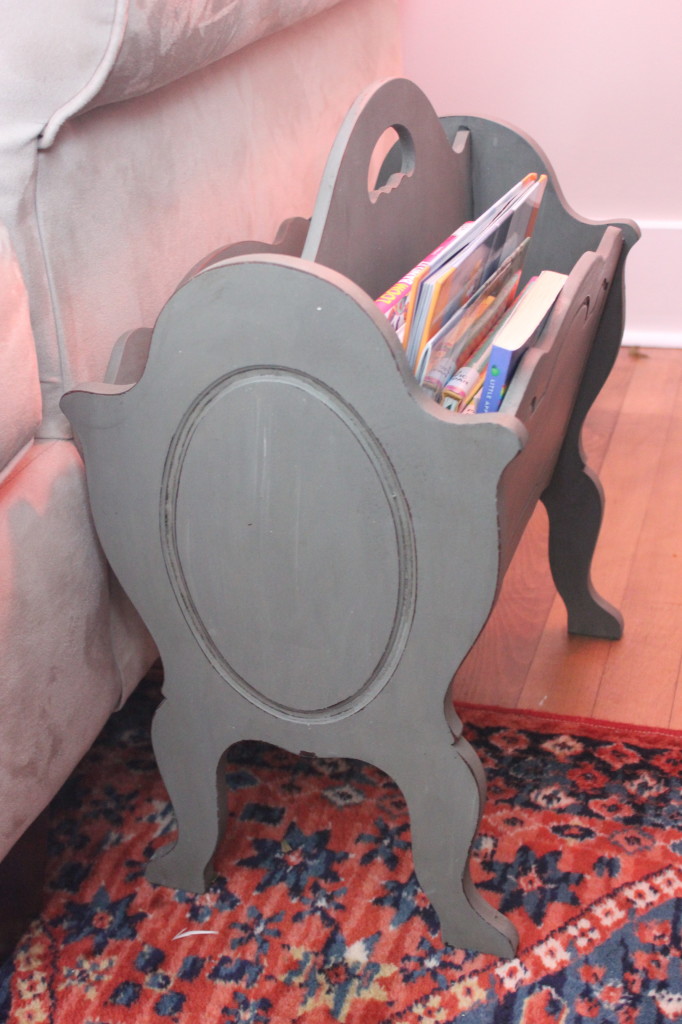 Do you wait on projects so you make the right decision? Or do you rush right in? And if you do, do you have regrets later? I think I’m pretty pleased with this one. For me, waiting worked out! { The quilt rack is currently being used as a drying rack – it’s the perfect place for boards to sit and dry! }